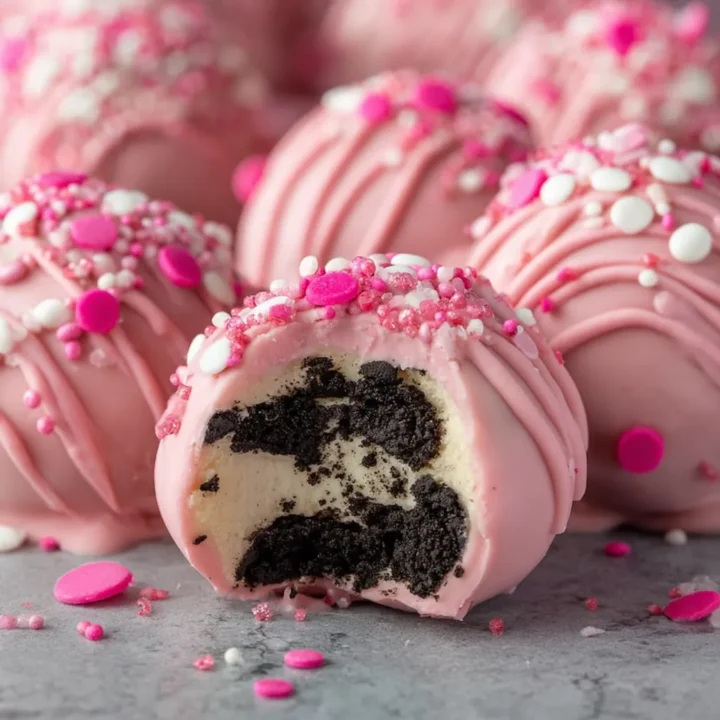
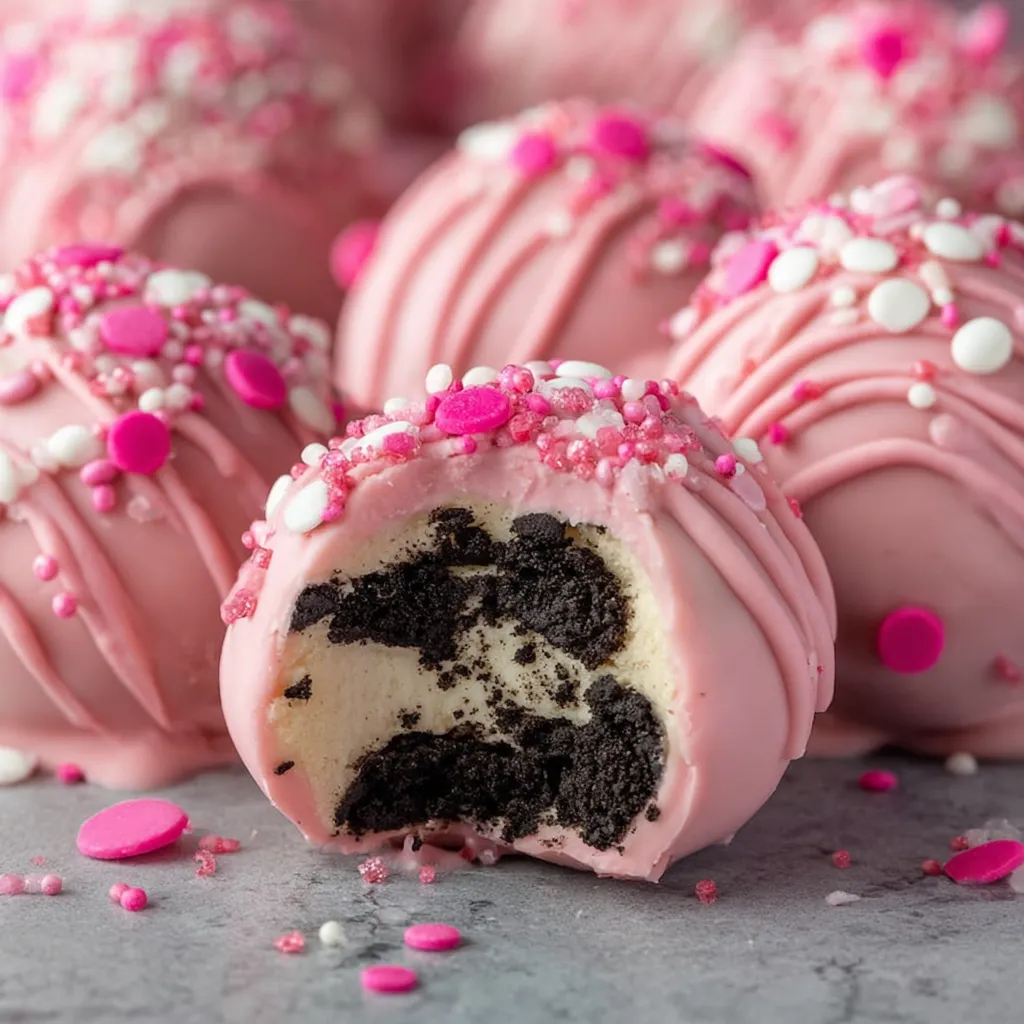
Oreo Truffle Balls – Pink Candy-Coated Party Treats
Have you ever wondered how a simple cookie can transform into a delightful dessert that steals the show at any party? Oreo truffle balls are not just a treat; they’re an experience! These indulgent bites combine the rich flavor of Oreos with cream cheese, coated in a vibrant pink candy shell, making them perfect for celebrations. In this post, we’ll explore how to make these delicious Oreo truffle balls, ensuring your next gathering is a hit. Let’s dive into the world of sweet treats and discover why Oreo truffle balls should be on your dessert table!
Ingredients List
To make your own Oreo truffle balls, you’ll need the following ingredients:
- Oreo Cookies: 1 package (about 36 cookies)
- Cream Cheese: 8 oz, softened (you can substitute with mascarpone for a richer flavor)
- Pink Candy Melts: 1 bag (or any color you prefer for coating)
- Sprinkles: Optional, for decoration
- Vanilla Extract: 1 tsp (for added flavor)
- Sea Salt: A pinch (to enhance sweetness)
Ingredient Substitutions
- Gluten-Free Option: Use gluten-free Oreo cookies.
- Dairy-Free Option: Substitute cream cheese with a dairy-free alternative like cashew cream.
- Flavor Variations: Experiment with flavored Oreos, such as mint or peanut butter, for unique twists.
Timing
Creating these Oreo truffle balls is a breeze! Here’s the breakdown of the time required:
- Preparation Time: 30 minutes
- Chilling Time: 60 minutes
- Total Time: 90 minutes
This is approximately 20% less time than the average dessert preparation, making it a quick and delightful option for your next gathering!
Step-by-Step Instructions
Step 1: Crush the Oreos
Start by placing the Oreo cookies in a food processor. Pulse until they are finely crushed, resembling sand. This step is crucial as it creates the base for your truffles.
Step 2: Mix with Cream Cheese
In a mixing bowl, combine the crushed Oreos with the softened cream cheese. Use a spatula or your hands to blend until fully combined. The mixture should be thick and moldable, resembling cookie dough.
Step 3: Form the Balls
Using your hands, scoop out about a tablespoon of the mixture and roll it into a ball. Place the formed balls on a baking sheet lined with parchment paper. Repeat until all the mixture is shaped into balls.
Step 4: Chill the Truffles
Refrigerate the Oreo balls for about 30 minutes. This chilling step helps them firm up, making them easier to coat in candy melts.
Step 5: Melt the Candy Coating
While the truffles chill, melt the pink candy melts according to the package instructions. If desired, you can add a teaspoon of coconut oil to the melts for a smoother consistency.
Step 6: Coat the Truffles
Once the truffles are chilled, dip each ball into the melted candy coating, ensuring they are fully covered. Use a fork to lift them out, allowing excess coating to drip off before placing them back on the parchment paper.
Step 7: Decorate
While the coating is still wet, sprinkle with your choice of decorations, such as colorful sprinkles or a drizzle of white chocolate for added flair.
Step 8: Final Chill
Place the coated truffles back in the refrigerator for another 30 minutes to set the candy coating.
Nutritional Information
Here’s a breakdown of the nutritional content per Oreo truffle ball (based on 24 servings):
- Calories: 120
- Total Fat: 7g
- Saturated Fat: 4g
- Cholesterol: 15mg
- Sodium: 50mg
- Total Carbohydrates: 15g
- Dietary Fiber: 0g
- Sugars: 10g
- Protein: 1g
Nutritional Insights
These treats are rich in flavor but should be enjoyed in moderation due to their high sugar content. They are perfect for special occasions but can be made healthier with some simple swaps.
Healthier Alternatives for the Recipe
If you’re looking to enjoy Oreo truffle balls with a healthier twist, consider these alternatives:
- Use Low-Fat Cream Cheese: Reduces calories and fat content without sacrificing flavor.
- Dark Chocolate Coating: Swap pink candy melts for dark chocolate to add antioxidants.
- Add Nut Butter: Incorporate a tablespoon of almond or peanut butter into the mixture for added protein and healthy fats.
Serving Suggestions
Oreo truffle balls are versatile and can be served in various ways:
- Party Platters: Arrange them on a colorful platter with fresh fruits for a vibrant display.
- Gift Treats: Package them in decorative boxes or jars as thoughtful gifts for friends and family.
- Themed Parties: Customize the candy coating colors to match your party theme, such as red and green for Christmas or pastels for Easter.
Common Mistakes to Avoid
When making Oreo truffle balls, be mindful of these common pitfalls:
- Not Chilling Enough: Failing to chill the mixture properly can lead to soft truffles that won’t hold their shape.
- Overheating the Candy Coating: Melt the candy melts slowly to avoid burning. Stir frequently for even melting.
- Skipping the Sprinkles: While optional, sprinkles add a fun texture and visual appeal to your truffles!
Storing Tips for the Recipe
To keep your Oreo truffle balls fresh and delicious:
- Refrigeration: Store them in an airtight container in the fridge for up to one week.
- Freezing: For longer storage, freeze the truffles in a single layer on a baking sheet, then transfer to a freezer-safe container for up to three months. Thaw in the refrigerator before serving.
Conclusion
In summary, Oreo truffle balls are a delightful and easy-to-make treat that can elevate any gathering. With their rich flavor and cute presentation, they are sure to impress your guests. Try this recipe, and don’t forget to share your feedback in the comments section! Subscribe for more delicious recipes and updates.
FAQs
Can I use any type of Oreo for this recipe?
Yes! You can use any flavor of Oreo cookies, such as mint or peanut butter, to create unique variations of truffle balls.
How do I prevent the candy coating from cracking?
Make sure the truffles are well-chilled before coating them and avoid overheating the candy melts. A smooth, even coating will help prevent cracks.
Can I make these truffles ahead of time?
Absolutely! You can prepare the truffles a day or two in advance and store them in the refrigerator until you’re ready to serve.
What can I use instead of pink candy melts?
You can use white chocolate, dark chocolate, or even colored chocolate chips. Just ensure they are melted properly for easy dipping.
How can I make these truffles vegan?
Use vegan Oreos and a dairy-free cream cheese alternative. You can also use coconut oil instead of candy melts for coating.

Oreo Truffle Balls – Pink Candy-Coated Party Treats
Ingredients
- 36 Oreo cookies (regular, not Double Stuf)
- 8 oz cream cheese, softened
- 12 oz pink candy melts or white chocolate dyed pink
- Optional toppings: white sprinkles, pink sanding sugar, edible glitter, mini heart candies
Instructions
- In a food processor, pulse Oreos into fine crumbs.
Add softened cream cheese and pulse/mix until a dough forms.
Scoop and roll into 1-inch balls. Place on a parchment-lined tray.- Freeze for 30–60 minutes, or until firm.
Melt the pink candy melts according to package instructions (use a double boiler or microwave in 30-sec bursts, stirring often).
Dip each chilled ball into melted candy coating using a fork or dipping tool. Tap off excess.
Place back on the tray and immediately decorate with sprinkles or glitter before the coating sets.
Let harden at room temp or in the fridge for 15–20 minutes.
Notes
- Add a drop of strawberry extract for fruity flavor.
Want a two-tone look? Drizzle white or dark chocolate over the top after coating.
Store in an airtight container in the fridge for up to 1 week, or freeze up to 1 month.

