
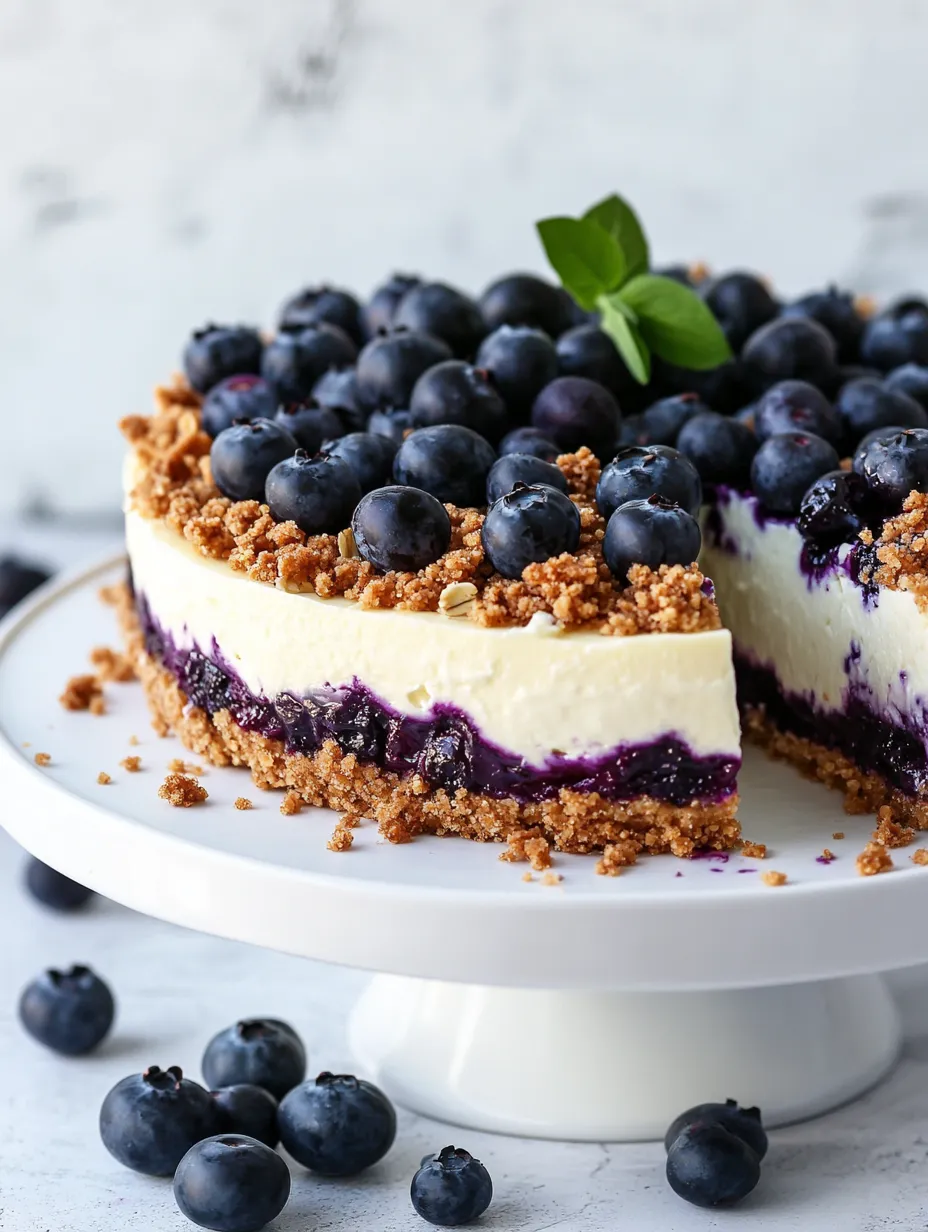
Blueberry Crumble Cheesecake Recipe
Introduction
Have you ever wondered how to combine the creamy richness of cheesecake with the delightful crunch of a crumble topping? The answer lies in this Blueberry Crumble Cheesecake Recipe! This dessert not only satisfies your sweet tooth but also brings a burst of fresh flavors that can elevate any occasion. Did you know that blueberries are packed with antioxidants, making them one of the healthiest fruits you can enjoy? With the right balance of ingredients, you can create a dessert that is both indulgent and nutritious. Let’s dive into this recipe that promises to impress your family and friends!
Ingredients List
To make this delicious blueberry crumble cheesecake, you will need the following ingredients:
For the Cheesecake Filling:
- 2 cups cream cheese (softened)
- 1 cup granulated sugar
- 1 teaspoon vanilla extract
- 3 large eggs
- 1 cup sour cream (or Greek yogurt for a healthier option)
- 2 cups fresh blueberries (or frozen, thawed)
For the Crumble Topping:
- 1 cup all-purpose flour
- 1/2 cup rolled oats
- 1/2 cup brown sugar
- 1/2 teaspoon cinnamon
- 1/2 cup unsalted butter (melted)
Optional Substitutions:
- Use almond flour instead of all-purpose flour for a gluten-free option.
- Substitute coconut sugar for brown sugar for a less processed sweetener.
- For a dairy-free version, opt for vegan cream cheese and coconut yogurt.
Timing
Preparing this blueberry crumble cheesecake takes about 90 minutes, which is 20% less time than many traditional cheesecake recipes. Here’s the breakdown:
- Preparation Time: 30 minutes
- Cooking Time: 45 minutes
- Cooling Time: 15 minutes (plus 4 hours in the refrigerator)
This efficient timing makes it a perfect choice for both weeknight desserts and special occasions!
Step-by-Step Instructions
Step 1: Prepare the Crust
Preheat your oven to 325°F (160°C). In a mixing bowl, combine the melted butter, flour, oats, brown sugar, and cinnamon. Mix until crumbly.
Step 2: Form the Crust
Press half of the crumble mixture into the bottom of a 9-inch springform pan to create a solid base. Reserve the other half for the topping.
Step 3: Make the Cheesecake Filling
In a large bowl, beat the softened cream cheese and granulated sugar until smooth. Add the vanilla extract, followed by the eggs one at a time, mixing well after each addition. Finally, fold in the sour cream and blueberries gently.
Step 4: Assemble the Cheesecake
Pour the cheesecake filling over the crust in the springform pan. Sprinkle the reserved crumble topping evenly over the cheesecake layer.
Step 5: Bake
Bake in the preheated oven for 45 minutes, or until the center is set but still slightly jiggly. The edges should be lightly golden.
Step 6: Cool Down
Remove the cheesecake from the oven and let it cool at room temperature for about 15 minutes. Then, refrigerate for at least 4 hours (preferably overnight) to set completely.
Nutritional Information
Here’s a quick look at the nutritional information per serving (1 slice, assuming 12 servings):
- Calories: 320
- Total Fat: 18g
- Saturated Fat: 10g
- Cholesterol: 90mg
- Sodium: 200mg
- Total Carbohydrates: 36g
- Dietary Fiber: 2g
- Sugars: 20g
- Protein: 6g
This cheesecake is a delicious treat, but it’s also important to enjoy it in moderation!
Healthier Alternatives for the Recipe
If you’re looking to make this blueberry crumble cheesecake even healthier, consider the following substitutions:
- Use Greek Yogurt: Replace sour cream with Greek yogurt for added protein and probiotics.
- Sweetener Swaps: Use stevia or monk fruit sweetener instead of sugar to lower calorie content.
- Add More Fruit: Incorporate other berries like raspberries or strawberries for a mixed berry cheesecake.
These modifications will help maintain flavor while enhancing nutritional benefits!
Serving Suggestions
Serve your blueberry crumble cheesecake with a dollop of whipped cream or a scoop of vanilla ice cream for an extra indulgent experience. For a refreshing twist, consider pairing it with a side of fresh fruit or a drizzle of honey. You can also garnish with additional blueberries and a sprinkle of mint leaves for an elegant touch.
Common Mistakes to Avoid
To ensure your blueberry crumble cheesecake turns out perfectly, keep these common pitfalls in mind:
- Overmixing the Batter: Avoid overmixing the cheesecake filling, as this can introduce too much air and lead to cracks during baking.
- Skipping the Cooling Step: Allowing the cheesecake to cool gradually at room temperature before refrigerating is crucial for texture.
- Using Cold Ingredients: Make sure all dairy ingredients are at room temperature to ensure a smooth batter.
By being mindful of these tips, you can achieve a beautifully creamy cheesecake every time!
Storing Tips for the Recipe
To keep your blueberry crumble cheesecake fresh:
- Refrigeration: Store leftovers in an airtight container in the refrigerator for up to 5 days.
- Freezing: You can freeze the cheesecake for up to 3 months. Wrap it tightly in plastic wrap and aluminum foil before freezing. Thaw in the refrigerator overnight before serving.
- Prepping Ahead: You can prepare the crumble topping and cheesecake filling a day in advance. Assemble and bake just before serving for the best texture.
Conclusion
In summary, this Blueberry Crumble Cheesecake Recipe combines the rich creaminess of cheesecake with the delightful crunch of a crumble topping, making it a perfect dessert for any occasion. With a few simple ingredients and easy-to-follow steps, you can create a show-stopping dessert that will impress everyone.
We invite you to try this recipe and share your thoughts in the comments section below! Don’t forget to subscribe for more delightful recipes and updates!
FAQs
Q1: Can I use frozen blueberries instead of fresh?
Yes, frozen blueberries can be used in this recipe. Just make sure to thaw them and drain excess moisture before adding them to the filling.
Q2: How can I make this recipe gluten-free?
You can substitute the all-purpose flour with almond flour or a gluten-free flour blend to make this cheesecake gluten-free.
Q3: Can I make this cheesecake ahead of time?
Absolutely! This cheesecake can be made up to two days in advance. Just ensure it’s stored properly in the fridge until you’re ready to serve.
Q4: What should I do if my cheesecake cracks?
If your cheesecake cracks, don’t worry! You can cover it with the crumble topping or a layer of whipped cream to hide imperfections.
Q5: How do I know when the cheesecake is done baking?
The cheesecake is done when the edges are set and the center is slightly jiggly. It will continue to firm up as it cools.
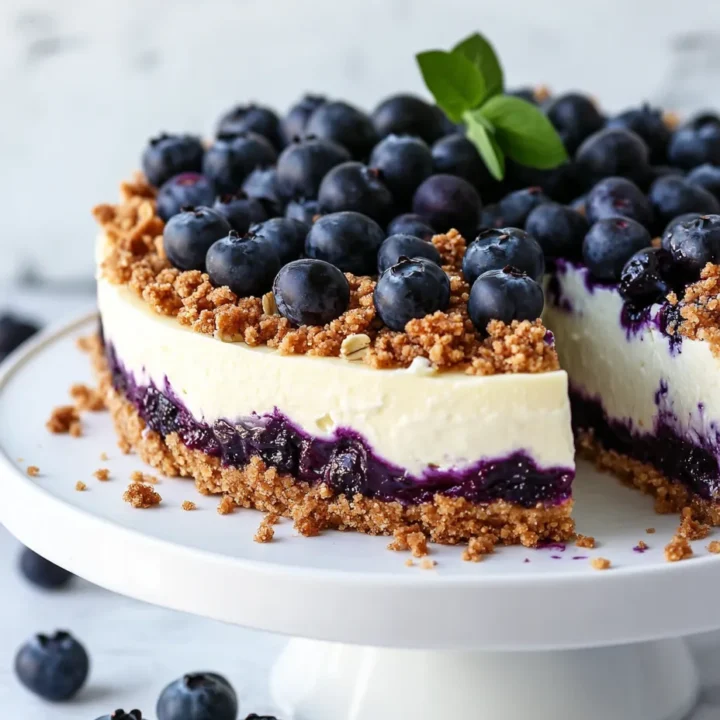
Blueberry Crumble Cheesecake Recipe
Ingredients
- For the Cheesecake Filling:
- 2 cups cream cheese (softened)
- 1 cup granulated sugar
- 1 teaspoon vanilla extract
- 3 large eggs
- 1 cup sour cream (or Greek yogurt for a healthier option)
- 2 cups fresh blueberries (or frozen, thawed)
- For the Crumble Topping:
- 1 cup all-purpose flour
- 1/2 cup rolled oats
- 1/2 cup brown sugar
- 1/2 teaspoon cinnamon
- 1/2 cup unsalted butter (melted)
Instructions
Step 1: Prepare the Crust
Preheat your oven to 325°F (160°C). In a mixing bowl, combine the melted butter, flour, oats, brown sugar, and cinnamon. Mix until crumbly.
Step 2: Form the Crust
Press half of the crumble mixture into the bottom of a 9-inch springform pan to create a solid base. Reserve the other half for the topping.
Step 3: Make the Cheesecake Filling
In a large bowl, beat the softened cream cheese and granulated sugar until smooth. Add the vanilla extract, followed by the eggs one at a time, mixing well after each addition. Finally, fold in the sour cream and blueberries gently.
Step 4: Assemble the Cheesecake
Pour the cheesecake filling over the crust in the springform pan. Sprinkle the reserved crumble topping evenly over the cheesecake layer.
Step 5: Bake
Bake in the preheated oven for 45 minutes, or until the center is set but still slightly jiggly. The edges should be lightly golden.
Step 6: Cool Down
Remove the cheesecake from the oven and let it cool at room temperature for about 15 minutes. Then, refrigerate for at least 4 hours (preferably overnight) to set completely.