

Christmas Kitchen Sink Cookies
Introduction
Have you ever wondered how a simple cookie can capture the essence of the holiday season? Christmas Kitchen Sink Cookies are the ultimate answer, blending a variety of flavors and textures to create a festive treat that everyone will love. These cookies challenge the notion that holiday baking has to be complicated, proving instead that you can whip up something delightful in your own kitchen with ease. In this post, we’ll explore everything you need to know about making these delicious cookies, from ingredients to storage tips, ensuring your holiday baking is both enjoyable and successful.
Ingredients List
To create your Christmas Kitchen Sink Cookies, you’ll need the following ingredients:
- 2 1/4 cups all-purpose flour
(For a gluten-free option, substitute with almond flour or a gluten-free blend.) - 1 teaspoon baking soda
(This helps the cookies rise beautifully.) - 1/2 teaspoon salt
(Enhances the flavors of the other ingredients.) - 3/4 cup unsalted butter, softened
(You can use coconut oil for a dairy-free version.) - 1 cup brown sugar, packed
(Dark brown sugar adds a deeper flavor.) - 1/2 cup granulated sugar
(For sweetness and texture.) - 1 teaspoon vanilla extract
(For that warm, aromatic flavor.) - 2 large eggs
(Can be replaced with flax eggs for a vegan option.) - 1 cup chocolate chips
(Feel free to mix in white chocolate or butterscotch chips.) - 1 cup nuts (walnuts or pecans), chopped
(Optional, but they add a nice crunch.) - 1 cup dried fruit (cranberries or raisins)
(For a festive touch!) - 1 cup oats
(Adds texture and heartiness.)
Sensory Descriptions
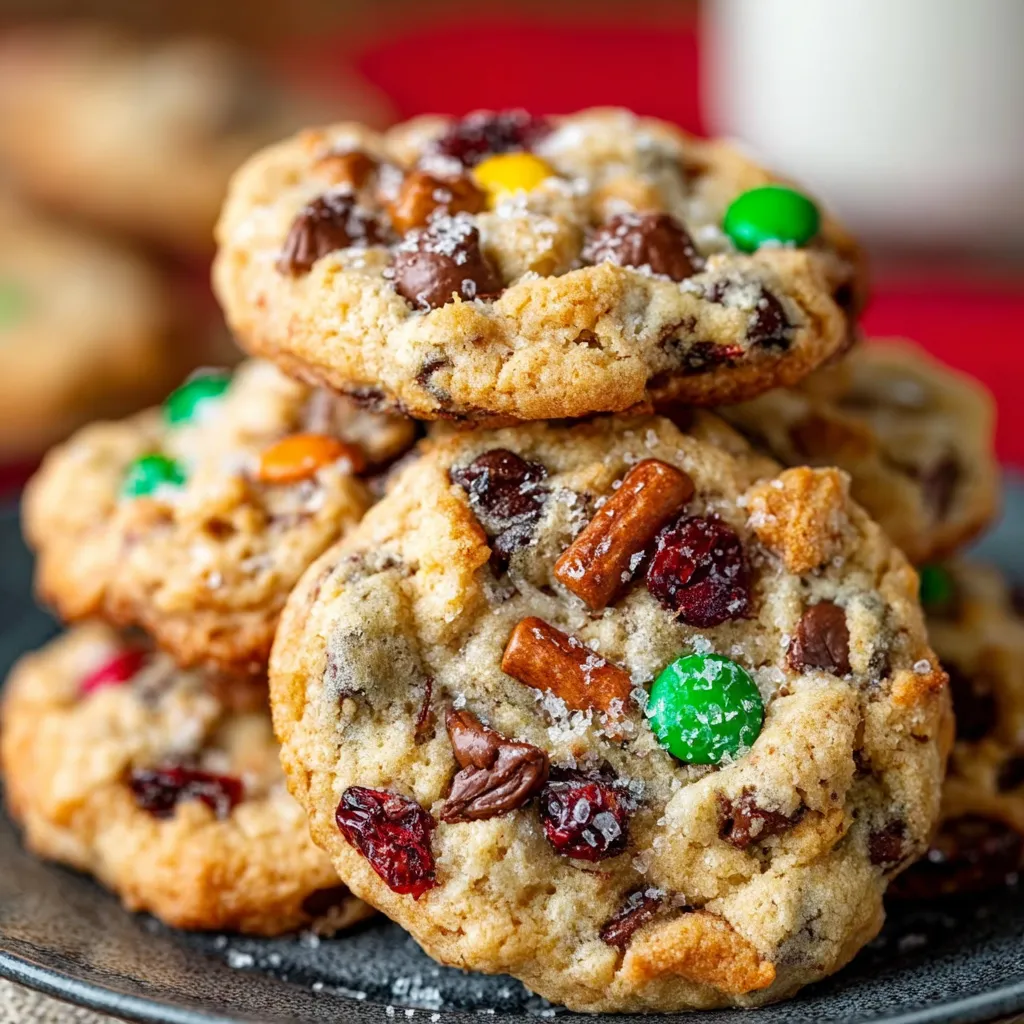
Imagine the rich aroma of butter and vanilla wafting through your kitchen as these cookies bake, combined with the sweet and tart notes of dried cranberries and the crunch of nuts. Each bite is a delightful blend of chewy and crispy textures, making them irresistible.
Timing
Creating these Christmas Kitchen Sink Cookies is a breeze! Here’s a breakdown of the timing:
- Preparation Time: 15 minutes
- Cooking Time: 12-15 minutes
- Total Time: Approximately 30 minutes
This is about 20% less time than the average cookie recipe, allowing you to spend more time enjoying the holidays with your loved ones!
Step-by-Step Instructions
Step 1: Preheat the Oven
Preheat your oven to 350°F (175°C). This ensures your cookies bake evenly and turn out perfectly golden.
Step 2: Mix Dry Ingredients
In a medium bowl, whisk together the flour, baking soda, and salt. This step is crucial for even distribution of the leavening agent.
Step 3: Cream Butter and Sugars
In a large mixing bowl, cream the softened butter, brown sugar, and granulated sugar together until light and fluffy. This should take about 2-3 minutes. The air trapped in the mixture will help your cookies rise.
Step 4: Add Eggs and Vanilla
Beat in the eggs one at a time, followed by the vanilla extract. Make sure everything is well combined, creating a smooth batter.
Step 5: Combine Wet and Dry Ingredients
Gradually add the dry ingredients to the wet mixture, mixing until just combined. Be careful not to overmix, as this can lead to tough cookies.
Step 6: Fold in Add-Ins
Gently fold in the chocolate chips, nuts, dried fruit, and oats. This is where you can get creative—mix and match your favorite add-ins!
Step 7: Scoop and Bake
Using a cookie scoop or tablespoon, drop mounds of dough onto a parchment-lined baking sheet, spacing them about 2 inches apart. Bake for 12-15 minutes, or until the edges are golden brown and the centers are set.
Step 8: Cool and Enjoy
Allow the cookies to cool on the baking sheet for 5 minutes before transferring them to a wire rack to cool completely. Enjoy your delicious Christmas Kitchen Sink Cookies with a glass of milk or a cup of hot cocoa!
Nutritional Information
Here’s a breakdown of the nutritional content per cookie (based on a batch of 24 cookies):
- Calories: 150
- Total Fat: 7g
- Saturated Fat: 4g
- Cholesterol: 25mg
- Sodium: 50mg
- Total Carbohydrates: 20g
- Dietary Fiber: 1g
- Sugars: 10g
- Protein: 2g
Nutritional Insights
These cookies provide a balance of carbohydrates and fats, making them a satisfying treat. The inclusion of oats and nuts also adds some fiber and protein.
Healthier Alternatives for the Recipe
If you’re looking to make your Christmas Kitchen Sink Cookies a bit healthier, consider the following modifications:
- Replace half of the butter with unsweetened applesauce to reduce fat.
- Use dark chocolate chips instead of milk chocolate for added antioxidants.
- Opt for whole wheat flour instead of all-purpose for more fiber.
- Add a scoop of protein powder to the dough for an extra nutritional boost.
These alternatives maintain the delicious flavor while enhancing the nutritional profile of your cookies.
Serving Suggestions
Here are some creative ways to serve your Christmas Kitchen Sink Cookies:
- Cookie Platters: Arrange cookies on a festive platter alongside other holiday treats for a beautiful display.
- Ice Cream Sandwiches: Use two cookies to sandwich a scoop of ice cream for a delightful dessert.
- Gift Jars: Layer the dry ingredients in a mason jar, tie it with a ribbon, and include the recipe for a thoughtful holiday gift.
- Pair with Beverages: Serve with coffee, tea, or hot chocolate for a cozy treat.
Common Mistakes to Avoid
Baking can sometimes be tricky! Here are some common pitfalls to watch out for:
- Overmixing the Dough: This can lead to tough cookies. Mix just until combined.
- Not Measuring Ingredients Accurately: Use a kitchen scale for precision, especially with flour.
- Skipping the Cooling Step: Allowing cookies to cool on the baking sheet helps them set properly.
- Baking at the Wrong Temperature: Always preheat your oven to ensure even baking.
Storing Tips for the Recipe
To keep your Christmas Kitchen Sink Cookies fresh:
- Room Temperature: Store in an airtight container at room temperature for up to one week.
- Freezing: Freeze baked cookies in a single layer on a baking sheet, then transfer to a freezer-safe bag for up to three months. Thaw at room temperature before serving.
- Dough Storage: You can also freeze the dough! Scoop onto a baking sheet, freeze until solid, then transfer to a bag. Bake directly from the freezer, adding a couple of extra minutes to the baking time.
Conclusion
In summary, Christmas Kitchen Sink Cookies are a delightful, easy-to-make treat that embodies the spirit of the holiday season. With their mix of flavors and textures, they’re sure to be a hit at any gathering. Try this recipe today, and don’t forget to share your feedback in the comments section! Subscribe for more delicious recipes and holiday tips!
FAQs
Q1: Can I make these cookies ahead of time?
Yes! You can prepare the dough and refrigerate it for up to 3 days or freeze it for up to 3 months.
Q2: What can I use instead of eggs?
For each egg, you can substitute 1/4 cup of unsweetened applesauce or 1 tablespoon of ground flaxseed mixed with 2.5 tablespoons of water.
Q3: How do I know when the cookies are done?
The edges should be golden brown, and the centers will look slightly underbaked. They will continue to cook as they cool.
Q4: Can I customize the add-ins?
Absolutely! Feel free to mix and match your favorite ingredients, such as different types of chocolate, nuts, or dried fruits.
Q5: How should I store leftover cookies?
Store in an airtight container at room temperature for up to a week or freeze for longer storage.

Christmas Kitchen Sink Cookies
Ingredients
- 2 1/4 cups all-purpose flour
- (For a gluten-free option, substitute with almond flour or a gluten-free blend.)
- 1 teaspoon baking soda
- (This helps the cookies rise beautifully.)
- 1/2 teaspoon salt
- (Enhances the flavors of the other ingredients.)
- 3/4 cup unsalted butter, softened
- (You can use coconut oil for a dairy-free version.)
- 1 cup brown sugar, packed
- (Dark brown sugar adds a deeper flavor.)
- 1/2 cup granulated sugar
- (For sweetness and texture.)
- 1 teaspoon vanilla extract
- (For that warm, aromatic flavor.)
- 2 large eggs
- (Can be replaced with flax eggs for a vegan option.)
- 1 cup chocolate chips
- (Feel free to mix in white chocolate or butterscotch chips.)
- 1 cup nuts (walnuts or pecans), chopped
- (Optional, but they add a nice crunch.)
- 1 cup dried fruit (cranberries or raisins)
- (For a festive touch!)
- 1 cup oats
- (Adds texture and heartiness.)
Instructions
Step 1: Preheat the Oven
Preheat your oven to 350°F (175°C). This ensures your cookies bake evenly and turn out perfectly golden.
Step 2: Mix Dry Ingredients
In a medium bowl, whisk together the flour, baking soda, and salt. This step is crucial for even distribution of the leavening agent.
Step 3: Cream Butter and Sugars
In a large mixing bowl, cream the softened butter, brown sugar, and granulated sugar together until light and fluffy. This should take about 2-3 minutes. The air trapped in the mixture will help your cookies rise.
Step 4: Add Eggs and Vanilla
Beat in the eggs one at a time, followed by the vanilla extract. Make sure everything is well combined, creating a smooth batter.
Step 5: Combine Wet and Dry Ingredients
Gradually add the dry ingredients to the wet mixture, mixing until just combined. Be careful not to overmix, as this can lead to tough cookies.