

Classic French Butter Cookie: A Delicious Journey into French Baking
Introduction
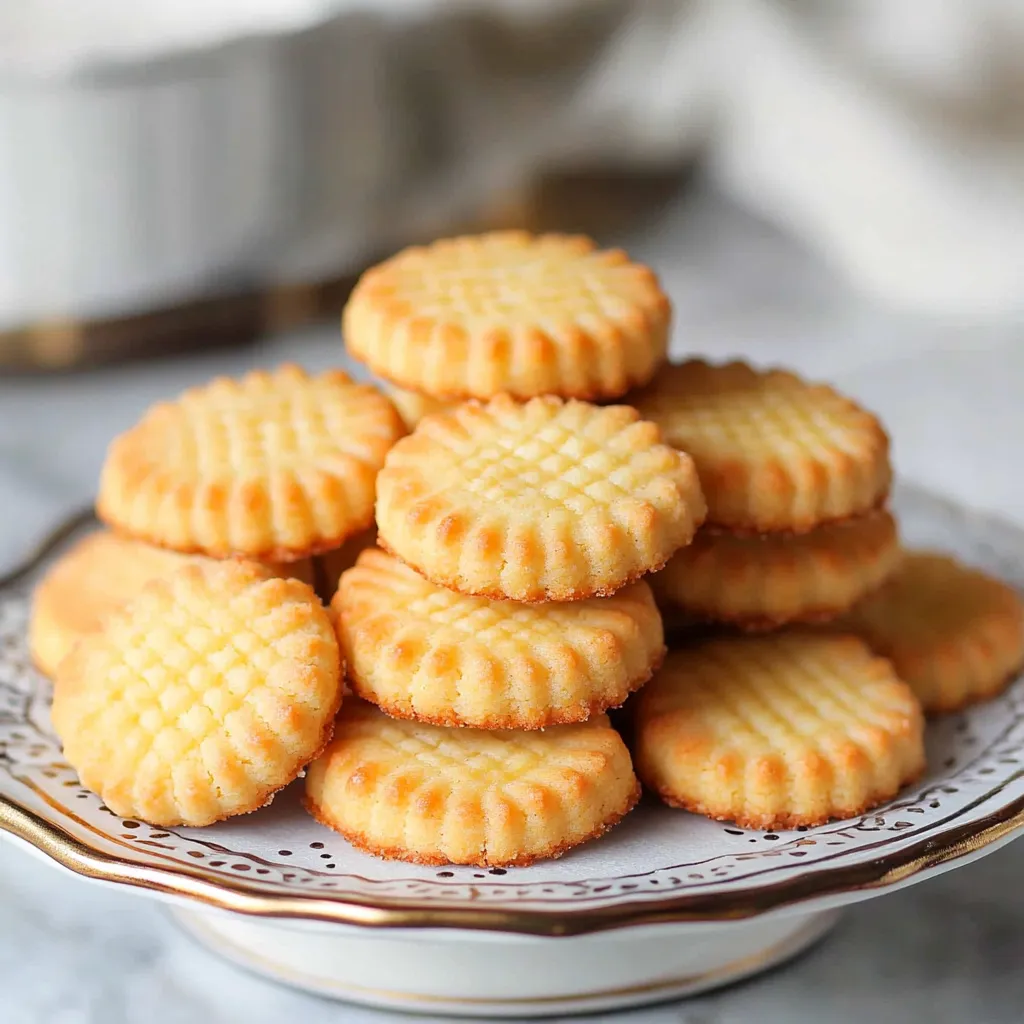
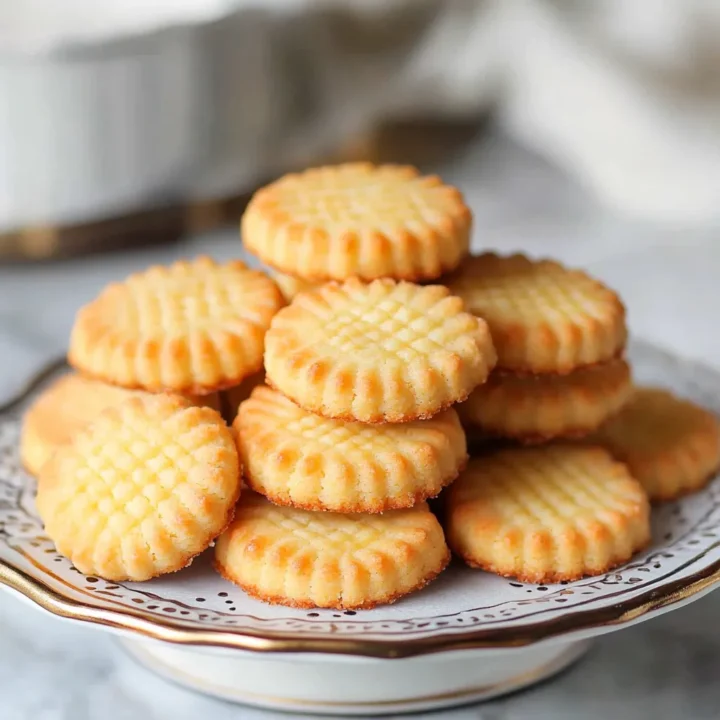
Have you ever wondered what makes a classic French butter cookie so irresistible? These delicate treats, known as sablés, are a staple of French patisserie, celebrated for their rich flavor and crumbly texture. With just a handful of ingredients, you can create cookies that rival those found in the finest bakeries. In this post, we’ll explore the art of making classic French butter cookies, providing you with a step-by-step guide that ensures your baking success.
Ingredients List
To make these delightful cookies, you’ll need the following ingredients:
- Unsalted Butter (1 cup or 226 grams): Softened at room temperature for easy blending.
- Granulated Sugar (1/2 cup or 100 grams): Adds sweetness and helps achieve that perfect crumb.
- Powdered Sugar (1/4 cup or 30 grams): For a melt-in-your-mouth texture.
- All-Purpose Flour (2 cups or 250 grams): The base of your cookies.
- Salt (1/4 teaspoon): Enhances the flavors.
- Vanilla Extract (1 teaspoon): For aromatic sweetness.
- Egg Yolk (1 large): Adds richness and helps bind the ingredients.
Substitutions:
- Butter: You can use coconut oil or a dairy-free butter substitute for a vegan option.
- Flour: Substitute with almond flour for a gluten-free version, but adjust the quantity as needed.
- Sugars: Use coconut sugar for a lower glycemic index alternative.
Timing
Creating classic French butter cookies is a breeze! Here’s how the timing breaks down:
- Preparation Time: 15 minutes
- Chilling Time: 30 minutes (this step is crucial for the best texture)
- Baking Time: 12-15 minutes
- Total Time: Approximately 60 minutes, which is about 20% less time than many traditional cookie recipes.
Step-by-Step Instructions
Step 1: Cream the Butter and Sugars
In a large mixing bowl, combine the softened unsalted butter, granulated sugar, and powdered sugar. Using a hand mixer or stand mixer, cream the mixture on medium speed until it becomes light and fluffy—about 3-5 minutes. This step is essential for incorporating air, which contributes to the cookies’ texture.
Step 2: Add the Egg Yolk and Vanilla
Once your butter and sugars are well combined, add the egg yolk and vanilla extract. Mix until fully incorporated. The egg yolk adds richness, while the vanilla enhances the cookie’s overall flavor.
Step 3: Incorporate the Dry Ingredients
In a separate bowl, whisk together the all-purpose flour and salt. Gradually add this dry mixture to the wet ingredients, mixing on low speed until just combined. Be careful not to overmix, as this can lead to tougher cookies.
Step 4: Chill the Dough
Form the dough into a disc and wrap it in plastic wrap. Refrigerate for at least 30 minutes. Chilling the dough helps the flavors meld and ensures the cookies maintain their shape while baking.
Step 5: Preheat the Oven
While the dough chills, preheat your oven to 350°F (175°C). Line a baking sheet with parchment paper to prevent sticking.
Step 6: Shape the Cookies
Once the dough is chilled, remove it from the refrigerator. On a lightly floured surface, roll out the dough to about 1/4 inch thick. Use cookie cutters to cut out your desired shapes. Place them on the prepared baking sheet, spacing them about 1 inch apart.
Step 7: Bake
Bake the cookies in your preheated oven for 12-15 minutes or until the edges are lightly golden. Keep an eye on them, as baking times can vary based on your oven.
Step 8: Cool and Serve
After baking, allow the cookies to cool on the baking sheet for a few minutes before transferring them to a wire rack to cool completely. Enjoy them plain, or dust with powdered sugar for an elegant touch.
Nutritional Information
Here’s a breakdown of the nutritional content per cookie (based on a yield of 24 cookies):
- Calories: 100
- Total Fat: 6g
- Saturated Fat: 4g
- Cholesterol: 15mg
- Sodium: 50mg
- Total Carbohydrates: 11g
- Dietary Fiber: 0g
- Sugars: 4g
- Protein: 1g
Nutritional Insights
These cookies provide a delightful treat without excessive calories, making them a great choice for a sweet indulgence.
Healthier Alternatives for the Recipe
If you’re looking to make your classic French butter cookies a bit healthier, consider these alternatives:
- Use Whole Wheat Flour: Swap half of the all-purpose flour for whole wheat flour to increase fiber content.
- Reduce Sugar: Cut down the granulated sugar by 25% or substitute with a natural sweetener like honey or maple syrup.
- Add Nuts or Seeds: Incorporating finely chopped nuts or seeds can boost the nutritional profile while adding texture and flavor.
Serving Suggestions
These classic French butter cookies are versatile and can be served in various delightful ways:
- Tea Time Treat: Pair them with a cup of Earl Grey or chamomile tea for a relaxing afternoon break.
- Gift Them: Package them in a decorative tin for a thoughtful homemade gift.
- Dessert Platter: Serve alongside fresh fruit and cheese for a sophisticated dessert platter.
- Ice Cream Sandwiches: Use two cookies to sandwich a scoop of your favorite ice cream for a decadent treat.
Common Mistakes to Avoid
When making classic French butter cookies, keep these common pitfalls in mind:
- Using Cold Butter: Make sure your butter is at room temperature. Cold butter won’t cream properly, leading to dense cookies.
- Skipping Chilling Time: Don’t skip the chilling step! It’s crucial for maintaining the cookies’ shape and enhancing flavor.
- Overbaking: Watch your cookies closely; they should be just golden at the edges. Overbaking can lead to dry cookies.
Storing Tips for the Recipe
To keep your classic French butter cookies fresh:
- Room Temperature: Store in an airtight container at room temperature for up to one week.
- Freezing: For longer storage, freeze the baked cookies in a single layer, then transfer to a freezer-safe bag. They can last for up to three months.
- Dough Storage: If you want to prep ahead, the unbaked dough can also be frozen. Wrap it tightly in plastic wrap and store it in the freezer. Thaw in the refrigerator before rolling out and baking.
Conclusion
In summary, classic French butter cookies are a delightful and simple treat that anyone can make at home. With just a few high-quality ingredients and straightforward steps, you can enjoy these buttery delights in no time. We encourage you to try this recipe, share your thoughts in the comments below, and subscribe for more delicious updates!
FAQs
1. Can I make these cookies gluten-free?
Yes! Substitute the all-purpose flour with a gluten-free flour blend, but be sure to check that it contains xanthan gum or add it separately for the best texture.
2. How do I know when the cookies are done?
The cookies are done when the edges are lightly golden, and the centers appear slightly soft. They will continue to firm up as they cool.
3. Can I add chocolate chips to the recipe?
Absolutely! Fold in 1/2 cup of chocolate chips after mixing in the dry ingredients for a delicious twist.
4. What’s the best way to decorate these cookies?
You can decorate them with melted chocolate, icing, or simply dust with powdered sugar for an elegant finish.
5. How long do these cookies last?
When stored properly in an airtight container, they can last up to a week at room temperature or three months in the freezer.
Classic French Butter Cookie: A Delicious Journey into French Baking
Ingredients
- Unsalted Butter (1 cup or 226 grams): Softened at room temperature for easy blending.
- Granulated Sugar (1/2 cup or 100 grams): Adds sweetness and helps achieve that perfect crumb.
- Powdered Sugar (1/4 cup or 30 grams): For a melt-in-your-mouth texture.
- All-Purpose Flour (2 cups or 250 grams): The base of your cookies.
- Salt (1/4 teaspoon): Enhances the flavors.
- Vanilla Extract (1 teaspoon): For aromatic sweetness.
- Egg Yolk (1 large): Adds richness and helps bind the ingredients.
Instructions
Step 1: Cream the Butter and Sugars
In a large mixing bowl, combine the softened unsalted butter, granulated sugar, and powdered sugar. Using a hand mixer or stand mixer, cream the mixture on medium speed until it becomes light and fluffy—about 3-5 minutes. This step is essential for incorporating air, which contributes to the cookies’ texture.
Step 2: Add the Egg Yolk and Vanilla
Once your butter and sugars are well combined, add the egg yolk and vanilla extract. Mix until fully incorporated. The egg yolk adds richness, while the vanilla enhances the cookie's overall flavor.
Step 3: Incorporate the Dry Ingredients
In a separate bowl, whisk together the all-purpose flour and salt. Gradually add this dry mixture to the wet ingredients, mixing on low speed until just combined. Be careful not to overmix, as this can lead to tougher cookies.
Step 4: Chill the Dough
Form the dough into a disc and wrap it in plastic wrap. Refrigerate for at least 30 minutes. Chilling the dough helps the flavors meld and ensures the cookies maintain their shape while baking.
Step 5: Preheat the Oven
While the dough chills, preheat your oven to 350°F (175°C). Line a baking sheet with parchment paper to prevent sticking.
Step 6: Shape the Cookies
Once the dough is chilled, remove it from the refrigerator. On a lightly floured surface, roll out the dough to about 1/4 inch thick. Use cookie cutters to cut out your desired shapes. Place them on the prepared baking sheet, spacing them about 1 inch apart.
Step 7: Bake
Bake the cookies in your preheated oven for 12-15 minutes or until the edges are lightly golden. Keep an eye on them, as baking times can vary based on your oven.
Step 8: Cool and Serve
After baking, allow the cookies to cool on the baking sheet for a few minutes before transferring them to a wire rack to cool completely. Enjoy them plain, or dust with powdered sugar for an elegant touch.