
Creamy Crunchy Butterfinger Balls: A Delightful Treat for Every Occasion
Introduction
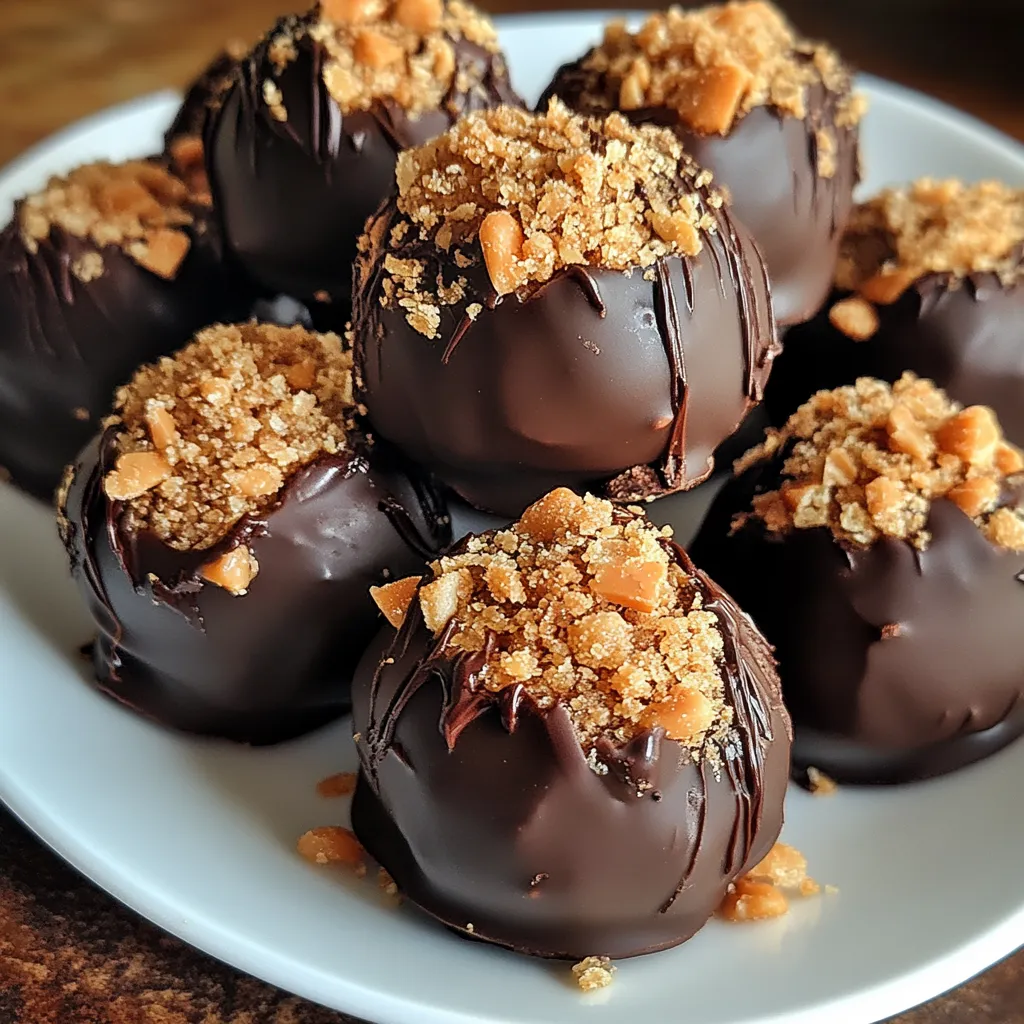
Have you ever wondered how a simple combination of chocolate and peanut butter can create an explosion of flavor that delights the senses? Creamy Crunchy Butterfinger Balls are a perfect example of this culinary magic, bringing together the rich taste of chocolate with the satisfying crunch of Butterfinger candy. This recipe not only satisfies your sweet tooth but also challenges the notion that delicious desserts must be complicated to make. In this blog post, we’ll dive into the details of creating these delightful treats, ensuring you have all the information you need for a successful baking experience.
Ingredients List
To create your Creamy Crunchy Butterfinger Balls, you’ll need the following ingredients:
Essential Ingredients:
- 1 cup of creamy peanut butter: For that smooth texture and rich flavor.
- 1 cup of powdered sugar: To add sweetness and help bind the mixture.
- 1 ½ cups of crushed Butterfinger candy bars: The star ingredient that gives these balls their signature crunch.
- 2 cups of milk chocolate chips: For coating the balls and adding a luscious chocolate layer.
- 1 tablespoon of coconut oil (optional): To help the chocolate melt smoothly.
Suggested Substitutions:
- Nut Butter: Swap creamy peanut butter for almond or cashew butter for a different flavor profile.
- Sugar Alternatives: Use coconut sugar or a sugar substitute like erythritol for a lower-calorie option.
- Dark Chocolate: If you prefer a richer flavor, dark chocolate chips can be used instead of milk chocolate.
Timing
Creating these delectable Butterfinger Balls is quick and easy. Here’s a breakdown of the timing involved:
- Preparation Time: 20 minutes
- Chilling Time: 30 minutes
- Total Time: 50 minutes
This total time is about 30% less than many traditional dessert recipes, making it a quick go-to for unexpected guests or last-minute cravings.
Step-by-Step Instructions
Step 1: Prepare the Mixture
In a large mixing bowl, combine 1 cup of creamy peanut butter and 1 cup of powdered sugar. Mix until fully combined and smooth. The mixture should be thick but manageable.
Step 2: Add the Crunch
Gently fold in 1 ½ cups of crushed Butterfinger candy bars into the peanut butter mixture. This adds the delightful crunch that makes these treats so special.
Step 3: Form the Balls
Using your hands, scoop out about a tablespoon of the mixture and roll it into a ball. Place each ball on a baking sheet lined with parchment paper. Aim for uniform sizes to ensure even coating and presentation.
Step 4: Chill the Balls
Cover the baking sheet with plastic wrap and refrigerate for about 30 minutes. This helps the balls firm up, making them easier to coat in chocolate.
Step 5: Melt the Chocolate
While the balls are chilling, melt 2 cups of milk chocolate chips and 1 tablespoon of coconut oil in a microwave-safe bowl. Heat in 30-second intervals, stirring in between, until smooth and fully melted.
Step 6: Coat the Balls
Once chilled, dip each peanut butter ball into the melted chocolate, ensuring they are fully coated. Use a fork to lift them out, allowing excess chocolate to drip off before returning them to the baking sheet.
Step 7: Final Chill
Return the coated balls to the refrigerator for an additional 15 minutes, or until the chocolate is set.
Nutritional Information
Here’s a breakdown of the nutritional content per Butterfinger ball (assuming the recipe yields about 20 balls):
| Nutrient | Amount per Ball |
|---|---|
| Calories | 150 |
| Total Fat | 9g |
| Saturated Fat | 3g |
| Carbohydrates | 17g |
| Sugars | 10g |
| Protein | 3g |
| Fiber | 1g |
Data Insights
These treats are a bit indulgent, but when enjoyed in moderation, they can fit into a balanced diet!
Healthier Alternatives for the Recipe
If you’re looking to make your Creamy Crunchy Butterfinger Balls a bit healthier, consider these alternatives:
- Use Natural Peanut Butter: Opt for a natural peanut butter without added sugars or oils for a healthier fat profile.
- Replace Powdered Sugar: Use powdered coconut sugar or a sugar-free powdered sweetener to reduce calories.
- Add Protein: Mix in a scoop of your favorite protein powder to boost the nutritional value.
Serving Suggestions
These Butterfinger Balls are versatile and can be enjoyed in various ways:
- Party Platter: Arrange them on a decorative platter with fresh fruits for a colorful dessert table.
- Gift Treats: Package them in a decorative box or jar with a ribbon for a thoughtful homemade gift.
- Pair with Coffee: Serve alongside a hot cup of coffee or tea for a delightful afternoon treat.
Common Mistakes to Avoid
When making Creamy Crunchy Butterfinger Balls, keep these common pitfalls in mind:
- Overmixing the Peanut Butter Mixture: This can lead to a tough texture. Mix just until combined.
- Not Chilling the Balls: Skipping the chilling step can result in a messy coating process. Ensure they are firm before dipping.
- Using Too Hot Chocolate: If the chocolate is too hot, it can melt the peanut butter balls. Allow it to cool slightly before dipping.
Storing Tips for the Recipe
To keep your Creamy Crunchy Butterfinger Balls fresh and delicious:
- Refrigeration: Store them in an airtight container in the refrigerator for up to one week.
- Freezing: For longer storage, freeze the balls in a single layer on a baking sheet, then transfer to a freezer-safe container. They can last up to three months. Just thaw before serving.
Conclusion
In summary, Creamy Crunchy Butterfinger Balls are a delightful treat that combines the rich flavors of chocolate and peanut butter with a satisfying crunch. With simple ingredients and easy steps, they’re perfect for any occasion. Try this recipe today and share your feedback in the comments below. Don’t forget to subscribe for more delicious recipes and updates!
FAQs
1. Can I make these ahead of time?
Yes! You can prepare and store them in the refrigerator for up to a week or freeze them for up to three months.
2. What if I don’t have Butterfinger bars?
You can substitute with any crunchy candy bar, such as Reese’s or Snickers, for a different flavor twist.
3. Are these gluten-free?
Yes, as long as you use gluten-free chocolate chips and ensure the candy bars are gluten-free, this recipe is safe for gluten-sensitive individuals.
4. Can I use dark chocolate instead of milk chocolate?
Absolutely! Dark chocolate will give a richer flavor and can be a healthier option.
5. How do I make these vegan?
To make these vegan, use a plant-based chocolate and replace the peanut butter with a nut or seed butter that suits your dietary needs.

Creamy Crunchy Butterfinger Balls: A Delightful Treat for Every Occasion
Ingredients
- 1 cup of creamy peanut butter: For that smooth texture and rich flavor.
- 1 cup of powdered sugar: To add sweetness and help bind the mixture.
- 1 ½ cups of crushed Butterfinger candy bars: The star ingredient that gives these balls their signature crunch.
- 2 cups of milk chocolate chips: For coating the balls and adding a luscious chocolate layer.
- 1 tablespoon of coconut oil (optional): To help the chocolate melt smoothly.
- Suggested Substitutions:
- Nut Butter: Swap creamy peanut butter for almond or cashew butter for a different flavor profile.
- Sugar Alternatives: Use coconut sugar or a sugar substitute like erythritol for a lower-calorie option.
- Dark Chocolate: If you prefer a richer flavor, dark chocolate chips can be used instead of milk chocolate.
Instructions
Step 1: Prepare the Mixture
In a large mixing bowl, combine 1 cup of creamy peanut butter and 1 cup of powdered sugar. Mix until fully combined and smooth. The mixture should be thick but manageable.
Step 2: Add the Crunch
Gently fold in 1 ½ cups of crushed Butterfinger candy bars into the peanut butter mixture. This adds the delightful crunch that makes these treats so special.
Step 3: Form the Balls
Using your hands, scoop out about a tablespoon of the mixture and roll it into a ball. Place each ball on a baking sheet lined with parchment paper. Aim for uniform sizes to ensure even coating and presentation.
Step 4: Chill the Balls
Cover the baking sheet with plastic wrap and refrigerate for about 30 minutes. This helps the balls firm up, making them easier to coat in chocolate.
Step 5: Melt the Chocolate
While the balls are chilling, melt 2 cups of milk chocolate chips and 1 tablespoon of coconut oil in a microwave-safe bowl. Heat in 30-second intervals, stirring in between, until smooth and fully melted.
Step 6: Coat the Balls
Once chilled, dip each peanut butter ball into the melted chocolate, ensuring they are fully coated. Use a fork to lift them out, allowing excess chocolate to drip off before returning them to the baking sheet.
Step 7: Final Chill
Return the coated balls to the refrigerator for an additional 15 minutes, or until the chocolate is set.