
Cute Christmas Chocolate Trees
Introduction
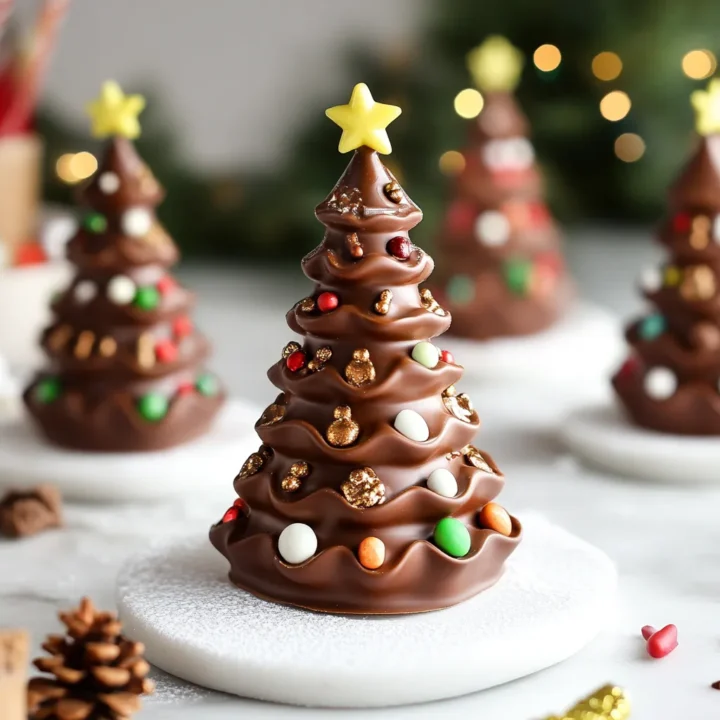
As the holiday season approaches, many of us find ourselves searching for delightful treats that capture the spirit of Christmas. Have you ever wondered how to create a festive dessert that not only looks stunning but also tastes delicious? Enter cute Christmas chocolate trees! These whimsical treats are perfect for holiday gatherings, and they can be surprisingly easy to make. In this blog post, we’ll explore everything you need to know about crafting these adorable chocolate trees, from the ingredients to serving suggestions, ensuring your holiday celebrations are both sweet and memorable.
Ingredients List
To make your cute Christmas chocolate trees, you’ll need the following ingredients:
- Chocolate: 2 cups of high-quality dark or milk chocolate chips (substitute with white chocolate for a different look)
- Piping bags: For decorating (you can use resealable plastic bags if you don’t have piping bags)
- Green food coloring: Optional, for coloring white chocolate
- Edible decorations: Sprinkles, candy stars, or crushed nuts for embellishment
- Sugar cones: 6-8 cones to create the tree shape
- Mini marshmallows: For additional decoration
- Toothpicks: For securing decorations (optional)
Substitution Suggestions
- Chocolate: Use dairy-free chocolate for a vegan option.
- Sugar cones: Consider using waffle cones for a different texture.
- Decorations: Get creative with seasonal candies or dried fruits.
Timing
Creating your cute Christmas chocolate trees is a fun and relatively quick process. Here’s a breakdown of the timing:
- Preparation Time: 30 minutes
- Cooling Time: 60 minutes
- Total Time: 90 minutes, which is about 20% less time than the average holiday dessert recipe.
Step-by-Step Instructions
Step 1: Melt the Chocolate
Begin by melting your chocolate. You can do this using a microwave or a double boiler.
- Microwave Method: Place the chocolate chips in a microwave-safe bowl. Heat in 30-second intervals, stirring in between until smooth.
- Double Boiler Method: Fill a pot with water and bring it to a simmer. Place a heatproof bowl on top, ensuring it doesn’t touch the water. Add the chocolate chips and stir until melted.
Step 2: Prepare the Sugar Cones
While the chocolate is melting, prepare your sugar cones.
- Tip: If you want to make the trees more stable, you can cut the tip of the cone slightly to create a flat base.
Step 3: Dip the Cones
Once the chocolate is melted, dip each sugar cone into the chocolate, ensuring it’s fully coated.
- Pro Tip: Use a spoon to help cover the cone evenly. Let any excess chocolate drip off.
Step 4: Decorate the Trees
Before the chocolate hardens, decorate your trees!
- Add Sprinkles: While the chocolate is still wet, sprinkle your edible decorations generously over the cone.
- Use Toothpicks: If you want to add mini marshmallows or other decorations, use toothpicks to secure them to the tree.
Step 5: Cool the Trees
Place the decorated cones upright in a cup or on a baking sheet lined with parchment paper. Allow them to cool and harden for about 60 minutes.
Step 6: Serve and Enjoy
Once the chocolate has set, your cute Christmas chocolate trees are ready to be served. Arrange them on a festive platter and watch your guests’ eyes light up!

Nutritional Information
Here’s a quick look at the nutritional information per serving (one chocolate tree):
- Calories: 180
- Total Fat: 9g
- Saturated Fat: 5g
- Cholesterol: 5mg
- Sodium: 20mg
- Total Carbohydrates: 25g
- Dietary Fiber: 1g
- Sugars: 18g
- Protein: 2g
Nutritional Insights
These chocolate trees are a treat, so enjoy them in moderation! They can be a fun addition to your holiday dessert table without overwhelming your diet.
Healthier Alternatives for the Recipe
If you’re looking to make your cute Christmas chocolate trees a bit healthier, consider these alternatives:
- Use Dark Chocolate: Dark chocolate contains less sugar and more antioxidants compared to milk chocolate.
- Opt for Natural Sweeteners: Instead of traditional sugar cones, try using whole grain cones or making your own with healthier ingredients.
- Add Fruits: Incorporate dried fruits like cranberries or apricots as decorations for added nutrients.
Serving Suggestions
To make your cute Christmas chocolate trees even more inviting, consider these serving ideas:
- Create a Dessert Table: Arrange the trees alongside other holiday treats like cookies and cupcakes for a festive display.
- Pair with Hot Cocoa: Serve these chocolate trees with a warm mug of hot cocoa for a cozy holiday experience.
- Gift Them: Package a few trees in a clear cellophane bag tied with a ribbon for a sweet holiday gift.
Common Mistakes to Avoid
When making cute Christmas chocolate trees, keep these common pitfalls in mind:
- Not Melting Chocolate Properly: Be careful not to overheat the chocolate, as it can become grainy. Stir frequently and heat in short bursts.
- Overloading on Decorations: While it’s tempting to go all out, too many decorations can make the trees look cluttered. Aim for a balanced look.
- Not Letting Chocolate Set: Patience is key! Ensure the chocolate is fully hardened before serving to avoid a messy presentation.
Storing Tips for the Recipe
If you have leftovers (though we doubt it!), here’s how to store your cute Christmas chocolate trees:
- Room Temperature: Keep them in an airtight container at room temperature for up to a week.
- Refrigeration: If you live in a warmer climate, consider refrigerating them, but allow them to come to room temperature before serving for the best texture.
Conclusion
In summary, creating cute Christmas chocolate trees is a delightful way to celebrate the holiday season. With simple ingredients and easy-to-follow steps, you can craft a festive treat that will impress your friends and family. We invite you to try this recipe, share your feedback in the comments, and subscribe for more delicious updates!
FAQs
Can I use different types of chocolate?
Absolutely! Feel free to experiment with dark, milk, or white chocolate based on your preference.
How long do these chocolate trees last?
When stored properly, they can last up to a week at room temperature.
Can I make these ahead of time?
Yes, you can prepare the chocolate trees a day in advance. Just store them in an airtight container until you’re ready to serve.
What if I don’t have sugar cones?
You can use any cone-shaped item, such as waffle cones or even homemade cake cones, as a substitute.
Are there vegan options for this recipe?
Yes! Use dairy-free chocolate and consider making your own cones with vegan ingredients for a delicious vegan treat.
Cute Christmas Chocolate Trees
Ingredients
- Chocolate: 2 cups of high-quality dark or milk chocolate chips (substitute with white chocolate for a different look)
- Piping bags: For decorating (you can use resealable plastic bags if you don’t have piping bags)
- Green food coloring: Optional, for coloring white chocolate
- Edible decorations: Sprinkles, candy stars, or crushed nuts for embellishment
- Sugar cones: 6-8 cones to create the tree shape
- Mini marshmallows: For additional decoration
- Toothpicks: For securing decorations (optional)
- Substitution Suggestions
- Chocolate: Use dairy-free chocolate for a vegan option.
- Sugar cones: Consider using waffle cones for a different texture.
- Decorations: Get creative with seasonal candies or dried fruits.
Instructions
Step 1: Melt the Chocolate
Begin by melting your chocolate. You can do this using a microwave or a double boiler.
- Microwave Method: Place the chocolate chips in a microwave-safe bowl. Heat in 30-second intervals, stirring in between until smooth.
- Double Boiler Method: Fill a pot with water and bring it to a simmer. Place a heatproof bowl on top, ensuring it doesn’t touch the water. Add the chocolate chips and stir until melted.
Step 2: Prepare the Sugar Cones
While the chocolate is melting, prepare your sugar cones.
- Tip: If you want to make the trees more stable, you can cut the tip of the cone slightly to create a flat base.
Step 3: Dip the Cones
Once the chocolate is melted, dip each sugar cone into the chocolate, ensuring it’s fully coated.
- Pro Tip: Use a spoon to help cover the cone evenly. Let any excess chocolate drip off.
Step 4: Decorate the Trees
Before the chocolate hardens, decorate your trees!
- Add Sprinkles: While the chocolate is still wet, sprinkle your edible decorations generously over the cone.
- Use Toothpicks: If you want to add mini marshmallows or other decorations, use toothpicks to secure them to the tree.
Step 5: Cool the Trees
Place the decorated cones upright in a cup or on a baking sheet lined with parchment paper. Allow them to cool and harden for about 60 minutes.
Step 6: Serve and Enjoy
Once the chocolate has set, your cute Christmas chocolate trees are ready to be served. Arrange them on a festive platter and watch your guests’ eyes light up!