
Homemade Cheese Danish: A Delightful Treat You Can Master at Home
Introduction
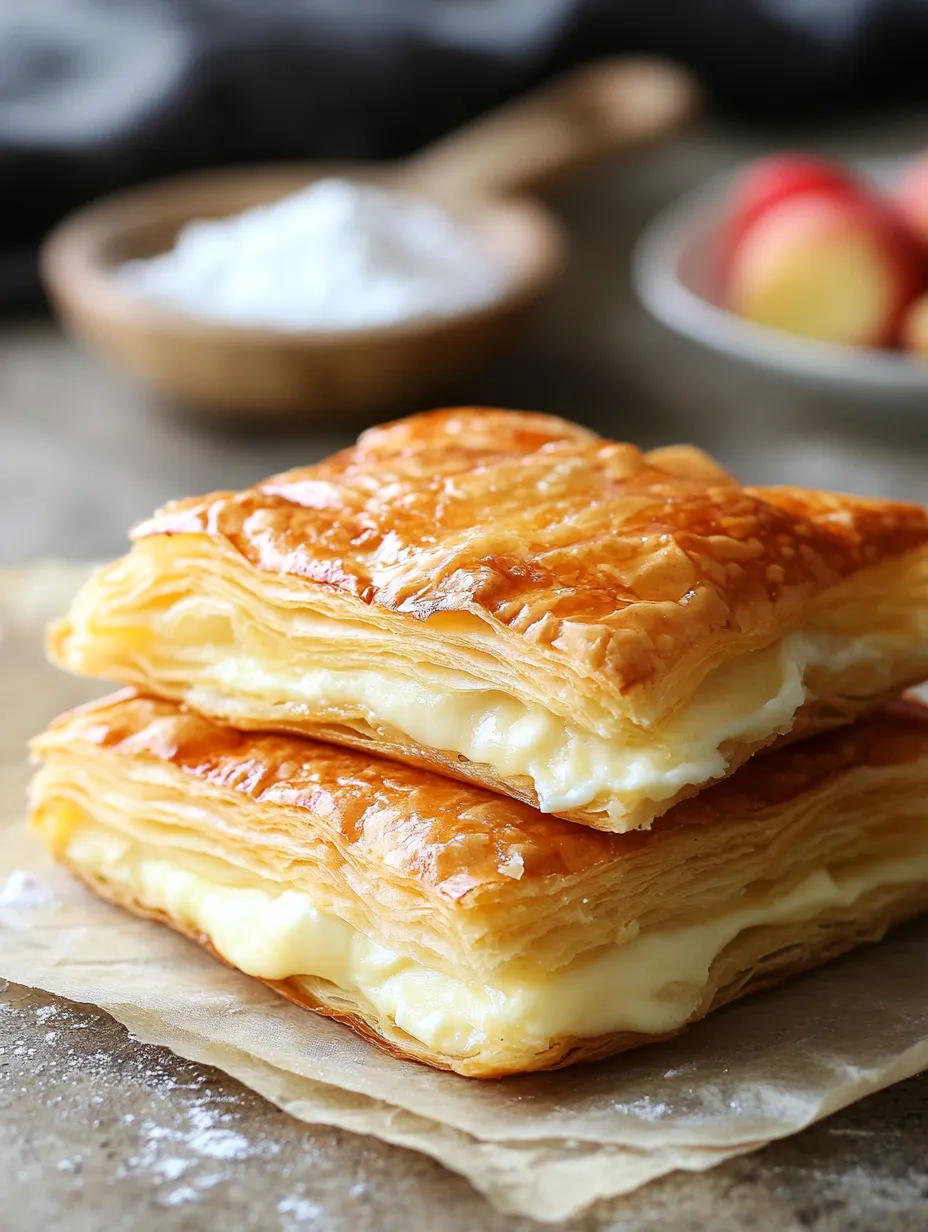
Have you ever wondered how a simple pastry can transform your morning routine into a delightful experience? Homemade Cheese Danish is not just a treat; it’s a culinary masterpiece that combines flaky pastry with creamy cheese filling. Surprisingly, making this delicious pastry at home is easier than you might think. In this post, we’ll explore the ins and outs of crafting your own Cheese Danish, busting the myth that it’s only for professional bakers. Let’s dive into the world of homemade pastries that will impress your family and friends!
Ingredients List
To create your own Homemade Cheese Danish, you’ll need the following ingredients:
For the Pastry:
- 1 cup (125g) all-purpose flour: Essential for the base.
- 1/4 cup (60g) unsalted butter: Adds richness and flavor.
- 1/4 cup (60ml) cold water: Helps bind the dough.
- 1/2 teaspoon salt: Enhances the overall taste.
- 1 tablespoon sugar: Provides a hint of sweetness.
For the Cheese Filling:
- 8 oz (225g) cream cheese: The star of the filling, offering creaminess.
- 1/4 cup (50g) granulated sugar: Sweetens the cheese mixture.
- 1 egg yolk: Adds richness and helps bind the filling.
- 1 teaspoon vanilla extract: Enhances the flavor profile.
Optional Toppings:
- Powdered sugar: For dusting.
- Fresh fruit: Such as berries or sliced peaches for garnish.
Substitutions:
- Cream cheese can be replaced with ricotta or mascarpone for a different flavor.
- All-purpose flour can be substituted with whole wheat flour for a healthier option.
Timing
Creating your Homemade Cheese Danish is a delightful 90-minute journey, which is about 20% less time than many traditional pastry recipes. Here’s the breakdown:
- Preparation Time: 30 minutes
- Cooking Time: 25 minutes
- Cooling Time: 35 minutes
- Total Time: 90 minutes
This efficient time frame allows you to enjoy freshly baked pastries without spending your entire day in the kitchen.
Step-by-Step Instructions
Step 1: Prepare the Pastry Dough
- In a mixing bowl, combine flour, salt, and sugar.
- Add cold butter cut into small pieces. Use a pastry cutter or your fingers to mix until the mixture resembles coarse crumbs.
- Gradually add cold water, stirring until the dough comes together. Do not overmix.
- Shape the dough into a disk, wrap it in plastic wrap, and refrigerate for at least 20 minutes.
Step 2: Make the Cheese Filling
- In a medium bowl, beat the cream cheese until smooth.
- Add sugar, egg yolk, and vanilla extract, mixing until well combined. Set aside.
Step 3: Roll Out the Dough
- Preheat your oven to 375°F (190°C).
- On a floured surface, roll out the chilled dough into a rectangle about 1/8 inch thick.
- Cut the dough into squares (about 4×4 inches).
Step 4: Assemble the Danish
- Place a tablespoon of cheese filling in the center of each square.
- Fold the corners of the dough over the filling, pinching to seal. Alternatively, you can leave the center open for a more rustic look.
- Place the assembled pastries on a baking sheet lined with parchment paper.
Step 5: Bake
- Bake in the preheated oven for 20-25 minutes or until golden brown.
- Remove from the oven and let cool for about 10 minutes.
Step 6: Serve
- Dust with powdered sugar and serve warm, optionally garnished with fresh fruit.
Nutritional Information
Here’s a breakdown of the nutritional content per serving (1 Danish):
- Calories: 250
- Total Fat: 15g
- Saturated Fat: 9g
- Cholesterol: 50mg
- Sodium: 150mg
- Total Carbohydrates: 25g
- Dietary Fiber: 1g
- Sugars: 5g
- Protein: 4g
Note: Nutritional values may vary based on ingredient brands and preparation methods.
Healthier Alternatives for the Recipe
If you’re looking for healthier options, consider these modifications:
- Use Greek yogurt instead of cream cheese for a lower-fat filling with added protein.
- Replace granulated sugar with honey or maple syrup for a natural sweetener.
- Incorporate whole grain flour to increase fiber content.
These substitutions maintain the delicious flavor while enhancing the nutritional profile of your Cheese Danish.
Serving Suggestions
Your Homemade Cheese Danish can be served in various delightful ways:
- Pair with a cup of freshly brewed coffee or tea for a perfect breakfast.
- Serve as a dessert with a scoop of vanilla ice cream.
- Top with seasonal fruits like strawberries or blueberries for a refreshing twist.
Feel free to get creative with your presentations, making each serving a work of art!
Common Mistakes to Avoid
Here are some common pitfalls when making Cheese Danish and how to avoid them:
- Overworking the dough: This can lead to tough pastries. Mix just until combined and handle the dough gently.
- Using warm ingredients: Ensure your butter and cream cheese are cold to achieve that flaky texture.
- Not preheating the oven: Always preheat to ensure even baking.
By keeping these tips in mind, you can avoid common mistakes and create a perfect pastry every time.
Storing Tips for the Recipe
To keep your Homemade Cheese Danish fresh:
- Storing Leftovers: Place in an airtight container and refrigerate for up to 3 days.
- Freezing: Freeze unbaked pastries on a baking sheet, then transfer to a freezer bag. Bake directly from frozen, adding a few extra minutes to the baking time.
- Reheating: Warm in the oven at 350°F (175°C) for about 10 minutes to restore crispness.
These tips will help maintain the flavor and texture of your pastries for later enjoyment.
Conclusion
In summary, making Homemade Cheese Danish is a rewarding experience that brings the bakery to your kitchen. With simple ingredients and straightforward steps, you can create a delicious pastry that will impress anyone. Try this recipe today, and don’t forget to share your feedback in the comments or subscribe for more delightful recipes!
FAQs
Q1: Can I make the dough ahead of time?
A1: Yes! You can prepare the dough a day in advance and store it in the refrigerator.
Q2: What can I use instead of cream cheese?
A2: Ricotta or mascarpone are great alternatives that offer a different flavor profile.
Q3: How do I know when the Danish is done baking?
A3: The pastry should be golden brown and flaky. A toothpick inserted into the filling should come out clean.
Q4: Can I add fruit to the cheese filling?
A4: Absolutely! Adding small amounts of fruit like blueberries or raspberries can enhance the flavor.
Q5: Is this recipe suitable for freezing?
A5: Yes, you can freeze both unbaked and baked Cheese Danish. Just follow the storing tips provided above.

Homemade Cheese Danish: A Delightful Treat You Can Master at Home
Ingredients
- For the Pastry:
- 1 cup (125g) all-purpose flour: Essential for the base.
- 1/4 cup (60g) unsalted butter: Adds richness and flavor.
- 1/4 cup (60ml) cold water: Helps bind the dough.
- 1/2 teaspoon salt: Enhances the overall taste.
- 1 tablespoon sugar: Provides a hint of sweetness.
- For the Cheese Filling:
- 8 oz (225g) cream cheese: The star of the filling, offering creaminess.
- 1/4 cup (50g) granulated sugar: Sweetens the cheese mixture.
- 1 egg yolk: Adds richness and helps bind the filling.
- 1 teaspoon vanilla extract: Enhances the flavor profile.
- Optional Toppings:
- Powdered sugar: For dusting.
- Fresh fruit: Such as berries or sliced peaches for garnish.
- Substitutions:
- Cream cheese can be replaced with ricotta or mascarpone for a different flavor.
- All-purpose flour can be substituted with whole wheat flour for a healthier option.
Instructions
- In a mixing bowl, combine flour, salt, and sugar.
- Add cold butter cut into small pieces. Use a pastry cutter or your fingers to mix until the mixture resembles coarse crumbs.
- Gradually add cold water, stirring until the dough comes together. Do not overmix.
- Shape the dough into a disk, wrap it in plastic wrap, and refrigerate for at least 20 minutes.
- In a medium bowl, beat the cream cheese until smooth.
- Add sugar, egg yolk, and vanilla extract, mixing until well combined. Set aside.
- Preheat your oven to 375°F (190°C).
- On a floured surface, roll out the chilled dough into a rectangle about 1/8 inch thick.
- Cut the dough into squares (about 4x4 inches).
- Place a tablespoon of cheese filling in the center of each square.
- Fold the corners of the dough over the filling, pinching to seal. Alternatively, you can leave the center open for a more rustic look.
- Place the assembled pastries on a baking sheet lined with parchment paper.
- Bake in the preheated oven for 20-25 minutes or until golden brown.
- Remove from the oven and let cool for about 10 minutes.
- Dust with powdered sugar and serve warm, optionally garnished with fresh fruit.