
Japanese Cotton Cheesecake: A Fluffy Delight
Introduction
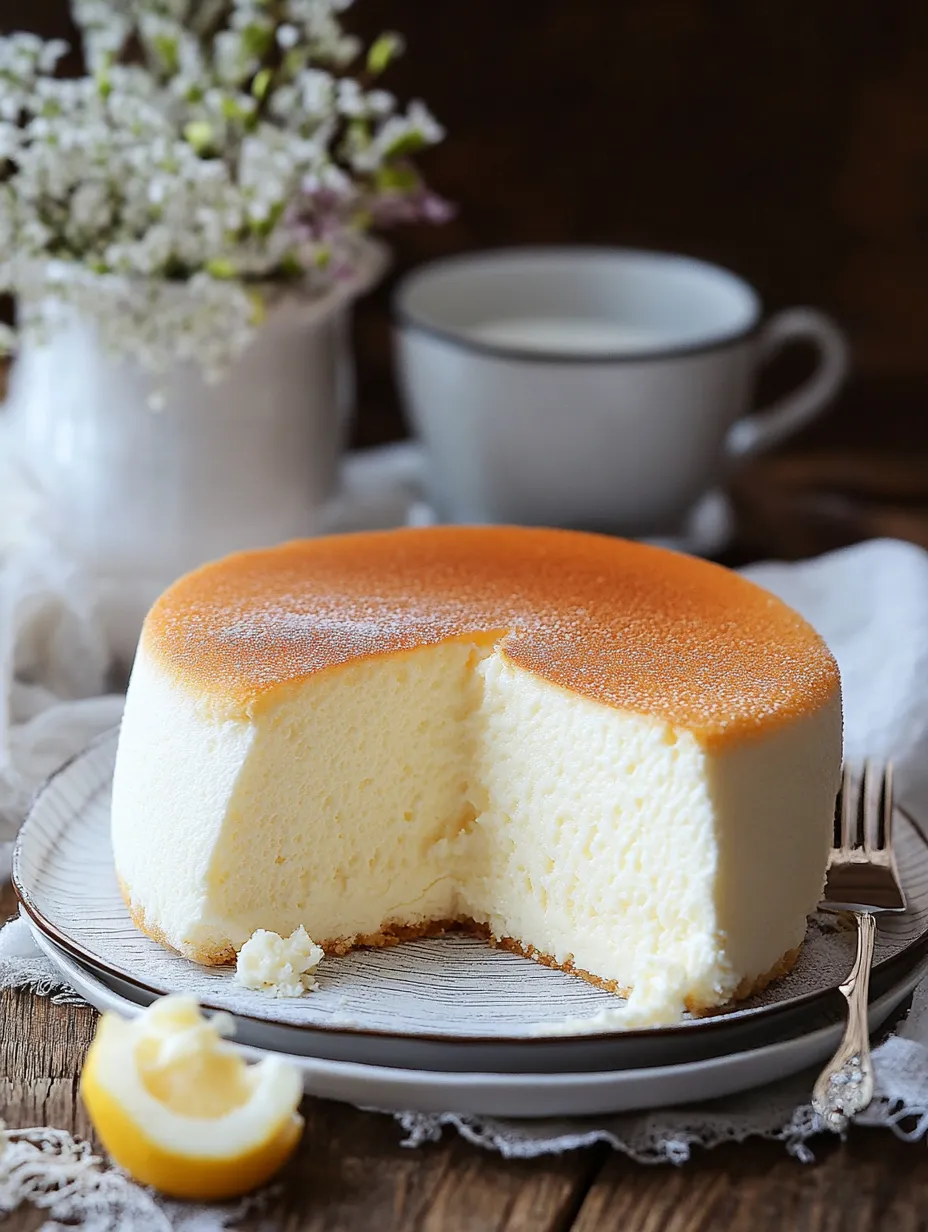
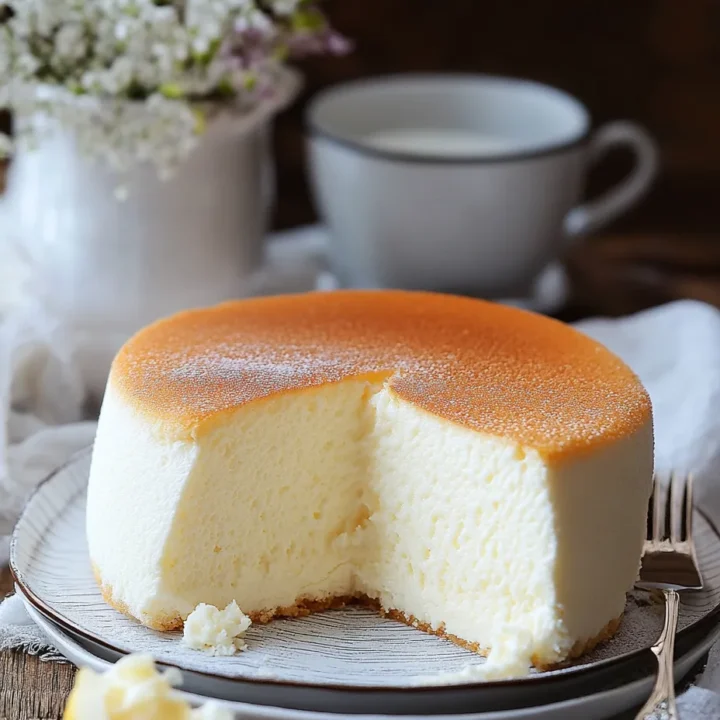
Have you ever wondered why Japanese cotton cheesecake has taken the dessert world by storm? This light, airy treat is not just another cake; it’s a culinary phenomenon that combines the richness of traditional cheesecake with a soufflé-like texture. The secret lies in its unique preparation and ingredients, which create a melt-in-your-mouth experience. In this blog post, we will dive deep into the world of Japanese cotton cheesecake, exploring its history, ingredients, and step-by-step instructions to help you create this delightful dessert at home. Let’s embark on this delicious journey together!
Ingredients List
To make the perfect Japanese cotton cheesecake, you’ll need the following ingredients:
- Cream Cheese (8 oz): Use full-fat cream cheese for a rich flavor. If you’re looking for a lighter option, low-fat cream cheese can work, but the texture may differ slightly.
- Granulated Sugar (3/4 cup): This sweetens the cake and helps achieve the right texture.
- Eggs (4 large): Room temperature eggs whip better and help create that fluffy texture.
- Milk (1/4 cup): Whole milk adds creaminess, but you can substitute almond or soy milk for a dairy-free version.
- Unsalted Butter (1/4 cup): Melted, for richness. Coconut oil can be a great alternative for a dairy-free option.
- Cake Flour (1/2 cup): This gives the cake its light texture. If unavailable, all-purpose flour can be used, but the cake may be denser.
- Baking Powder (1 tsp): Helps the cake rise.
- Salt (a pinch): Enhances flavor.
- Lemon Juice (1 tsp): Adds a hint of brightness.
Timing
Creating your Japanese cotton cheesecake will take approximately 90 minutes from start to finish, which is about 20% less time than many traditional cheesecakes. Here’s the breakdown:
- Preparation Time: 30 minutes
- Cooking Time: 30 minutes
- Cooling Time: 30 minutes (or longer for best results)
Step-by-Step Instructions
Step 1: Preheat the Oven
Preheat your oven to 320°F (160°C). This ensures that your cheesecake bakes evenly, creating that signature fluffy texture.
Step 2: Prepare the Baking Pan
Line the bottom of an 8-inch round cake pan with parchment paper and grease the sides lightly. This will prevent sticking and make it easier to remove the cheesecake once baked.
Step 3: Mix the Cream Cheese Mixture
In a medium bowl, combine the cream cheese and melted butter. Use a hand mixer to blend until smooth and creamy. This step is crucial for achieving a lump-free batter.
Step 4: Add Sugar and Eggs
Gradually add the granulated sugar to the cream cheese mixture, mixing until well combined. Then, add the eggs one at a time, ensuring each egg is fully incorporated before adding the next.
Step 5: Incorporate Dry Ingredients
Sift the cake flour, baking powder, and salt together. Gently fold this mixture into the wet ingredients using a spatula. Be careful not to overmix; you want to keep as much air in the batter as possible.
Step 6: Add Milk and Lemon Juice
Slowly mix in the milk and lemon juice until just combined. The batter should be smooth and slightly runny, reminiscent of pancake batter.
Step 7: Bake the Cheesecake
Pour the batter into the prepared pan. Place the pan in a larger baking dish filled with hot water (a water bath) to help the cheesecake bake evenly. Bake for 30 minutes or until the top is lightly golden and a toothpick inserted comes out clean.
Step 8: Cool the Cheesecake
Turn off the oven and crack the door open, allowing the cheesecake to cool gradually for about 30 minutes. This helps prevent cracking. Once cooled, refrigerate for at least 2 hours before serving.
Nutritional Information
Here’s a quick glance at the nutritional breakdown per serving (1 slice, assuming 8 servings):
- Calories: 220
- Protein: 6g
- Carbohydrates: 23g
- Fat: 12g
- Fiber: 0g
- Sugar: 10g
This cheesecake is a delightful treat, balancing indulgence with a relatively moderate calorie count compared to other desserts.
Healthier Alternatives for the Recipe
If you’re looking to make your Japanese cotton cheesecake a bit lighter or cater to specific dietary needs, consider these alternatives:
- Sugar Alternatives: Use coconut sugar or a sugar substitute like erythritol for a lower-calorie option.
- Dairy-Free Options: Substitute cream cheese with cashew cream or a dairy-free cream cheese alternative.
- Gluten-Free Version: Replace cake flour with a gluten-free flour blend.
Serving Suggestions
Japanese cotton cheesecake is versatile and can be served in various delightful ways:
- Fresh Berries: Top with strawberries, blueberries, or raspberries for a burst of freshness.
- Whipped Cream: A dollop of lightly sweetened whipped cream adds a luxurious touch.
- Matcha Powder: Dust with matcha for a unique flavor twist and a beautiful presentation.
- Chocolate Sauce: Drizzle with chocolate sauce for an indulgent treat.
Common Mistakes to Avoid
- Overmixing the Batter: This can lead to a dense cake. Mix just until combined.
- Skipping the Water Bath: It’s essential for even baking and prevents cracks.
- Not Cooling Gradually: Rapid temperature changes can cause the cheesecake to crack.
Storing Tips for the Recipe
To store your Japanese cotton cheesecake:
- Refrigeration: Keep it in an airtight container in the fridge for up to 3 days.
- Freezing: Wrap slices in plastic wrap and place them in a freezer-safe container for up to 2 months. Thaw in the fridge overnight before serving.
Conclusion
Japanese cotton cheesecake is a delightful dessert that combines simplicity with elegance. With its fluffy texture and rich flavor, it’s a treat worth trying. We invite you to recreate this recipe, share your results in the comments, and subscribe for more delicious updates!
FAQs
Q1: Can I make this cheesecake ahead of time?
A1: Absolutely! This cheesecake can be made a day in advance. Just ensure it’s stored properly in the fridge.
Q2: Why did my cheesecake crack?
A2: Cracks often occur due to rapid temperature changes. Always cool the cheesecake gradually in the oven with the door ajar.
Q3: Can I use a different size pan?
A3: Yes, but keep in mind that baking times may vary. A smaller pan will result in a taller cake, while a larger pan will yield a shorter cake.
Q4: Is it necessary to use a water bath?
A4: While not strictly necessary, a water bath helps regulate the temperature and prevents the cheesecake from drying out or cracking.
Q5: What’s the best way to serve leftovers?
A5: Enjoy leftovers chilled or at room temperature. Pair with fresh fruit or a light dusting of powdered sugar for a delicious treat!
Japanese Cotton Cheesecake: A Fluffy Delight
Ingredients
- Cream Cheese (8 oz): Use full-fat cream cheese for a rich flavor. If you're looking for a lighter option, low-fat cream cheese can work, but the texture may differ slightly.
- Granulated Sugar (3/4 cup): This sweetens the cake and helps achieve the right texture.
- Eggs (4 large): Room temperature eggs whip better and help create that fluffy texture.
- Milk (1/4 cup): Whole milk adds creaminess, but you can substitute almond or soy milk for a dairy-free version.
- Unsalted Butter (1/4 cup): Melted, for richness. Coconut oil can be a great alternative for a dairy-free option.
- Cake Flour (1/2 cup): This gives the cake its light texture. If unavailable, all-purpose flour can be used, but the cake may be denser.
- Baking Powder (1 tsp): Helps the cake rise.
- Salt (a pinch): Enhances flavor.
- Lemon Juice (1 tsp): Adds a hint of brightness.
Instructions
Step 1: Preheat the Oven
Preheat your oven to 320°F (160°C). This ensures that your cheesecake bakes evenly, creating that signature fluffy texture.
Step 2: Prepare the Baking Pan
Line the bottom of an 8-inch round cake pan with parchment paper and grease the sides lightly. This will prevent sticking and make it easier to remove the cheesecake once baked.
Step 3: Mix the Cream Cheese Mixture
In a medium bowl, combine the cream cheese and melted butter. Use a hand mixer to blend until smooth and creamy. This step is crucial for achieving a lump-free batter.
Step 4: Add Sugar and Eggs
Gradually add the granulated sugar to the cream cheese mixture, mixing until well combined. Then, add the eggs one at a time, ensuring each egg is fully incorporated before adding the next.
Step 5: Incorporate Dry Ingredients
Sift the cake flour, baking powder, and salt together. Gently fold this mixture into the wet ingredients using a spatula. Be careful not to overmix; you want to keep as much air in the batter as possible.
Step 6: Add Milk and Lemon Juice
Slowly mix in the milk and lemon juice until just combined. The batter should be smooth and slightly runny, reminiscent of pancake batter.
Step 7: Bake the Cheesecake
Pour the batter into the prepared pan. Place the pan in a larger baking dish filled with hot water (a water bath) to help the cheesecake bake evenly. Bake for 30 minutes or until the top is lightly golden and a toothpick inserted comes out clean.
Step 8: Cool the Cheesecake
Turn off the oven and crack the door open, allowing the cheesecake to cool gradually for about 30 minutes. This helps prevent cracking. Once cooled, refrigerate for at least 2 hours before serving.