

Mini Pineapple Upside Down Cheesecakes
Introduction
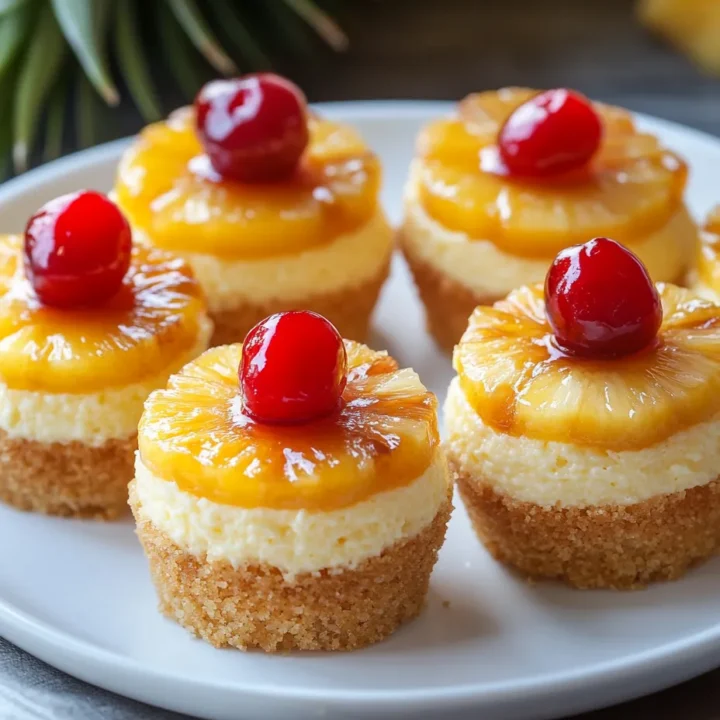
Have you ever wondered how to combine the classic flavors of pineapple upside-down cake with the creamy richness of cheesecake? If so, you’re in for a treat! Today, we’re diving into the delightful world of Mini Pineapple Upside Down Cheesecakes. This recipe not only satisfies your sweet tooth but also offers a fun twist on a beloved dessert. With a prep time of just 30 minutes and a baking time of 25 minutes, these mini cheesecakes are a quick and delicious way to impress your guests. Let’s explore how to create these mouthwatering treats!
Ingredients List
To make these delightful mini cheesecakes, you’ll need the following ingredients:
Cheesecake Base:
- 1 cup graham cracker crumbs (for a gluten-free option, use gluten-free crackers)
- 4 tablespoons unsalted butter, melted
- 2 tablespoons sugar (can substitute with coconut sugar for a healthier option)
Cheesecake Filling:
- 16 oz cream cheese, softened (try Neufchâtel cheese for a lighter version)
- 1 cup sugar (or use honey for a natural sweetener)
- 1 teaspoon vanilla extract
- 2 large eggs
Pineapple Topping:
- 1 can (8 oz) sliced pineapple in juice (fresh pineapple works great too!)
- Maraschino cherries (optional, for garnish)
- 1/4 cup brown sugar (to enhance the caramel flavor)
Additional Equipment:
- 12-cup muffin tin
- Cupcake liners
Timing
This recipe is not only delicious but also efficient. Here’s a breakdown of the timing:
- Preparation Time: 30 minutes
- Cooking Time: 25 minutes
- Total Time: 55 minutes
This is approximately 20% less time than the average cheesecake recipe, making it perfect for a quick dessert!
Step-by-Step Instructions
Step 1: Prepare the Muffin Tin
Preheat your oven to 325°F (160°C). Line a 12-cup muffin tin with cupcake liners to make removal easy.
Step 2: Make the Crust
In a mixing bowl, combine the graham cracker crumbs, melted butter, and sugar. Mix until the crumbs are evenly coated.
Step 3: Form the Crusts
Spoon about 1 tablespoon of the crumb mixture into each muffin cup. Press down firmly with the back of a spoon to create an even layer.
Step 4: Prepare the Filling
In another bowl, beat the softened cream cheese until smooth. Gradually add the sugar and vanilla extract, mixing until combined. Add the eggs one at a time, mixing well after each addition.
Step 5: Assemble the Cheesecakes
Pour the cheesecake filling over the crusts, filling each cup about 3/4 full.
Step 6: Add Pineapple Topping
Drain the pineapple slices and cut them into smaller pieces. Place a few pieces on top of each cheesecake, and sprinkle with brown sugar for added flavor.
Step 7: Bake
Bake in the preheated oven for 25 minutes or until the edges are set and the centers are slightly jiggly.
Step 8: Cool and Chill
Remove from the oven and let cool in the tin for 10 minutes. Then, transfer to a wire rack to cool completely. Refrigerate for at least 2 hours before serving for the best flavor.
Nutritional Information
Here’s a quick look at the nutritional breakdown per mini cheesecake:
- Calories: 220
- Total Fat: 14g
- Saturated Fat: 8g
- Cholesterol: 50mg
- Sodium: 150mg
- Total Carbohydrates: 20g
- Dietary Fiber: 1g
- Sugars: 12g
- Protein: 3g
Note: Nutritional values may vary based on ingredient substitutions.
Healthier Alternatives for the Recipe
If you’re looking to make your Mini Pineapple Upside Down Cheesecakes a bit healthier, consider these alternatives:
- Use Greek yogurt instead of cream cheese for a lighter filling.
- Opt for a nut crust made from almonds or walnuts instead of graham crackers for added nutrients.
- Replace sugar with a natural sweetener like stevia or monk fruit to reduce calories.
Serving Suggestions
These mini cheesecakes are perfect for various occasions! Here are some creative serving suggestions:
- Tropical Fruit Platter: Serve alongside fresh tropical fruits like mango, kiwi, and strawberries for a refreshing contrast.
- Whipped Cream: Top with a dollop of whipped cream or coconut whipped cream for added richness.
- Chocolate Drizzle: Drizzle with melted dark chocolate for a decadent twist.
Common Mistakes to Avoid
To ensure your Mini Pineapple Upside Down Cheesecakes turn out perfectly, avoid these common pitfalls:
- Overmixing the batter: This can lead to dense cheesecakes. Mix just until combined.
- Skipping the chilling step: Allowing the cheesecakes to chill enhances their flavor and texture.
- Not using room temperature ingredients: Cold ingredients can lead to lumps in your batter, so make sure everything is at room temperature.
Storing Tips for the Recipe
To keep your mini cheesecakes fresh, follow these storage tips:
- Refrigeration: Store leftovers in an airtight container in the fridge for up to 5 days.
- Freezing: These cheesecakes can be frozen for up to 2 months. Wrap each cheesecake in plastic wrap and then in foil to prevent freezer burn.
- Thawing: To enjoy frozen cheesecakes, simply transfer them to the fridge to thaw overnight.
Conclusion
In summary, these Mini Pineapple Upside Down Cheesecakes are a delightful blend of flavors and textures that are sure to impress. With a quick preparation time and simple ingredients, they are perfect for any occasion. We encourage you to try this recipe, share your feedback in the comments, and subscribe for more delicious updates!
FAQs
Can I make these cheesecakes ahead of time?
Yes! These mini cheesecakes can be made a day in advance and stored in the refrigerator.
Can I use a different fruit instead of pineapple?
Absolutely! You can substitute with peaches, cherries, or berries for a different flavor profile.
How do I know when the cheesecakes are done?
The edges should be set, but the center will still have a slight jiggle. They will firm up as they cool.
Can I use dairy-free cream cheese?
Yes, there are several great dairy-free cream cheese options available that work well in this recipe.
What should I do if my cheesecakes crack on top?
Cracking can occur due to overbaking. Be sure to monitor the baking time closely and remove them from the oven when they are just set.
Mini Pineapple Upside Down Cheesecakes
Ingredients
- Cheesecake Base:
- 1 cup graham cracker crumbs (for a gluten-free option, use gluten-free crackers)
- 4 tablespoons unsalted butter, melted
- 2 tablespoons sugar (can substitute with coconut sugar for a healthier option)
- Cheesecake Filling:
- 16 oz cream cheese, softened (try Neufchâtel cheese for a lighter version)
- 1 cup sugar (or use honey for a natural sweetener)
- 1 teaspoon vanilla extract
- 2 large eggs
- Pineapple Topping:
- 1 can (8 oz) sliced pineapple in juice (fresh pineapple works great too!)
- Maraschino cherries (optional, for garnish)
- 1/4 cup brown sugar (to enhance the caramel flavor)
- Additional Equipment:
- 12-cup muffin tin
- Cupcake liners
Instructions
Step 1: Prepare the Muffin Tin
Preheat your oven to 325°F (160°C). Line a 12-cup muffin tin with cupcake liners to make removal easy.
Step 2: Make the Crust
In a mixing bowl, combine the graham cracker crumbs, melted butter, and sugar. Mix until the crumbs are evenly coated.
Step 3: Form the Crusts
Spoon about 1 tablespoon of the crumb mixture into each muffin cup. Press down firmly with the back of a spoon to create an even layer.
Step 4: Prepare the Filling
In another bowl, beat the softened cream cheese until smooth. Gradually add the sugar and vanilla extract, mixing until combined. Add the eggs one at a time, mixing well after each addition.
Step 5: Assemble the Cheesecakes
Pour the cheesecake filling over the crusts, filling each cup about 3/4 full.
Step 6: Add Pineapple Topping
Drain the pineapple slices and cut them into smaller pieces. Place a few pieces on top of each cheesecake, and sprinkle with brown sugar for added flavor.
Step 7: Bake
Bake in the preheated oven for 25 minutes or until the edges are set and the centers are slightly jiggly.
Step 8: Cool and Chill
Remove from the oven and let cool in the tin for 10 minutes. Then, transfer to a wire rack to cool completely. Refrigerate for at least 2 hours before serving for the best flavor.