

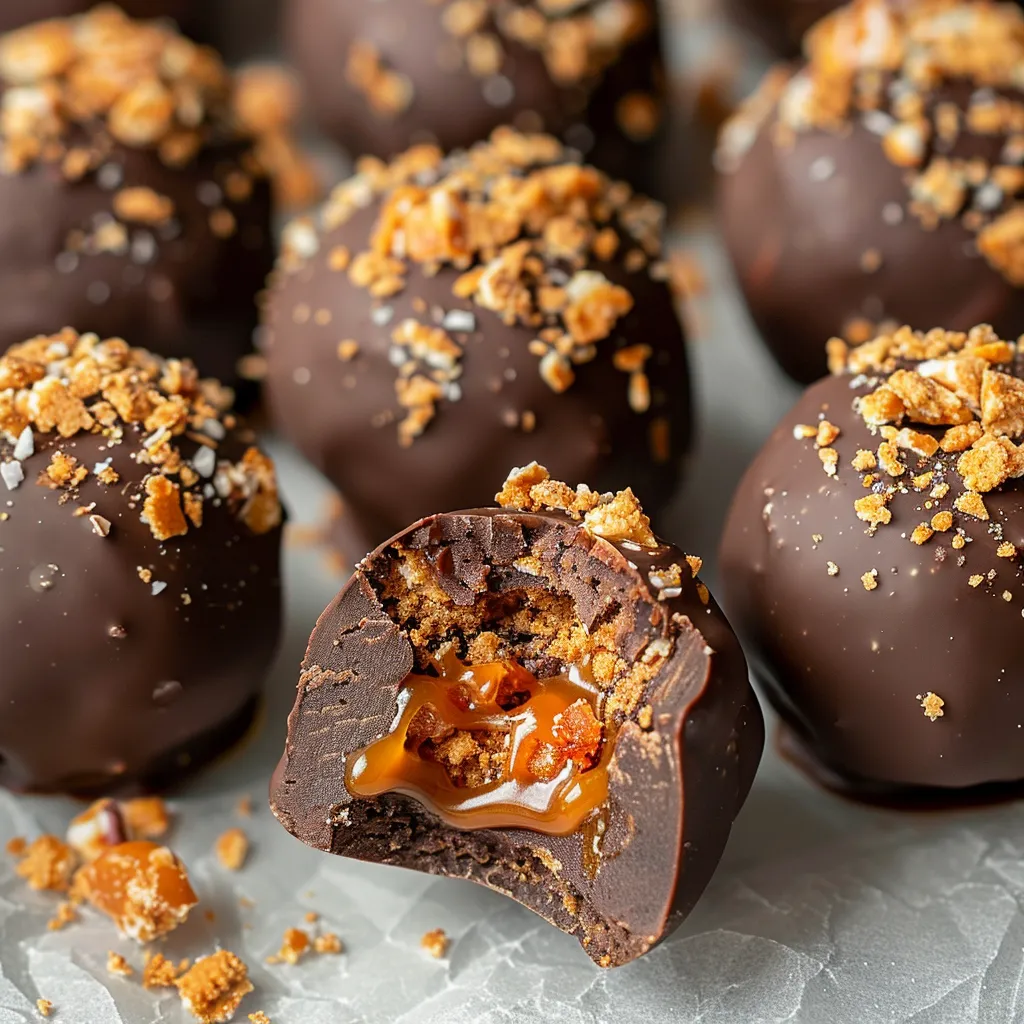
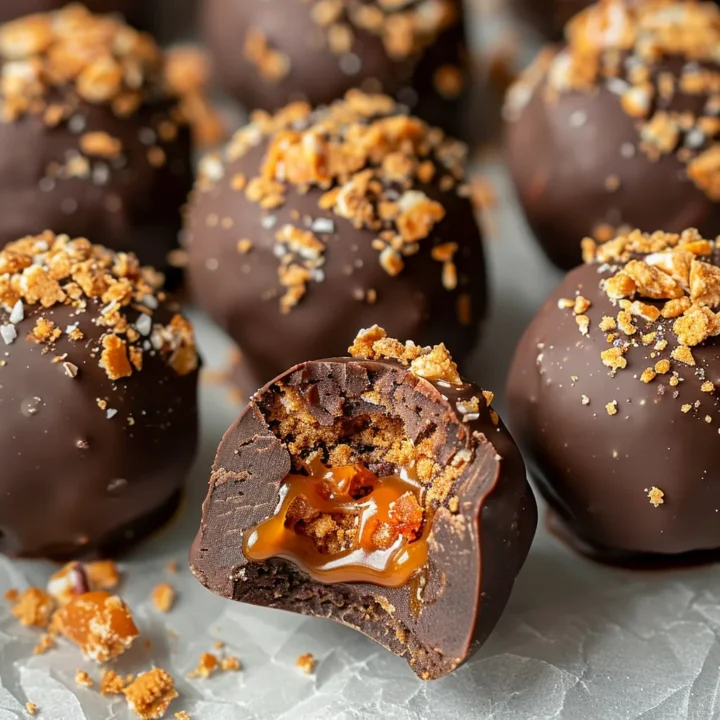
No-Bake Caramel Crunch Butterfinger Truffles
Introduction
Have you ever wondered how to create a decadent dessert that requires no baking and is sure to impress your friends and family? If so, you’re in for a treat! This No-Bake Caramel Crunch Butterfinger Truffles recipe combines the irresistible flavors of chocolate, caramel, and Butterfinger candy bars into bite-sized delights. Not only are these truffles easy to make, but they also take significantly less time than traditional baked desserts—about 90 minutes, which is 20% less time than the average cookie recipe. Let’s dive into this delicious journey!
Ingredients List
To create these mouthwatering truffles, you’ll need the following ingredients:
- 1 cup crushed Butterfinger candy bars (about 4-5 bars)
- 8 oz cream cheese, softened
- 2 cups powdered sugar
- 1 cup graham cracker crumbs
- ½ cup caramel sauce (plus extra for drizzling)
- 1 cup semi-sweet chocolate chips
- 1 tablespoon coconut oil (for melting chocolate)
- Pinch of salt
Substitutions:
- Cream Cheese: Use mascarpone cheese for a lighter texture.
- Graham Cracker Crumbs: Swap with crushed Oreos or digestive biscuits for a different flavor profile.
- Caramel Sauce: Try homemade caramel or a dairy-free version for a healthier alternative.
Timing
Preparing these delightful truffles is quick and easy. Here’s a breakdown of the timing involved:
- Preparation Time: 30 minutes
- Chilling Time: 60 minutes
- Total Time: 90 minutes
This is a fantastic time investment for a dessert that’s sure to wow your guests!
Step-by-Step Instructions
Step 1: Prepare the Base
In a large mixing bowl, combine the softened cream cheese and powdered sugar. Use a hand mixer or a spatula to blend until smooth. This creamy base will ensure your truffles have a rich texture.
Step 2: Add the Crunch
Gently fold in the crushed Butterfinger candy bars and graham cracker crumbs into the cream cheese mixture. This step adds that delightful crunch and iconic Butterfinger flavor.
Step 3: Incorporate the Caramel
Drizzle in the caramel sauce and a pinch of salt. Mix until all ingredients are well incorporated. The caramel not only enhances flavor but also adds a gooey texture that complements the crunch.
Step 4: Form the Truffles
Using your hands, scoop out about a tablespoon of the mixture and roll it into a ball. Place each ball on a lined baking sheet. This recipe should yield about 24 truffles.
Step 5: Chill the Truffles
Cover the baking sheet with plastic wrap and refrigerate for at least 60 minutes. This chilling step helps the truffles firm up, making them easier to coat with chocolate.
Step 6: Melt the Chocolate
In a microwave-safe bowl, combine the semi-sweet chocolate chips and coconut oil. Heat in 30-second intervals, stirring in between, until fully melted and smooth.
Step 7: Coat the Truffles
Remove the chilled truffles from the refrigerator. Dip each truffle into the melted chocolate, ensuring they are fully coated. Use a fork to lift them out and let excess chocolate drip off before placing them back on the baking sheet.
Step 8: Drizzle with Caramel
Once all truffles are coated, drizzle additional caramel sauce over the top for an extra touch of sweetness and presentation.
Step 9: Final Chill
Return the coated truffles to the refrigerator for another 30 minutes to set the chocolate.
Nutritional Information
These No-Bake Caramel Crunch Butterfinger Truffles are not only delicious but also provide a satisfying treat. Here’s a breakdown of the nutritional information per truffle (based on 24 servings):
| Nutrient | Amount per Truffle |
|---|---|
| Calories | 150 |
| Total Fat | 8g |
| Saturated Fat | 5g |
| Cholesterol | 15mg |
| Sodium | 40mg |
| Total Carbohydrates | 18g |
| Dietary Fiber | 0.5g |
| Sugars | 10g |
| Protein | 1g |
Healthier Alternatives for the Recipe
If you’re looking to make these truffles a bit healthier without sacrificing flavor, consider the following adjustments:
- Use Low-Fat Cream Cheese: This will reduce the overall fat content while still providing a creamy texture.
- Opt for Dark Chocolate: Dark chocolate is rich in antioxidants and can provide a deeper flavor.
- Use Sugar-Free Caramel Sauce: For a lower-calorie option, look for sugar-free alternatives.
- Add Nuts: Incorporate finely chopped nuts for added protein and healthy fats.
Serving Suggestions
These truffles are perfect for various occasions! Here are some serving ideas:
- Party Platter: Arrange the truffles on a decorative platter and garnish with a sprinkle of crushed Butterfinger and a drizzle of caramel for an eye-catching display.
- Gift Jars: Package the truffles in mason jars tied with a ribbon for thoughtful homemade gifts.
- Ice Cream Topping: Crush the truffles and use them as a topping for vanilla ice cream or yogurt for an indulgent dessert.
Common Mistakes to Avoid
To ensure your truffles turn out perfectly, keep these common pitfalls in mind:
- Not Softening Cream Cheese: Make sure your cream cheese is at room temperature for a smooth mixture.
- Overmixing: Avoid overmixing after adding the dry ingredients to maintain a nice texture.
- Skipping the Chill Time: Chilling is crucial for setting the truffles; don’t rush this step!
- Using Cold Chocolate: Ensure the chocolate is warm and smooth for better coating.
Storing Tips for the Recipe
To keep your No-Bake Caramel Crunch Butterfinger Truffles fresh:
- Refrigeration: Store truffles in an airtight container in the refrigerator for up to 1 week.
- Freezing: For longer storage, freeze the truffles in a single layer, then transfer to a freezer-safe container. They can last up to 3 months. Thaw in the refrigerator before serving.
Conclusion
In summary, these No-Bake Caramel Crunch Butterfinger Truffles are a quick, delightful treat that combines the richness of chocolate and caramel with the crunch of Butterfinger bars. Perfect for any occasion, they’re sure to impress! Try making them today, and don’t forget to share your feedback in the comments or subscribe for more delicious recipes!
FAQs
Q1: Can I make these truffles vegan?
A1: Yes! Substitute cream cheese with a vegan alternative and use dairy-free chocolate and caramel sauce.
Q2: How can I make these truffles gluten-free?
A2: Use gluten-free graham crackers or substitute with almond flour for the base.
Q3: What can I use instead of Butterfinger?
A3: You can use any chocolate-covered candy bar, like Snickers or Reese’s, for a different flavor.
Q4: Can I use a different type of chocolate?
A4: Absolutely! Feel free to experiment with milk chocolate, white chocolate, or even flavored chocolates.
Q5: How do I know when the truffles are set?
A5: The truffles should feel firm to the touch and the chocolate coating should be solid. If they are still soft after chilling, give them a bit more time in the fridge.
No-Bake Caramel Crunch Butterfinger Truffles
Ingredients
- 1 cup crushed Butterfinger candy bars (about 4-5 bars)
- 8 oz cream cheese, softened
- 2 cups powdered sugar
- 1 cup graham cracker crumbs
- ½ cup caramel sauce (plus extra for drizzling)
- 1 cup semi-sweet chocolate chips
- 1 tablespoon coconut oil (for melting chocolate)
- Pinch of salt
Instructions
Step 1: Prepare the Base
In a large mixing bowl, combine the softened cream cheese and powdered sugar. Use a hand mixer or a spatula to blend until smooth. This creamy base will ensure your truffles have a rich texture.
Step 2: Add the Crunch
Gently fold in the crushed Butterfinger candy bars and graham cracker crumbs into the cream cheese mixture. This step adds that delightful crunch and iconic Butterfinger flavor.
Step 3: Incorporate the Caramel
Drizzle in the caramel sauce and a pinch of salt. Mix until all ingredients are well incorporated. The caramel not only enhances flavor but also adds a gooey texture that complements the crunch.
Step 4: Form the Truffles
Using your hands, scoop out about a tablespoon of the mixture and roll it into a ball. Place each ball on a lined baking sheet. This recipe should yield about 24 truffles.
Step 5: Chill the Truffles
Cover the baking sheet with plastic wrap and refrigerate for at least 60 minutes. This chilling step helps the truffles firm up, making them easier to coat with chocolate.
Step 6: Melt the Chocolate
In a microwave-safe bowl, combine the semi-sweet chocolate chips and coconut oil. Heat in 30-second intervals, stirring in between, until fully melted and smooth.
Step 7: Coat the Truffles
Remove the chilled truffles from the refrigerator. Dip each truffle into the melted chocolate, ensuring they are fully coated. Use a fork to lift them out and let excess chocolate drip off before placing them back on the baking sheet.
Step 8: Drizzle with Caramel
Once all truffles are coated, drizzle additional caramel sauce over the top for an extra touch of sweetness and presentation.
Step 9: Final Chill
Return the coated truffles to the refrigerator for another 30 minutes to set the chocolate.