

Pumpkin Pie Oreo Balls: A Delicious Fall Treat
Introduction
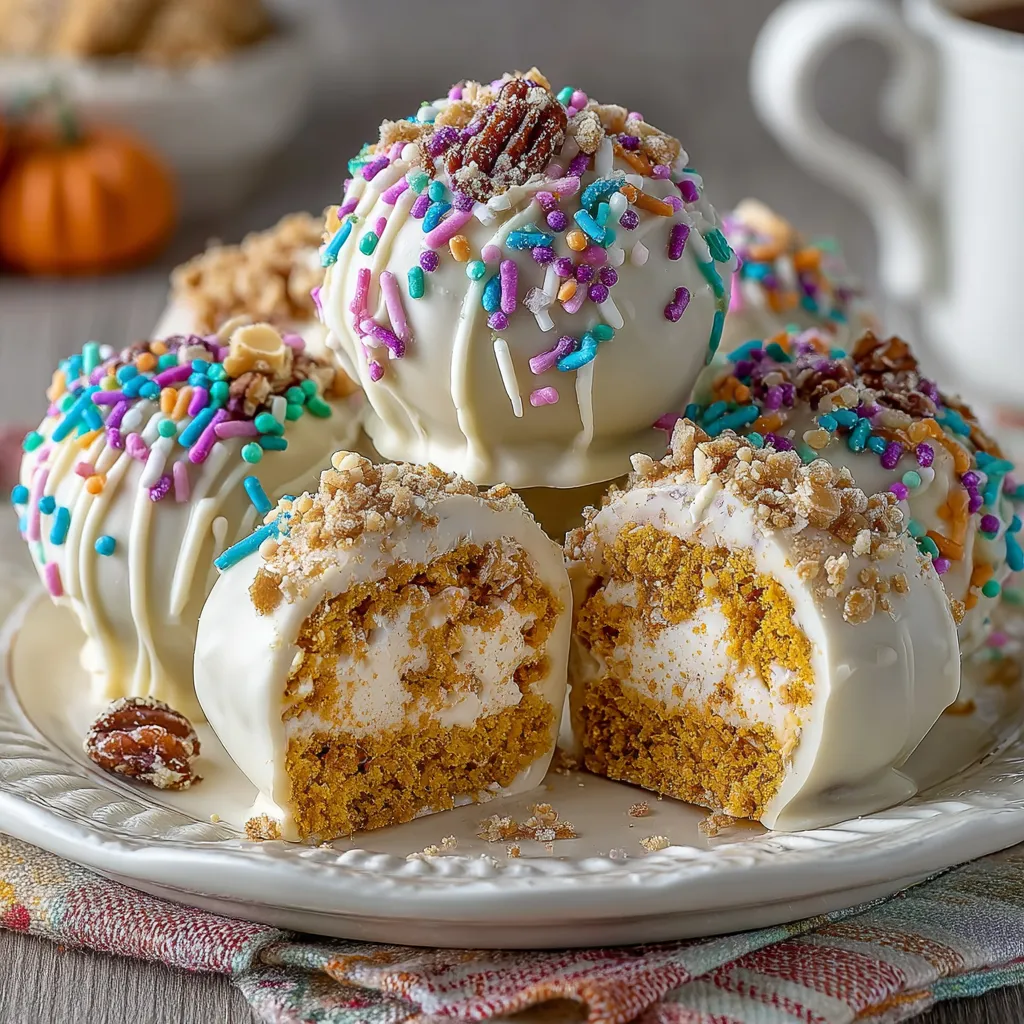
Have you ever wondered how to combine the classic flavors of pumpkin pie with the irresistible crunch of Oreo cookies? If so, you’re in for a treat! Pumpkin Pie Oreo Balls are not only a delightful dessert but also a fun and easy recipe that captures the essence of autumn in every bite. With the perfect blend of creamy pumpkin, sweet chocolate, and crunchy cookie, these bites are sure to impress at any gathering. In this post, we’ll guide you through making these delicious Pumpkin Pie Oreo Balls while ensuring you have all the tips and tricks for success.
Ingredients List
Creating Pumpkin Pie Oreo Balls is simple, and you likely have many of these ingredients on hand. Here’s what you’ll need:
- 1 package (15.35 oz) of Pumpkin Spice Oreo cookies: The star of the show! If you can’t find these, regular Oreos work too.
- 8 oz cream cheese, softened: This adds creaminess to your mixture.
- 1 cup pumpkin puree: Use canned or fresh, but make sure it’s pure pumpkin without additives.
- 1 tsp pumpkin pie spice: This enhances the pumpkin flavor beautifully.
- 1 cup white chocolate chips: For coating the balls; feel free to use dark chocolate if preferred.
- Sprinkles or chopped nuts (optional): For decoration and added texture.
Substitutions
- Cream Cheese: Use Greek yogurt for a lighter version.
- Pumpkin Puree: Substitute with sweet potato puree for a different flavor profile.
- Chocolate Chips: Use dairy-free chocolate for a vegan option.
Timing
Making Pumpkin Pie Oreo Balls is quick and easy! Here’s the breakdown:
- Preparation Time: 20 minutes
- Chilling Time: 30 minutes
- Total Time: 50 minutes
This is significantly less time than many traditional pumpkin pie recipes, making it a perfect last-minute dessert option!
Step-by-Step Instructions
Step 1: Crush the Oreos
Start by placing the Pumpkin Spice Oreo cookies in a food processor. Pulse until they are finely crushed. This will create the base for your Oreo balls.
Step 2: Mix the Filling
In a large bowl, combine the crushed Oreos, softened cream cheese, pumpkin puree, and pumpkin pie spice. Mix until well combined. You can use a hand mixer for a smoother texture.
Step 3: Form the Balls
Using your hands, scoop out about a tablespoon of the mixture and roll it into a ball. Place each ball on a baking sheet lined with parchment paper. Repeat until all the mixture is used.
Step 4: Chill the Balls
Cover the baking sheet with plastic wrap and refrigerate for at least 30 minutes. This will help the balls firm up and make them easier to coat.
Step 5: Melt the Chocolate
While the balls are chilling, melt the white chocolate chips in a microwave-safe bowl. Heat in 30-second intervals, stirring in between, until completely melted and smooth.
Step 6: Coat the Balls
Once chilled, dip each ball into the melted chocolate, ensuring it’s fully coated. Use a fork to lift it out, allowing excess chocolate to drip off. Place them back on the parchment paper.
Step 7: Decorate
If desired, sprinkle with sprinkles or chopped nuts before the chocolate hardens. This adds a festive touch!
Step 8: Chill Again
Return the coated balls to the refrigerator for an additional 15 minutes to set the chocolate.
Nutritional Information
Here’s a breakdown of the nutritional information for one Pumpkin Pie Oreo Ball (assuming 20 servings):
- Calories: 120
- Total Fat: 7g
- Saturated Fat: 4g
- Cholesterol: 15mg
- Sodium: 50mg
- Total Carbohydrates: 14g
- Dietary Fiber: 0g
- Sugars: 8g
- Protein: 1g
Nutritional Insights
These treats are a delightful indulgence but can be enjoyed in moderation as part of a balanced diet.
Healthier Alternatives for the Recipe
If you’re looking to make your Pumpkin Pie Oreo Balls a bit healthier, consider these alternatives:
- Use low-fat cream cheese: This reduces the fat content while keeping the creaminess.
- Swap granulated sugar: Use a natural sweetener like honey or maple syrup to cut down on refined sugars.
- Add nuts: Incorporate ground nuts into the mixture for added protein and healthy fats.
Serving Suggestions
Pumpkin Pie Oreo Balls are versatile and can be served in various ways:
- On a platter: Arrange them on a decorative plate for a festive look.
- With dipping sauces: Serve with caramel or chocolate sauce for an extra treat.
- As party favors: Package them in small boxes or bags for guests to take home.
Common Mistakes to Avoid
- Not chilling the mixture: Skipping the chilling step can result in soft, difficult-to-handle balls.
- Overheating the chocolate: Melt chocolate slowly to avoid burning it.
- Using stale cookies: Ensure your Oreos are fresh for the best flavor and texture.
Storing Tips for the Recipe
To keep your Pumpkin Pie Oreo Balls fresh:
- Refrigerate: Store in an airtight container in the fridge for up to one week.
- Freeze: For longer storage, freeze the balls before coating them. Once frozen, you can dip them in chocolate later.
Conclusion
In summary, Pumpkin Pie Oreo Balls are a delightful and easy-to-make treat that combines the beloved flavors of pumpkin pie with the crunch of Oreos. Perfect for any gathering, these bites are sure to impress your friends and family. We invite you to try this recipe, share your feedback in the comments below, and subscribe for more delicious updates!
FAQs
Q1: Can I make these Oreo balls ahead of time?
Yes! You can prepare the mixture and form the balls a day in advance. Just keep them refrigerated until you’re ready to coat them in chocolate.
Q2: Are there vegan options for this recipe?
Absolutely! Use vegan cream cheese and dairy-free chocolate chips for a vegan-friendly version.
Q3: How do I know when the chocolate is melted properly?
The chocolate should be smooth and pourable. Stir frequently while melting to prevent overheating.
Q4: Can I use different flavored Oreos?
Certainly! Experiment with different Oreo flavors to create unique variations of this recipe.
Q5: What’s the best way to serve these at a party?
Arrange them on a platter with some decorative touches, like autumn leaves or mini pumpkins, to enhance the fall theme.
Feel free to reach out if you have any other questions or need further assistance!

Pumpkin Pie Oreo Balls: A Delicious Fall Treat
Ingredients
- 1 package (15.35 oz) of Pumpkin Spice Oreo cookies: The star of the show! If you can’t find these, regular Oreos work too.
- 8 oz cream cheese, softened: This adds creaminess to your mixture.
- 1 cup pumpkin puree: Use canned or fresh, but make sure it's pure pumpkin without additives.
- 1 tsp pumpkin pie spice: This enhances the pumpkin flavor beautifully.
- 1 cup white chocolate chips: For coating the balls; feel free to use dark chocolate if preferred.
- Sprinkles or chopped nuts (optional): For decoration and added texture.
- Substitutions
- Cream Cheese: Use Greek yogurt for a lighter version.
- Pumpkin Puree: Substitute with sweet potato puree for a different flavor profile.
- Chocolate Chips: Use dairy-free chocolate for a vegan option.
Instructions
Step 1: Crush the Oreos
Start by placing the Pumpkin Spice Oreo cookies in a food processor. Pulse until they are finely crushed. This will create the base for your Oreo balls.
Step 2: Mix the Filling
In a large bowl, combine the crushed Oreos, softened cream cheese, pumpkin puree, and pumpkin pie spice. Mix until well combined. You can use a hand mixer for a smoother texture.
Step 3: Form the Balls
Using your hands, scoop out about a tablespoon of the mixture and roll it into a ball. Place each ball on a baking sheet lined with parchment paper. Repeat until all the mixture is used.
Step 4: Chill the Balls
Cover the baking sheet with plastic wrap and refrigerate for at least 30 minutes. This will help the balls firm up and make them easier to coat.
Step 5: Melt the Chocolate
While the balls are chilling, melt the white chocolate chips in a microwave-safe bowl. Heat in 30-second intervals, stirring in between, until completely melted and smooth.
Step 6: Coat the Balls
Once chilled, dip each ball into the melted chocolate, ensuring it’s fully coated. Use a fork to lift it out, allowing excess chocolate to drip off. Place them back on the parchment paper.
Step 7: Decorate
If desired, sprinkle with sprinkles or chopped nuts before the chocolate hardens. This adds a festive touch!
Step 8: Chill Again
Return the coated balls to the refrigerator for an additional 15 minutes to set the chocolate.