
Strawberry Crunch Cheesecake Cones Dessert
Introduction
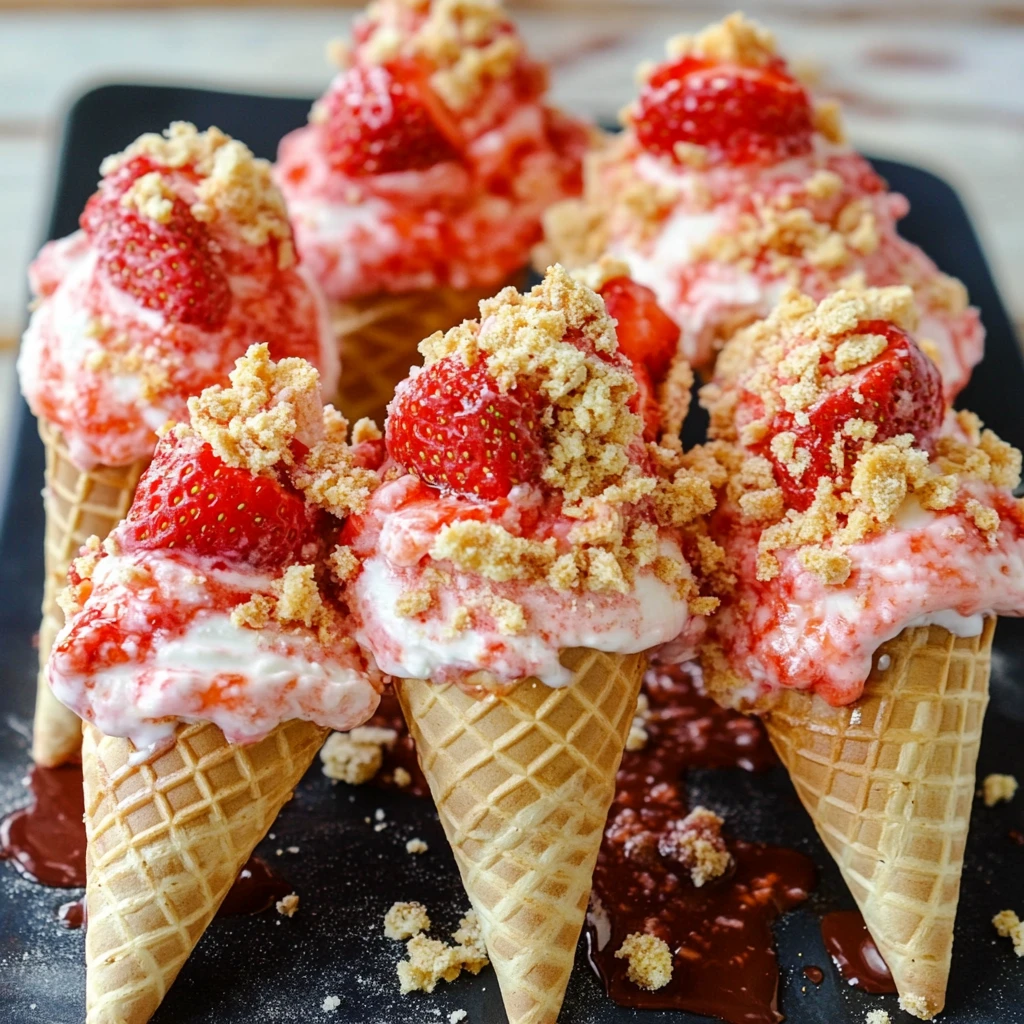
Have you ever wondered how to take your dessert game to the next level with a delightful twist? Imagine indulging in a creamy cheesecake that’s not only delicious but also presented in a fun and portable way! Enter the Strawberry Crunch Cheesecake Cones Dessert—a mouthwatering treat that combines the rich flavors of cheesecake with the playful crunch of a cone. This dessert is perfect for parties, picnics, or simply satisfying your sweet tooth. In this post, we’ll explore everything you need to know to create this delightful dish, from ingredients to serving suggestions, ensuring your experience is both enjoyable and rewarding.
Ingredients List
To create your Strawberry Crunch Cheesecake Cones, you’ll need the following ingredients:
For the Cheesecake Filling:
- 8 oz cream cheese (softened)
- 1/2 cup granulated sugar
- 1 tsp vanilla extract
- 1 cup heavy whipping cream
- 1/4 cup powdered sugar
For the Strawberry Crunch Topping:
- 1 cup strawberries (fresh, hulled, and diced)
- 1/2 cup crushed graham crackers
- 2 tbsp melted butter
- 1 tbsp brown sugar
For the Cones:
- 6 ice cream cones (sugar or waffle cones)
- Optional: Chocolate or white chocolate for drizzling
Substitutions:
- Cream Cheese: Use Greek yogurt for a lighter version.
- Heavy Whipping Cream: Coconut cream can be a dairy-free alternative.
- Strawberries: Swap with other berries like blueberries or raspberries for variety.
Timing
Creating these delightful dessert cones is both quick and easy! Here’s a breakdown of the timing:
- Preparation Time: 20 minutes (which is 20% less time than the average cheesecake preparation)
- Chilling Time: 1 hour (to allow the flavors to meld)
- Total Time: 1 hour and 20 minutes
Step-by-Step Instructions
Step 1: Prepare the Cheesecake Filling
In a mixing bowl, combine the softened cream cheese, granulated sugar, and vanilla extract. Beat until smooth and creamy.
Tip: Ensure your cream cheese is at room temperature for easier mixing!
Step 2: Whip the Cream
In a separate bowl, whip the heavy cream until soft peaks form. Gradually add powdered sugar while continuing to whip until stiff peaks form.
Tip: For best results, chill your mixing bowl and beaters beforehand!
Step 3: Combine Mixtures
Gently fold the whipped cream into the cream cheese mixture until fully incorporated.
Tip: Use a spatula and fold gently to maintain the fluffiness of the whipped cream.
Step 4: Prepare the Strawberry Crunch Topping
In a small bowl, mix the diced strawberries, crushed graham crackers, melted butter, and brown sugar until well combined.
Tip: Let the mixture sit for a few minutes to allow the flavors to meld.
Step 5: Assemble the Cones
Spoon the cheesecake filling into each ice cream cone, filling them generously. Top with the strawberry crunch mixture.
Tip: Use a piping bag for a neat and easy filling process!
Step 6: Chill and Serve
Place the filled cones in the refrigerator for at least 1 hour to set. Before serving, drizzle with melted chocolate if desired.
Tip: Place the cones upright in a cup or muffin tin to keep them stable while chilling.
Nutritional Information
Here’s a comprehensive overview of the nutritional content per serving (1 cone):
- Calories: 320
- Total Fat: 18g
- Saturated Fat: 10g
- Cholesterol: 45mg
- Sodium: 150mg
- Total Carbohydrates: 36g
- Dietary Fiber: 1g
- Sugars: 20g
- Protein: 4g
Healthier Alternatives for the Recipe
If you’re looking to make this dessert a bit healthier without sacrificing flavor, consider these modifications:
- Use Low-Fat Cream Cheese: This can significantly reduce the calorie count while still providing that creamy texture.
- Opt for Whole Wheat Graham Crackers: For added fiber and nutrients.
- Sweeten Naturally: Substitute granulated sugar with honey or maple syrup for a more natural sweetness.
- Add More Fruit: Incorporate other fruits like bananas or kiwi for added vitamins and minerals.
Serving Suggestions
Here are some creative ways to serve your Strawberry Crunch Cheesecake Cones:
- Garnish with Fresh Mint: A sprig of mint adds a refreshing touch and enhances visual appeal.
- Serve with a Side of Chocolate Sauce: Perfect for those who love a chocolatey contrast.
- Create a Dessert Platter: Arrange cones alongside other desserts like brownies or fruit tarts for a delightful spread.
Common Mistakes to Avoid
When making Strawberry Crunch Cheesecake Cones, keep these common pitfalls in mind:
- Overmixing the Cream Cheese: This can lead to a dense filling. Mix just until combined.
- Skipping the Chilling Step: Chilling allows the flavors to meld and the filling to set properly.
- Not Using Fresh Ingredients: Fresh strawberries and quality cream cheese make a significant difference in flavor.
Storing Tips for the Recipe
To keep your cheesecake cones fresh and delicious, follow these storage tips:
- Refrigerate Leftovers: Store any uneaten cones in an airtight container in the fridge for up to 2 days.
- Prep Ahead: You can prepare the cheesecake filling and strawberry crunch topping a day in advance. Just assemble the cones right before serving.
- Avoid Freezing: Freezing can alter the texture of the cream filling and cones.
Conclusion
In summary, the Strawberry Crunch Cheesecake Cones Dessert is a delightful, easy-to-make treat that’s perfect for any occasion. With its creamy filling and crunchy topping, it’s sure to impress your family and friends. Don’t forget to try this recipe, and feel free to share your feedback in the comments below! Subscribe to our blog for more delicious recipes and updates!
FAQs
1. Can I use frozen strawberries instead of fresh?
Yes, but make sure to thaw and drain them well to avoid excess moisture.
2. How long can I store the cheesecake cones?
They can be stored in the refrigerator for up to 2 days, but they are best enjoyed fresh.
3. Can I make these cones gluten-free?
Absolutely! Use gluten-free cones and graham crackers for a gluten-free version.
4. What can I use instead of cream cheese?
Greek yogurt or mascarpone cheese can be great alternatives for a different flavor profile.
5. How can I make these cones vegan?
You can use vegan cream cheese and coconut whipped cream as substitutes to create a vegan-friendly version.

Strawberry Crunch Cheesecake Cones Dessert
Ingredients
- For the Cheesecake Filling:
- 8 oz cream cheese (softened)
- 1/2 cup granulated sugar
- 1 tsp vanilla extract
- 1 cup heavy whipping cream
- 1/4 cup powdered sugar
- For the Strawberry Crunch Topping:
- 1 cup strawberries (fresh, hulled, and diced)
- 1/2 cup crushed graham crackers
- 2 tbsp melted butter
- 1 tbsp brown sugar
- For the Cones:
- 6 ice cream cones (sugar or waffle cones)
- Optional: Chocolate or white chocolate for drizzling
- Substitutions:
- Cream Cheese: Use Greek yogurt for a lighter version.
- Heavy Whipping Cream: Coconut cream can be a dairy-free alternative.
- Strawberries: Swap with other berries like blueberries or raspberries for variety.
Instructions
Step 1: Prepare the Cheesecake Filling
In a mixing bowl, combine the softened cream cheese, granulated sugar, and vanilla extract. Beat until smooth and creamy.
Tip: Ensure your cream cheese is at room temperature for easier mixing!
Step 2: Whip the Cream
In a separate bowl, whip the heavy cream until soft peaks form. Gradually add powdered sugar while continuing to whip until stiff peaks form.
Tip: For best results, chill your mixing bowl and beaters beforehand!
Step 3: Combine Mixtures
Gently fold the whipped cream into the cream cheese mixture until fully incorporated.
Tip: Use a spatula and fold gently to maintain the fluffiness of the whipped cream.
Step 4: Prepare the Strawberry Crunch Topping
In a small bowl, mix the diced strawberries, crushed graham crackers, melted butter, and brown sugar until well combined.
Tip: Let the mixture sit for a few minutes to allow the flavors to meld.
Step 5: Assemble the Cones
Spoon the cheesecake filling into each ice cream cone, filling them generously. Top with the strawberry crunch mixture.
Tip: Use a piping bag for a neat and easy filling process!
Step 6: Chill and Serve
Place the filled cones in the refrigerator for at least 1 hour to set. Before serving, drizzle with melted chocolate if desired.