
Ultimate Classic Crème Brûlée Recipe
Introduction
Have you ever wondered why crème brûlée is often hailed as the ultimate dessert experience? With its velvety custard base and a perfectly caramelized sugar crust, this classic French treat captivates dessert lovers worldwide. But did you know that mastering the art of crème brûlée can be achieved in just a few simple steps? In this post, we’ll share the ultimate classic crème brûlée recipe that not only tantalizes your taste buds but also elevates your culinary skills. Let’s dive into the world of creamy, dreamy desserts!
Ingredients List
Creating the perfect crème brûlée requires a few key ingredients that come together to form its signature texture and flavor. Here’s what you’ll need:
- 2 cups heavy cream: This is essential for that rich, creamy base.
- 1 cup whole milk: Balances the richness of the cream.
- 6 large egg yolks: These provide the custard with its silky texture and rich flavor.
- 3/4 cup granulated sugar: Sweetens the custard and provides the sugar for caramelization.
- 1 tablespoon vanilla extract: Enhances the flavor profile; consider using vanilla beans for an even richer taste.
- Pinch of salt: Elevates the overall flavor.
Substitution Suggestions:
- Dairy-Free Option: Use coconut milk or almond milk in place of heavy cream and whole milk.
- Sugar Alternatives: Try using honey or agave syrup for a different sweetness profile.
- Flavor Variations: Experiment with different extracts like almond or hazelnut for a unique twist.
Timing
Preparing and cooking crème brûlée is a delightful experience that takes about 90 minutes, which is 20% less time than the average dessert recipe. Here’s the breakdown:
- Preparation Time: 30 minutes
- Cooking Time: 30 minutes
- Chilling Time: 30 minutes (or longer, if desired)
This timeline ensures that you can enjoy your homemade crème brûlée without spending all day in the kitchen!
Step-by-Step Instructions
Step 1: Preheat the Oven
Preheat your oven to 325°F (160°C). This ensures that your custards cook evenly and achieve the perfect consistency.
Step 2: Prepare the Cream Mixture
In a medium saucepan, combine the heavy cream, whole milk, and vanilla extract. Heat over medium heat until it begins to simmer, stirring occasionally to prevent scorching. Remove from heat once small bubbles form around the edges.
Step 3: Whisk the Egg Yolks and Sugar
In a mixing bowl, whisk together the egg yolks, granulated sugar, and salt until the mixture is pale and slightly thickened. This process incorporates air, which is crucial for a light custard.
Step 4: Temper the Eggs
Gradually add the hot cream mixture to the egg yolk mixture, whisking continuously to prevent the eggs from scrambling. This step is vital for achieving a smooth custard.
Step 5: Strain the Mixture
Pour the combined mixture through a fine mesh strainer into a large bowl or measuring cup. This removes any curdled bits and ensures a silky texture.
Step 6: Fill the Ramekins
Divide the custard mixture evenly among six 4-ounce ramekins. Place them in a baking dish and fill the dish with hot water until it reaches halfway up the sides of the ramekins. This water bath helps regulate the temperature during baking.
Step 7: Bake
Carefully place the baking dish in the preheated oven and bake for 30-35 minutes, or until the custards are set around the edges but still slightly wobbly in the center.
Step 8: Chill
Remove the ramekins from the water bath and let them cool to room temperature. Then, cover with plastic wrap and refrigerate for at least 30 minutes (or up to 2 days) before serving.
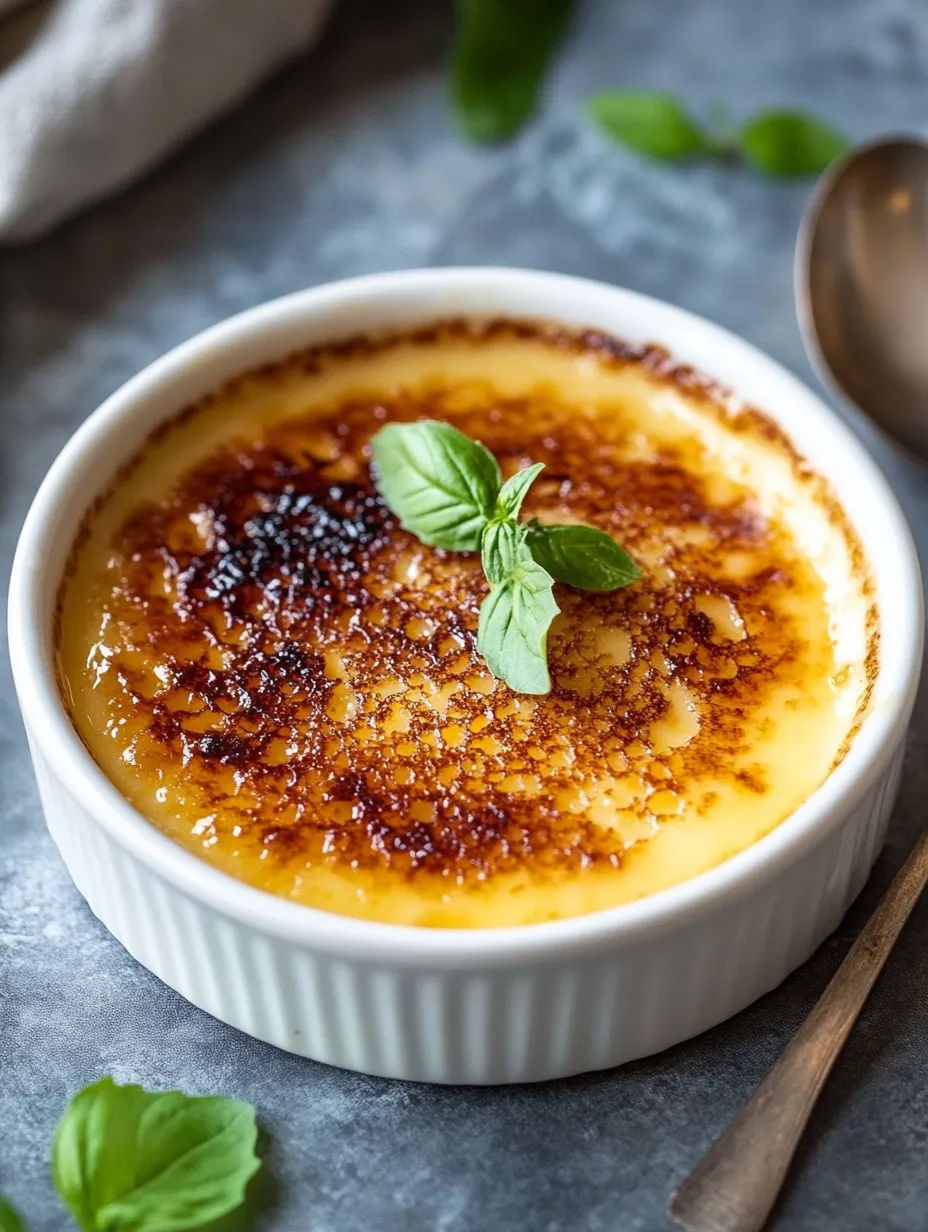
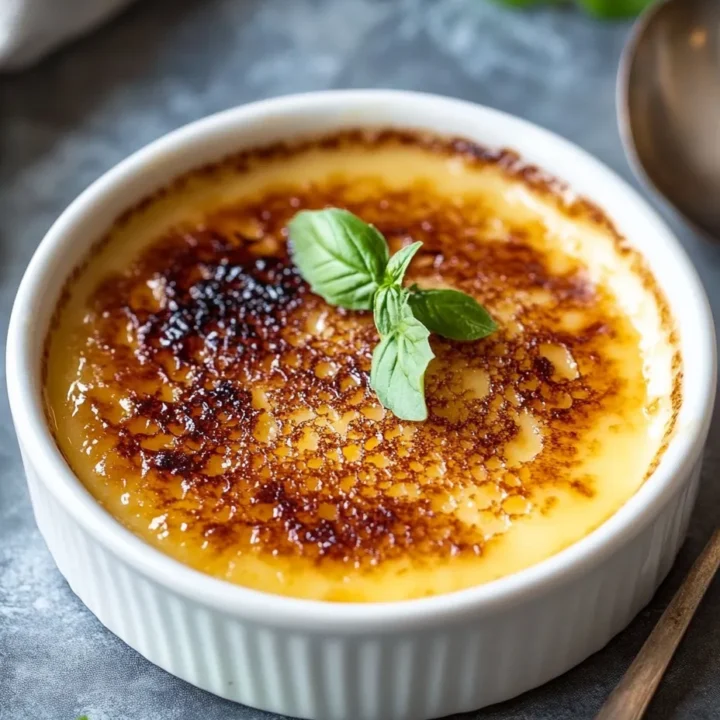
Step 9: Caramelize the Sugar
When ready to serve, sprinkle 1-2 teaspoons of granulated sugar over the top of each custard. Using a kitchen torch, carefully caramelize the sugar until it forms a golden crust. If you don’t have a torch, you can place the ramekins under a broiler for a few minutes—just watch closely to prevent burning.
Step 10: Serve and Enjoy!
Let the sugar crust harden for a minute or two before serving. Enjoy your perfect crème brûlée with a side of fresh berries or a dollop of whipped cream for added flair!
Nutritional Information
Here’s a breakdown of the nutritional content per serving (based on the recipe divided into six servings):
- Calories: 320
- Total Fat: 25g
- Saturated Fat: 15g
- Cholesterol: 160mg
- Sodium: 60mg
- Total Carbohydrates: 24g
- Dietary Fiber: 0g
- Sugars: 22g
- Protein: 6g
This dessert, while indulgent, can be enjoyed in moderation as part of a balanced diet.
Healthier Alternatives for the Recipe
If you’re looking to lighten up this classic dessert without sacrificing flavor, consider these modifications:
- Use Low-Fat Dairy: Substitute regular milk with low-fat or skim milk to reduce calories.
- Reduce Sugar: Use a sugar substitute like stevia or monk fruit sweetener to cut down on sugar content.
- Add Flavorful Spices: Incorporate spices like cinnamon or nutmeg to enhance flavor without adding calories.
These alternatives allow you to enjoy crème brûlée while being mindful of your dietary goals.
Serving Suggestions
Crème brûlée is a versatile dessert that can be paired with various accompaniments:
- Fresh Berries: Strawberries, raspberries, or blueberries add a refreshing contrast to the rich custard.
- Mint Leaves: A sprig of fresh mint adds a pop of color and freshness.
- Chocolate Shavings: For chocolate lovers, sprinkle some dark chocolate shavings on top for an extra indulgent touch.
Personalize your presentation to impress guests and make your dessert table shine!
Common Mistakes to Avoid
When making crème brûlée, avoid these common pitfalls for the best results:
- Overcooking: Keep an eye on the baking time. Overcooked custard can become rubbery.
- Not Straining the Mixture: Skipping this step can lead to a grainy texture. Always strain for smoothness.
- Using Cold Ingredients: Ensure your cream and milk are at room temperature before mixing to help them blend smoothly.
By being mindful of these mistakes, you can achieve a flawless crème brûlée every time.
Storing Tips for the Recipe
To keep your crème brûlée fresh and delicious:
- Refrigerate: Store any leftovers in the refrigerator for up to 3 days. Cover with plastic wrap to prevent drying out.
- Avoid Topping with Sugar Until Serving: If you plan to store the custards, wait to caramelize the sugar until just before serving to maintain the crunchy texture.
These simple tips will help you enjoy your crème brûlée at its best!
Conclusion
In summary, this ultimate classic crème brûlée recipe combines rich flavors and textures, making it a timeless dessert. With just a few simple steps, you can impress your friends and family with this elegant dish. Don’t hesitate to try this recipe, and be sure to share your feedback in the comments section or subscribe for more delicious updates!
FAQs
1. Can I make crème brûlée ahead of time?
Yes! You can prepare the custard up to two days in advance. Just store it in the refrigerator until you’re ready to caramelize the sugar and serve.
2. What if I don’t have a kitchen torch?
If you don’t have a torch, you can use your oven’s broiler. Just be sure to watch it closely to prevent burning!
3. Can I use flavored extracts instead of vanilla?
Absolutely! Feel free to experiment with almond, hazelnut, or even citrus extracts for a unique twist on the classic recipe.
4. Is crème brûlée gluten-free?
Yes, crème brûlée is naturally gluten-free, making it a great dessert option for those with gluten sensitivities.
5. How do I know when the custard is done baking?
The custard should be set around the edges but still slightly jiggly in the center. It will continue to firm up as it cools.
Ultimate Classic Crème Brûlée Recipe
Ingredients
- 2 cups heavy cream: This is essential for that rich, creamy base.
- 1 cup whole milk: Balances the richness of the cream.
- 6 large egg yolks: These provide the custard with its silky texture and rich flavor.
- 3/4 cup granulated sugar: Sweetens the custard and provides the sugar for caramelization.
- 1 tablespoon vanilla extract: Enhances the flavor profile; consider using vanilla beans for an even richer taste.
- Pinch of salt: Elevates the overall flavor.
Instructions
Step 1: Preheat the Oven
Preheat your oven to 325°F (160°C). This ensures that your custards cook evenly and achieve the perfect consistency.
Step 2: Prepare the Cream Mixture
In a medium saucepan, combine the heavy cream, whole milk, and vanilla extract. Heat over medium heat until it begins to simmer, stirring occasionally to prevent scorching. Remove from heat once small bubbles form around the edges.
Step 3: Whisk the Egg Yolks and Sugar
In a mixing bowl, whisk together the egg yolks, granulated sugar, and salt until the mixture is pale and slightly thickened. This process incorporates air, which is crucial for a light custard.
Step 4: Temper the Eggs
Gradually add the hot cream mixture to the egg yolk mixture, whisking continuously to prevent the eggs from scrambling. This step is vital for achieving a smooth custard.
Step 5: Strain the Mixture
Pour the combined mixture through a fine mesh strainer into a large bowl or measuring cup. This removes any curdled bits and ensures a silky texture.
Step 6: Fill the Ramekins
Divide the custard mixture evenly among six 4-ounce ramekins. Place them in a baking dish and fill the dish with hot water until it reaches halfway up the sides of the ramekins. This water bath helps regulate the temperature during baking.
Step 7: Bake
Carefully place the baking dish in the preheated oven and bake for 30-35 minutes, or until the custards are set around the edges but still slightly wobbly in the center.
Step 8: Chill
Remove the ramekins from the water bath and let them cool to room temperature. Then, cover with plastic wrap and refrigerate for at least 30 minutes (or up to 2 days) before serving.
Step 9: Caramelize the Sugar
When ready to serve, sprinkle 1-2 teaspoons of granulated sugar over the top of each custard. Using a kitchen torch, carefully caramelize the sugar until it forms a golden crust. If you don’t have a torch, you can place the ramekins under a broiler for a few minutes—just watch closely to prevent burning.
Step 10: Serve and Enjoy!
Let the sugar crust harden for a minute or two before serving. Enjoy your perfect crème brûlée with a side of fresh berries or a dollop of whipped cream for added flair!