
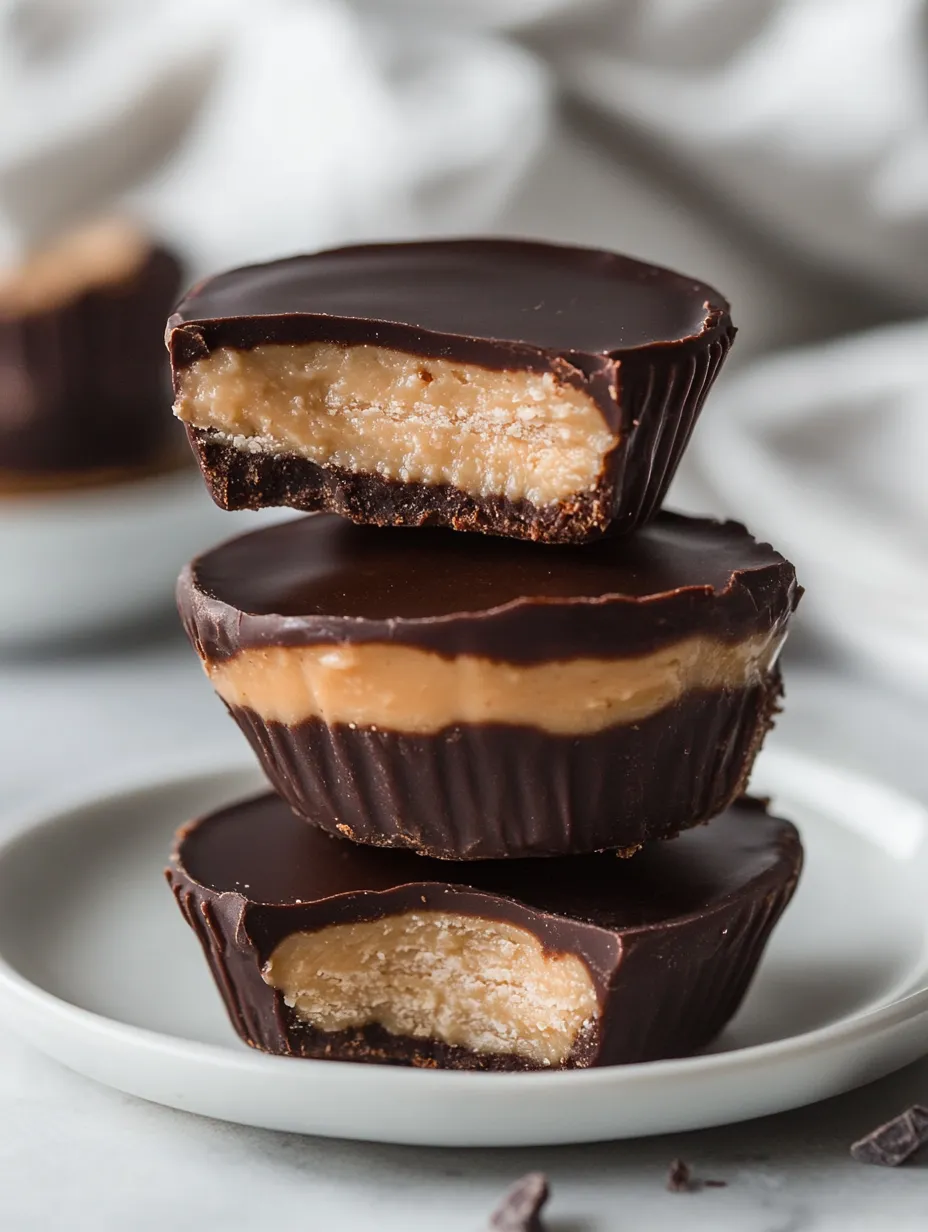
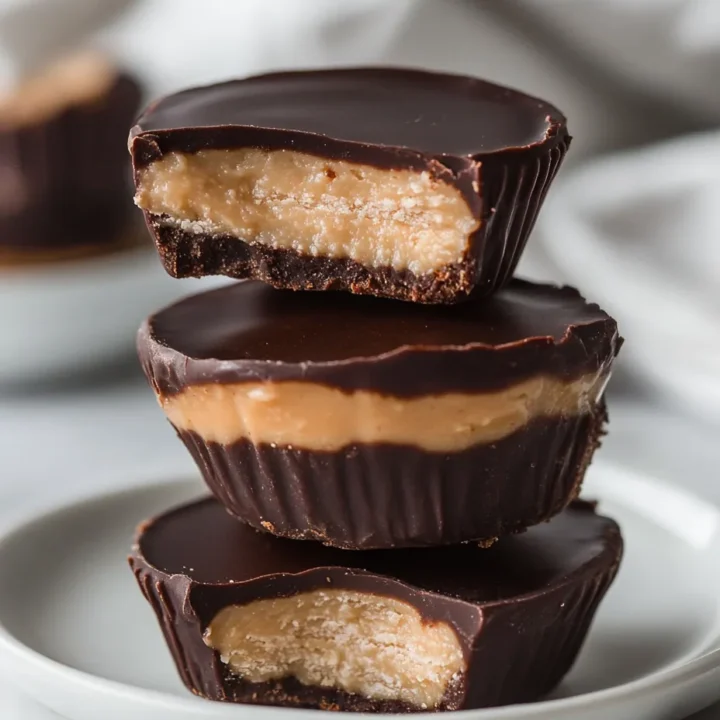
Vegan Paleo Twix Cups Recipe
Are you craving a sweet treat that satisfies your chocolate cravings while aligning with your dietary choices? Have you ever wondered if you could enjoy a classic candy bar without compromising your health goals? The Vegan Paleo Twix Cups Recipe is here to answer that question! This delightful dessert combines rich chocolate, creamy nut butter, and a crunchy base, all while being completely vegan and paleo-friendly. Let’s dive into this delicious recipe that will have you indulging guilt-free!
Ingredients List
To create these mouthwatering Vegan Paleo Twix Cups, you’ll need the following ingredients:
For the Base:
- 1 cup almond flour: A gluten-free alternative that adds a nutty flavor.
- 2 tablespoons coconut oil: Provides healthy fats and a smooth texture.
- 2 tablespoons maple syrup: A natural sweetener that enhances flavor.
- Pinch of salt: Balances sweetness.
For the Caramel Layer:
- 1 cup medjool dates (pitted): Nature’s candy that adds natural sweetness.
- 1/4 cup almond butter: Creamy and rich, it provides healthy fats.
- 1 teaspoon vanilla extract: Adds depth of flavor.
- A splash of almond milk: To achieve the desired consistency.
For the Chocolate Topping:
- 1 cup dairy-free dark chocolate chips: For that rich chocolate flavor.
- 1 tablespoon coconut oil: To help the chocolate melt smoothly.
Substitutions:
- Almond flour can be replaced with cashew flour for a different flavor profile.
- Maple syrup can be substituted with agave syrup or date syrup.
- Almond butter can be swapped for peanut butter or sunflower seed butter for nut-free options.
Timing
Preparing these Vegan Paleo Twix Cups is quick and easy. Here’s a breakdown of the timing:
- Preparation Time: 15 minutes
- Cooking Time: 15 minutes
- Total Time: 30 minutes
This is 50% less time than many traditional dessert recipes, making it a perfect choice for a quick yet indulgent treat!
Step-by-Step Instructions
Step 1: Prepare the Base
In a mixing bowl, combine the almond flour, melted coconut oil, maple syrup, and a pinch of salt. Mix until you achieve a dough-like consistency.
Step 2: Press into Molds
Line a muffin tin with cupcake liners. Evenly distribute the base mixture into the liners, pressing down firmly to create an even layer. This will serve as the foundation for your Twix cups.
Step 3: Make the Caramel Layer
In a food processor, combine the pitted medjool dates, almond butter, vanilla extract, and a splash of almond milk. Blend until smooth and creamy, scraping down the sides as needed.
Step 4: Layer the Caramel
Spoon the caramel mixture over the pressed base in the muffin liners, spreading it evenly. This layer will provide the delicious chewy texture reminiscent of traditional Twix.
Step 5: Melt the Chocolate
In a microwave-safe bowl, combine the dairy-free dark chocolate chips and coconut oil. Microwave in 30-second intervals, stirring in between, until fully melted and smooth.
Step 6: Top with Chocolate
Pour the melted chocolate over the caramel layer in each muffin liner, ensuring it covers the entire surface. Tap the muffin tin gently on the counter to remove any air bubbles.
Step 7: Chill
Place the muffin tin in the refrigerator for at least 30 minutes, or until the chocolate has hardened completely.
Step 8: Serve
Once set, remove the Twix cups from the muffin tin and peel away the liners. Enjoy your delicious, guilt-free treat!
Nutritional Information
Here’s a quick overview of the nutritional benefits of these Vegan Paleo Twix Cups:
- Calories: Approximately 150 per cup
- Protein: 3g
- Fat: 9g (mostly healthy fats)
- Carbohydrates: 18g
- Fiber: 3g
- Sugar: 7g (natural sugars from dates)
These cups are not only delicious but also packed with nutrients from whole food ingredients!
Healthier Alternatives for the Recipe
If you’re looking to make these Twix Cups even healthier, consider the following alternatives:
- Reduce Sweetness: Use fewer dates or substitute with stevia or monk fruit sweetener to lower sugar content.
- Nut-Free Option: Use sunflower seed butter instead of almond butter to cater to nut allergies.
- Add Superfoods: Incorporate chia seeds or flaxseeds into the base for added fiber and omega-3 fatty acids.
Serving Suggestions
These Vegan Paleo Twix Cups are versatile and can be enjoyed in various ways:
- As a Snack: Perfect for an afternoon pick-me-up or a post-workout treat.
- With Coffee or Tea: Pair with your favorite hot beverage for a delightful afternoon indulgence.
- As a Dessert: Serve them at gatherings or parties; they’re sure to impress your guests!
Common Mistakes to Avoid
To ensure your Vegan Paleo Twix Cups turn out perfectly, keep these common pitfalls in mind:
- Overmixing the Base: This can lead to a dense texture. Mix just until combined.
- Not Packing the Base Firmly: Ensure you press the base mixture firmly into the molds for a sturdy foundation.
- Skipping the Chill Time: Allowing the chocolate to set is crucial for the right texture. Patience pays off!
Storing Tips for the Recipe
To maintain the freshness and flavor of your Vegan Paleo Twix Cups, follow these storing tips:
- Refrigeration: Store in an airtight container in the refrigerator for up to one week.
- Freezing: For longer storage, freeze the cups in a single layer, then transfer to a freezer-safe container for up to three months. Thaw in the refrigerator before enjoying.
Conclusion
In summary, the Vegan Paleo Twix Cups Recipe offers a deliciously satisfying treat that aligns with your health goals. With simple ingredients and easy preparation, these cups are perfect for any occasion. Try this recipe today and share your experience in the comments below. Don’t forget to subscribe for more delicious recipes and healthy tips!
FAQs
1. Can I make these cups ahead of time?
Yes! You can prepare them a few days in advance and store them in the refrigerator.
2. Are these Twix Cups gluten-free?
Absolutely! They are made with almond flour, making them a great gluten-free option.
3. Can I use regular chocolate instead of dairy-free?
Yes, feel free to use any chocolate you prefer, but keep in mind it will no longer be dairy-free.
4. How can I make these lower in calories?
Consider reducing the amount of dates or using a sugar substitute to lower the overall calorie count.
5. What’s the best way to serve these?
These cups can be enjoyed chilled or at room temperature. They are perfect for snacking or as a dessert!
Vegan Paleo Twix Cups Recipe
Ingredients
- For the Base:
- 1 cup almond flour: A gluten-free alternative that adds a nutty flavor.
- 2 tablespoons coconut oil: Provides healthy fats and a smooth texture.
- 2 tablespoons maple syrup: A natural sweetener that enhances flavor.
- Pinch of salt: Balances sweetness.
- For the Caramel Layer:
- 1 cup medjool dates (pitted): Nature’s candy that adds natural sweetness.
- 1/4 cup almond butter: Creamy and rich, it provides healthy fats.
- 1 teaspoon vanilla extract: Adds depth of flavor.
- A splash of almond milk: To achieve the desired consistency.
- For the Chocolate Topping:
- 1 cup dairy-free dark chocolate chips: For that rich chocolate flavor.
- 1 tablespoon coconut oil: To help the chocolate melt smoothly.
- Substitutions:
- Almond flour can be replaced with cashew flour for a different flavor profile.
- Maple syrup can be substituted with agave syrup or date syrup.
- Almond butter can be swapped for peanut butter or sunflower seed butter for nut-free options.
Instructions
Step 1: Prepare the Base
In a mixing bowl, combine the almond flour, melted coconut oil, maple syrup, and a pinch of salt. Mix until you achieve a dough-like consistency.
Step 2: Press into Molds
Line a muffin tin with cupcake liners. Evenly distribute the base mixture into the liners, pressing down firmly to create an even layer. This will serve as the foundation for your Twix cups.
Step 3: Make the Caramel Layer
In a food processor, combine the pitted medjool dates, almond butter, vanilla extract, and a splash of almond milk. Blend until smooth and creamy, scraping down the sides as needed.
Step 4: Layer the Caramel
Spoon the caramel mixture over the pressed base in the muffin liners, spreading it evenly. This layer will provide the delicious chewy texture reminiscent of traditional Twix.
Step 5: Melt the Chocolate
In a microwave-safe bowl, combine the dairy-free dark chocolate chips and coconut oil. Microwave in 30-second intervals, stirring in between, until fully melted and smooth.
Step 6: Top with Chocolate
Pour the melted chocolate over the caramel layer in each muffin liner, ensuring it covers the entire surface. Tap the muffin tin gently on the counter to remove any air bubbles.
Step 7: Chill
Place the muffin tin in the refrigerator for at least 30 minutes, or until the chocolate has hardened completely.
Step 8: Serve
Once set, remove the Twix cups from the muffin tin and peel away the liners. Enjoy your delicious, guilt-free treat!