

Whimsical Cotton Candy Sushi for Fun Sweet Treats
Introduction
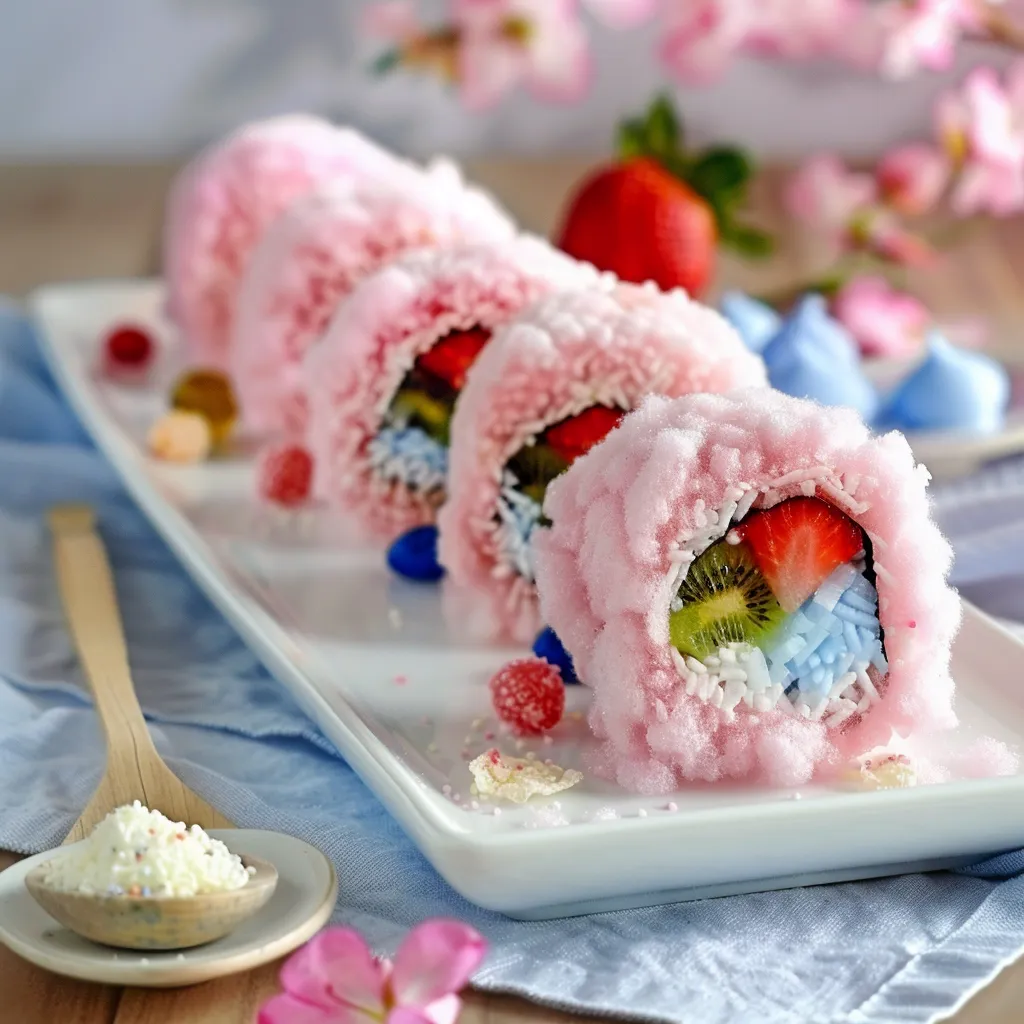
Have you ever wondered how to combine the playful essence of cotton candy with the artistry of sushi? This whimsical cotton candy sushi recipe not only delights the eyes but also tantalizes the taste buds. In a world where culinary creativity knows no bounds, this unique treat challenges the conventional beliefs about dessert and savory dishes. Imagine fluffy cotton candy wrapped around colorful, fruity fillings—it’s a sweet treat that promises to be a hit at any gathering! Let’s dive into this delightful recipe and discover how to create these fun sweet treats that are sure to impress.
Ingredients List
To create your whimsical cotton candy sushi, you’ll need the following ingredients:
Main Ingredients:
- Cotton Candy: 1 large bag (choose your favorite flavors—pink for classic, blue for a fun twist)
- Rice Krispies Treats: 2 cups (homemade or store-bought)
- Fruit Fillings:
- Fresh strawberries, sliced
- Kiwi, peeled and sliced
- Banana, sliced
- Optional: gummy candies or chocolate chips for added sweetness
Optional Substitutions:
- Gluten-Free Rice Krispies: For a gluten-free version, use gluten-free cereal.
- Nut-Free: Substitute fruit fillings with nut-free alternatives like marshmallow fluff or yogurt.
Sensory Descriptions:
Imagine the light, airy texture of cotton candy melting in your mouth, complemented by the chewy, sweet rice treats and the fresh burst of fruity flavors. This combination creates a delightful contrast that is both visually appealing and delicious.
Timing
Preparing whimsical cotton candy sushi is quick and easy! Here’s a breakdown of the timing:
- Preparation Time: 20 minutes
- Assembly Time: 10 minutes
- Total Time: 30 minutes
This total time is significantly less than the average dessert recipe, which often takes over an hour. Perfect for last-minute gatherings or a fun family activity!
Step-by-Step Instructions
Step 1: Prepare the Rice Krispies Treats
- Action: If you’re making homemade Rice Krispies treats, melt 4 tablespoons of butter in a large saucepan over low heat. Add 1 package (10 oz) of mini marshmallows and stir until completely melted.
- Tip: For extra flavor, add a teaspoon of vanilla extract to the melted mixture.
Step 2: Form the Base
- Action: Remove the saucepan from heat and stir in 6 cups of Rice Krispies cereal until well coated. Allow the mixture to cool slightly, then spread it onto a parchment-lined baking sheet to form a flat layer about ½ inch thick.
- Tip: Wet your hands with water to prevent sticking when spreading the mixture.
Step 3: Shape the Sushi
- Action: Once the Rice Krispies mixture has cooled, cut it into rectangles (about 4 inches by 2 inches). Place a piece of cotton candy on top of each rectangle, pressing down gently.
- Tip: Use different colors of cotton candy for a vibrant presentation!
Step 4: Add the Fillings
- Action: Layer slices of fruit or your chosen fillings onto the cotton candy. Be creative and mix different fruits for a colorful look!
- Tip: For a fun twist, add a few gummy candies or chocolate chips on top of the fruit.
Step 5: Roll It Up
- Action: Carefully roll the Rice Krispies treat with the cotton candy and fillings from one end to the other, like sushi. Use the parchment paper to help with the rolling process.
- Tip: If the cotton candy tears, don’t worry—just patch it up with another piece.
Step 6: Slice and Serve
- Action: Once rolled, slice the cotton candy sushi into bite-sized pieces. Serve immediately for the best texture!
- Tip: Arrange the sushi on a colorful platter for an eye-catching presentation.
Nutritional Information
Here’s a quick overview of the nutritional content per serving (assuming 8 pieces):
- Calories: 150
- Total Fat: 3g
- Saturated Fat: 1g
- Cholesterol: 5mg
- Sodium: 50mg
- Total Carbohydrates: 29g
- Dietary Fiber: 0g
- Sugars: 12g
- Protein: 1g
Data Insights:
This whimsical treat is a fun way to indulge in sweets without going overboard, especially when shared among friends and family.
Healthier Alternatives for the Recipe
If you want to make your cotton candy sushi a bit healthier, consider these modifications:
- Use Whole Grain Cereal: Opt for whole grain Rice Krispies or brown rice cereal for added fiber.
- Fruit-Only Filling: Skip the gummy candies and use only fresh fruits for a natural sweetness.
- Low-Sugar Cotton Candy: Look for brands that offer lower sugar options or consider making your own with a cotton candy machine using natural sweeteners.
Serving Suggestions
Present your whimsical cotton candy sushi in a fun and inviting way:
- Platter Presentation: Arrange the sushi pieces on a colorful platter and garnish with edible flowers or mint leaves.
- Dipping Sauces: Serve with a side of yogurt or a light fruit sauce for dipping.
- Themed Parties: This dish is perfect for birthday parties, baby showers, or any festive occasion. Pair it with other playful desserts like rainbow cupcakes or fruit skewers.
Common Mistakes to Avoid
When making cotton candy sushi, here are some pitfalls to watch out for:
- Overheating the Marshmallows: If you overheat the marshmallows, they can become too sticky and hard to work with. Keep the heat low and stir constantly.
- Using Too Much Cotton Candy: While it’s tempting to pile on the cotton candy, too much can overpower the other flavors. A thin layer is just right.
- Not Letting the Rice Krispies Cool: If you try to roll the sushi while the Rice Krispies are still warm, it may fall apart. Allow them to cool completely for the best results.
Storing Tips for the Recipe
If you have leftovers (though they may be hard to resist!), here’s how to store them properly:
- Airtight Container: Place the sushi pieces in an airtight container to maintain freshness.
- Refrigeration: Store in the fridge for up to 2 days, but note that the cotton candy may lose its texture.
- Prepping Ahead: You can prepare the Rice Krispies treats and fillings ahead of time, rolling them just before serving for the best texture.
Conclusion
Whimsical cotton candy sushi is a delightful treat that combines fun and flavor in a way that’s sure to impress. With easy-to-follow steps and creative variations, this recipe is perfect for any occasion. Try it out, and don’t forget to share your experience in the comments below! Subscribe for more fun recipes and updates.
FAQs
Q1: Can I use other types of candy in the sushi?
A1: Absolutely! Feel free to experiment with different candies like chocolate chips, sprinkles, or even mini marshmallows for added sweetness.
Q2: Is this recipe suitable for kids?
A2: Yes! This recipe is perfect for kids. They can help with assembling the sushi, making it a fun family activity.
Q3: How can I make this recipe vegan?
A3: To make a vegan version, use vegan marshmallows and plant-based butter for the Rice Krispies treats. Ensure the cotton candy is also vegan-friendly.
Q4: What is the best way to serve cotton candy sushi?
A4: Serve it on a colorful platter with a variety of dipping sauces for an interactive dessert experience.
Q5: Can I freeze cotton candy sushi?
A5: It’s not recommended to freeze cotton candy sushi, as the texture of the cotton candy will change. It’s best enjoyed fresh!

Whimsical Cotton Candy Sushi for Fun Sweet Treats
Ingredients
- Cotton Candy: 1 large bag (choose your favorite flavors—pink for classic, blue for a fun twist)
- Rice Krispies Treats: 2 cups (homemade or store-bought)
- Fruit Fillings:
- Fresh strawberries, sliced
- Kiwi, peeled and sliced
- Banana, sliced
- Optional: gummy candies or chocolate chips for added sweetness
- Optional Substitutions:
- Gluten-Free Rice Krispies: For a gluten-free version, use gluten-free cereal.
- Nut-Free: Substitute fruit fillings with nut-free alternatives like marshmallow fluff or yogurt.
Instructions
Step 1: Prepare the Rice Krispies Treats
- Action: If you're making homemade Rice Krispies treats, melt 4 tablespoons of butter in a large saucepan over low heat. Add 1 package (10 oz) of mini marshmallows and stir until completely melted.
- Tip: For extra flavor, add a teaspoon of vanilla extract to the melted mixture.
Step 2: Form the Base
- Action: Remove the saucepan from heat and stir in 6 cups of Rice Krispies cereal until well coated. Allow the mixture to cool slightly, then spread it onto a parchment-lined baking sheet to form a flat layer about ½ inch thick.
- Tip: Wet your hands with water to prevent sticking when spreading the mixture.
Step 3: Shape the Sushi
- Action: Once the Rice Krispies mixture has cooled, cut it into rectangles (about 4 inches by 2 inches). Place a piece of cotton candy on top of each rectangle, pressing down gently.
- Tip: Use different colors of cotton candy for a vibrant presentation!
Step 4: Add the Fillings
- Action: Layer slices of fruit or your chosen fillings onto the cotton candy. Be creative and mix different fruits for a colorful look!
- Tip: For a fun twist, add a few gummy candies or chocolate chips on top of the fruit.
Step 5: Roll It Up
- Action: Carefully roll the Rice Krispies treat with the cotton candy and fillings from one end to the other, like sushi. Use the parchment paper to help with the rolling process.
- Tip: If the cotton candy tears, don’t worry—just patch it up with another piece.
Step 6: Slice and Serve
- Action: Once rolled, slice the cotton candy sushi into bite-sized pieces. Serve immediately for the best texture!
- Tip: Arrange the sushi on a colorful platter for an eye-catching presentation.