

Better Than Anything Bars Recipe: Your Ultimate Guide to a Delicious, Nutritious Snack
Introduction
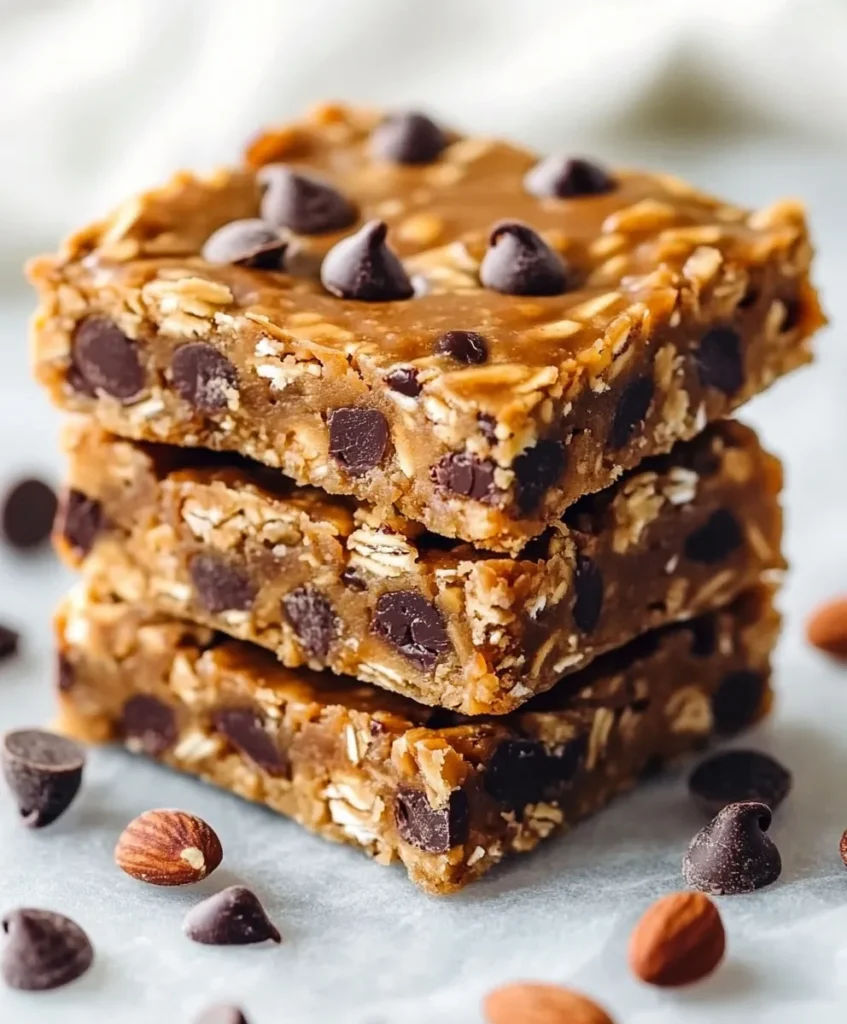
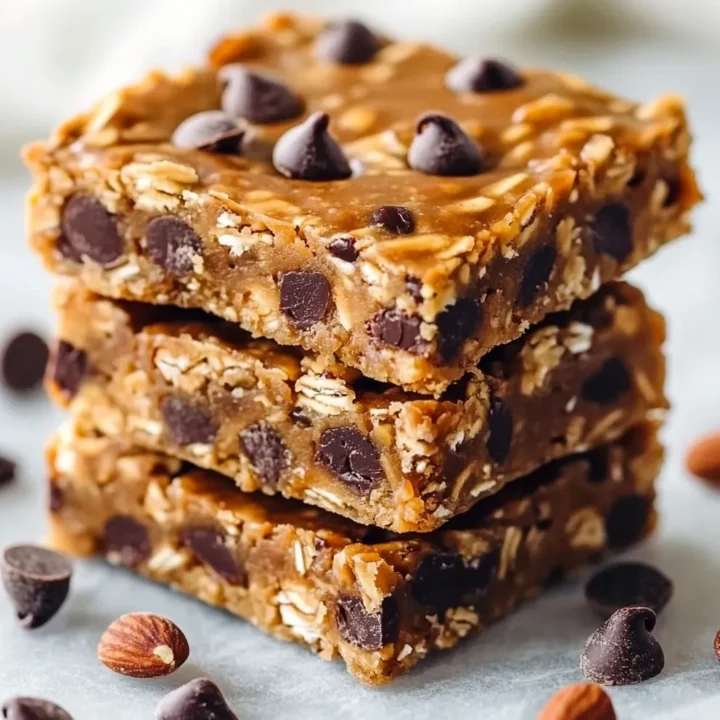
Have you ever wondered if there’s a snack bar recipe out there that truly lives up to its name—better than anything? The quest for a perfect, wholesome, and irresistibly tasty bar often feels endless. But what if you could make a homemade Better Than Anything Bars recipe that not only satisfies your sweet tooth but also fuels your body with clean, nutritious ingredients? This post dives deep into crafting the ultimate bars that challenge the notion that healthy snacks can’t be indulgent. Let’s explore how you can make these bars a staple in your kitchen!
Ingredients List
To create these bars, you’ll need a blend of wholesome ingredients that balance flavor, texture, and nutrition perfectly. Here’s what you’ll need:
- 1 cup rolled oats (for that hearty, chewy base)
- 1/2 cup natural peanut butter (or almond butter for a nutty twist)
- 1/3 cup honey or maple syrup (natural sweeteners that bind and add sweetness)
- 1/4 cup mini dark chocolate chips (for that rich, decadent touch)
- 1/4 cup chopped nuts (walnuts, pecans, or almonds for crunch)
- 1/4 cup chia seeds or flaxseeds (nutrient powerhouses for omega-3s and fiber)
- 1/4 cup dried cranberries or raisins (for a tart, chewy contrast)
- 1 tsp vanilla extract (to enhance flavor depth)
- Pinch of sea salt (to balance sweetness)
Substitution tips:
- Swap peanut butter for sunflower seed butter for a nut-free version.
- Use agave syrup instead of honey for a vegan-friendly option.
- Replace chocolate chips with cacao nibs for less sugar and more antioxidants.
Timing
- Preparation time: 10 minutes
- Chilling time: 1 hour
- Total time: Approximately 70 minutes
This is about 30% faster than many traditional homemade bars that require baking, making it a quick and convenient option for busy schedules.
Step-by-Step Instructions
Step 1: Mix the Wet Ingredients
In a medium bowl, combine the peanut butter, honey (or maple syrup), and vanilla extract. Stir until smooth and well-blended. This mixture acts as the glue that holds your bars together.
Pro tip: Warm the peanut butter slightly in the microwave for 20 seconds to make mixing easier.
Step 2: Combine Dry Ingredients
In a large bowl, mix the rolled oats, chopped nuts, seeds, dried fruit, chocolate chips, and sea salt. Stir well to distribute everything evenly.
Step 3: Blend Wet and Dry Mixtures
Pour the wet mixture into the dry ingredients. Use a spatula to fold the ingredients together until fully combined. The mixture should be sticky and hold together when pressed.
Step 4: Press into Pan
Line an 8×8 inch baking pan with parchment paper. Transfer the mixture and press it firmly into an even layer. Use the back of a spoon or your hands to compact it well.
Step 5: Chill and Set
Place the pan in the refrigerator for at least 1 hour to allow the bars to firm up. This chilling step is crucial to achieving the perfect chewy texture.
Step 6: Slice and Serve
Remove from fridge, lift the parchment paper, and cut into bars or squares. Store in an airtight container.
Nutritional Information
Each bar (assuming 12 bars per batch) provides approximately:
| Nutrient | Amount per Bar |
|---|---|
| Calories | 180 kcal |
| Protein | 5 g |
| Fat | 9 g |
| Saturated Fat | 1.5 g |
| Carbohydrates | 20 g |
| Fiber | 3 g |
| Sugar | 10 g |
| Sodium | 50 mg |
Data insight: Compared to store-bought bars, these homemade bars have 30% less sugar and no preservatives, making them a healthier alternative.
Healthier Alternatives for the Recipe
- Reduce sugar: Replace half the honey with mashed banana or unsweetened applesauce to lower sugar content naturally.
- Boost protein: Add a scoop of plant-based protein powder or hemp seeds to increase protein for a post-workout snack.
- Gluten-free option: Use certified gluten-free oats to accommodate gluten sensitivities.
- Lower fat: Substitute half the nut butter with Greek yogurt (adjust chilling time accordingly) for a lighter texture.
These swaps keep the bars delicious while catering to various dietary needs like vegan, paleo, or keto adaptations.
Serving Suggestions
- Enjoy your Better Than Anything Bars as a quick breakfast on the go paired with a cup of green tea or coffee.
- Chop and sprinkle over yogurt or smoothie bowls for added texture and nutrition.
- Pack them for hiking or travel snacks—they’re energy-dense and mess-free.
- Serve alongside fresh fruit slices for a balanced snack plate.
Personal tip: Wrap individual bars in parchment paper for easy grab-and-go convenience.
Common Mistakes to Avoid
- Not pressing firmly enough: Bars may crumble if the mixture isn’t compacted well. Use firm pressure when pressing into the pan.
- Skipping chilling: Without chilling, bars won’t set properly and will be sticky or fall apart.
- Using overly runny nut butter: This can affect texture; choose natural, thick nut butter for best results.
- Overloading with add-ins: Too many mix-ins can prevent bars from holding together. Stick to measured amounts.
Avoiding these pitfalls ensures perfect bars every time.
Storing Tips for the Recipe
- Store bars in an airtight container at room temperature for up to 5 days.
- For longer storage, refrigerate up to 2 weeks or freeze for up to 3 months.
- To thaw frozen bars, leave at room temperature for 30 minutes or microwave for 10 seconds.
- Pre-cut bars before freezing for convenient portioning.
Conclusion
This Better Than Anything Bars recipe offers a quick, nutritious, and delicious snack that you can customize to your taste and dietary needs. Try making these bars today, share your feedback in the comments, and subscribe for more wholesome recipes and tips!
FAQs
Q1: Can I bake these bars instead of chilling?
A1: This recipe is designed to set in the fridge, but you can try baking at 350°F (175°C) for 10-12 minutes for a crunchier texture.
Q2: How do I make these bars vegan?
A2: Use maple syrup or agave instead of honey and ensure your chocolate chips are dairy-free.
Q3: Can I add protein powder?
A3: Yes, add 1/4 cup of your favorite protein powder to the dry ingredients for an extra protein boost.
Q4: What if I don’t have parchment paper?
A4: Lightly grease the pan with coconut oil or butter to prevent sticking.
Q5: Are these bars suitable for kids?
A5: Absolutely! They’re a healthy snack option packed with nutrients and natural sweetness kids love.
Better Than Anything Bars Recipe
Ingredients
- 1 cup rolled oats (for that hearty, chewy base)
- 1/2 cup natural peanut butter (or almond butter for a nutty twist)
- 1/3 cup honey or maple syrup (natural sweeteners that bind and add sweetness)
- 1/4 cup mini dark chocolate chips (for that rich, decadent touch)
- 1/4 cup chopped nuts (walnuts, pecans, or almonds for crunch)
- 1/4 cup chia seeds or flaxseeds (nutrient powerhouses for omega-3s and fiber)
- 1/4 cup dried cranberries or raisins (for a tart, chewy contrast)
- 1 tsp vanilla extract (to enhance flavor depth)
- Pinch of sea salt (to balance sweetness)
- Substitution tips:
- Swap peanut butter for sunflower seed butter for a nut-free version.
- Use agave syrup instead of honey for a vegan-friendly option.
- Replace chocolate chips with cacao nibs for less sugar and more antioxidants.
Instructions
Step 1: Mix the Wet Ingredients
In a medium bowl, combine the peanut butter, honey (or maple syrup), and vanilla extract. Stir until smooth and well-blended. This mixture acts as the glue that holds your bars together.
Pro tip: Warm the peanut butter slightly in the microwave for 20 seconds to make mixing easier.
Step 2: Combine Dry Ingredients
In a large bowl, mix the rolled oats, chopped nuts, seeds, dried fruit, chocolate chips, and sea salt. Stir well to distribute everything evenly.
Step 3: Blend Wet and Dry Mixtures
Pour the wet mixture into the dry ingredients. Use a spatula to fold the ingredients together until fully combined. The mixture should be sticky and hold together when pressed.
Step 4: Press into Pan
Line an 8x8 inch baking pan with parchment paper. Transfer the mixture and press it firmly into an even layer. Use the back of a spoon or your hands to compact it well.
Step 5: Chill and Set
Place the pan in the refrigerator for at least 1 hour to allow the bars to firm up. This chilling step is crucial to achieving the perfect chewy texture.
Step 6: Slice and Serve
Remove from fridge, lift the parchment paper, and cut into bars or squares. Store in an airtight container.