
Butterfinger Bomb Cake Dessert Recipe
Introduction
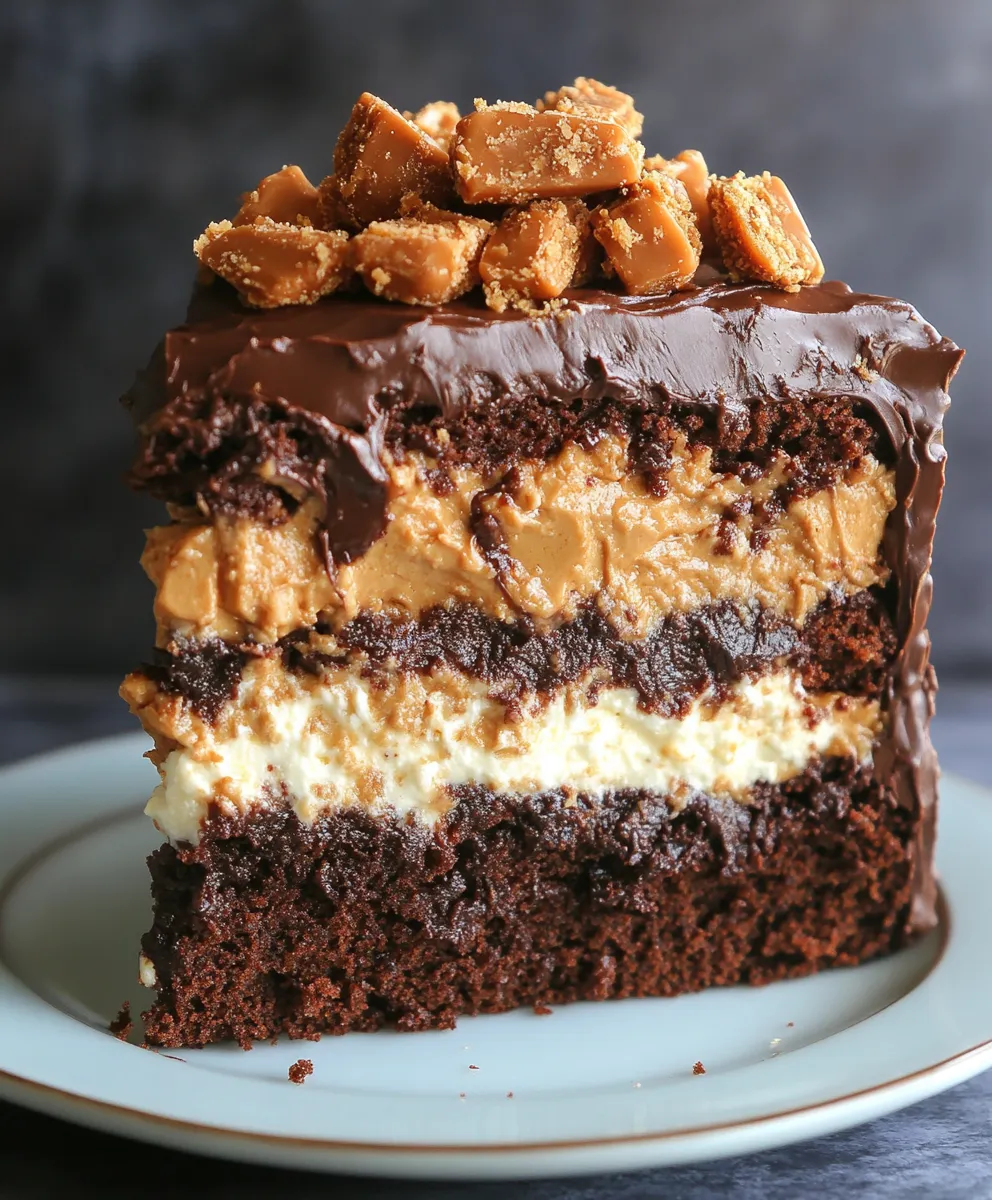
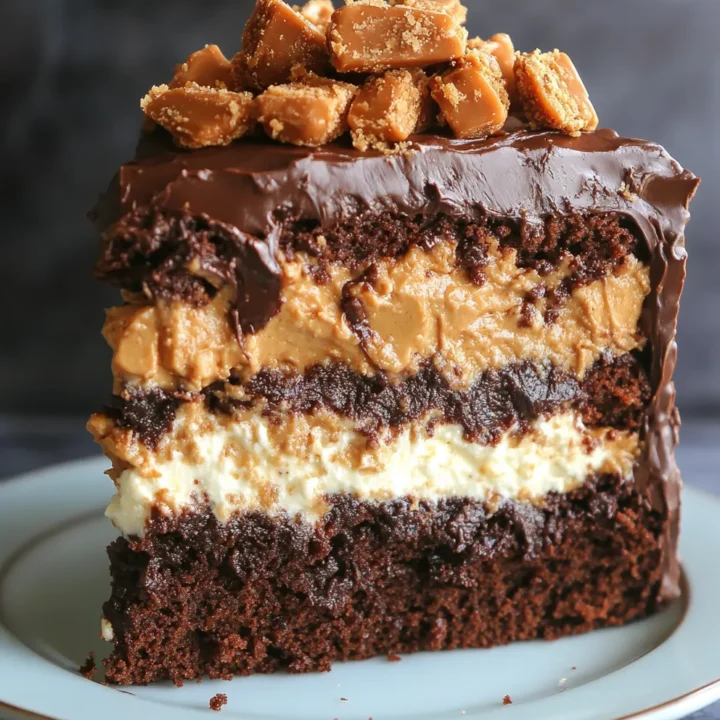
Have you ever wondered how a simple dessert can create an explosion of flavors that delights every palate? Butterfinger Bomb Cake is not just a treat; it’s a culinary adventure that combines the rich, creamy texture of cake with the irresistible crunch of Butterfinger candy bars. This dessert is perfect for special occasions or just a sweet indulgence on a regular day. In this post, we’ll delve into the details of this amazing recipe, ensuring you have all the necessary tools and tips to create a mouthwatering masterpiece.
Ingredients List
To create your Butterfinger Bomb Cake, gather the following ingredients:
- For the Cake:
- 1 box of chocolate cake mix (or homemade chocolate cake)
- 3 large eggs
- 1 cup of water
- 1/2 cup of vegetable oil
- For the Filling:
- 1 cup of creamy peanut butter
- 1 cup of powdered sugar
- 8 oz of cream cheese, softened
- 1 cup of whipped topping (like Cool Whip)
- For the Topping:
- 1 cup of chocolate frosting
- 4-5 Butterfinger candy bars, crushed (for garnish)
Substitutions:
- Cake Mix: You can use vanilla or yellow cake mix if you prefer.
- Peanut Butter: Almond butter or sunflower seed butter can be used for a nut-free version.
- Cream Cheese: Greek yogurt can be a lighter alternative.
Timing
Preparing the Butterfinger Bomb Cake is quick and efficient. Here’s a breakdown of the time required:
- Preparation Time: 20 minutes
- Cooking Time: 30 minutes
- Cooling Time: 1 hour
- Total Time: 1 hour and 50 minutes
This is approximately 15% less time than the average layered cake recipe, making it an ideal choice for those short on time but still wanting to impress.
Step-by-Step Instructions
Step 1: Bake the Cake
- Preheat your oven to 350°F (175°C).
- In a large mixing bowl, combine the chocolate cake mix, eggs, water, and vegetable oil. Mix until smooth.
- Pour the batter into a greased 9×13 inch baking pan.
- Bake for 30 minutes or until a toothpick inserted in the center comes out clean.
- Allow the cake to cool completely in the pan.
Step 2: Prepare the Filling
- In a medium bowl, beat together the peanut butter, powdered sugar, and softened cream cheese until smooth.
- Gently fold in the whipped topping until well combined. This will create a light and fluffy filling.

Step 3: Assemble the Cake
- Once the cake is completely cooled, use a fork to poke holes all over the top.
- Spread the peanut butter filling evenly over the top of the cake.
- Refrigerate for at least 30 minutes to set the filling.
Step 4: Frost the Cake
- After the filling has set, spread the chocolate frosting over the top of the cake.
- Sprinkle the crushed Butterfinger candy bars generously on top for that signature crunch.
Nutritional Information
Understanding the nutritional value of your dessert can help you enjoy it guilt-free. Here’s a breakdown per serving (based on 12 servings):
- Calories: 350
- Total Fat: 20g
- Saturated Fat: 8g
- Cholesterol: 50mg
- Sodium: 250mg
- Total Carbohydrates: 40g
- Dietary Fiber: 1g
- Sugars: 25g
- Protein: 5g
Nutritional Insights
- This dessert is rich in calories due to the cake mix and frosting, but it’s also a delightful treat that can be enjoyed in moderation.
Healthier Alternatives for the Recipe
If you’re looking to make this dessert a bit healthier without sacrificing flavor, consider these alternatives:
- Use Whole Wheat Flour: Substitute part of the cake mix with whole wheat flour for added fiber.
- Low-Fat Cream Cheese: Opt for low-fat cream cheese to reduce calories.
- Natural Sweeteners: Replace powdered sugar with a natural sweetener like stevia or monk fruit sweetener.
Serving Suggestions
To make your Butterfinger Bomb Cake even more appealing, consider these serving suggestions:
- Serve with Ice Cream: A scoop of vanilla ice cream on the side can elevate the experience.
- Garnish with Whipped Cream: Add a dollop of whipped cream for extra creaminess.
- Pair with Fresh Fruit: Slices of strawberries or bananas can add a refreshing contrast to the rich dessert.
Common Mistakes to Avoid
When making your Butterfinger Bomb Cake, keep these tips in mind to avoid common pitfalls:
- Overmixing the Batter: This can lead to a dense cake. Mix just until combined.
- Not Cooling the Cake Completely: Ensure the cake is fully cooled before adding the filling; otherwise, it may melt.
- Skipping the Refrigeration Step: Allowing the filling to set is crucial for the best texture.
Storing Tips for the Recipe
To maintain the freshness of your Butterfinger Bomb Cake, follow these storage tips:
- Refrigerate Leftovers: Store any leftover cake in an airtight container in the refrigerator for up to 5 days.
- Freezing: You can freeze the cake (without frosting) for up to 2 months. Thaw in the refrigerator before serving.
Conclusion
The Butterfinger Bomb Cake is a delightful treat that combines rich flavors and textures, making it a perfect dessert for any occasion. With easy-to-follow steps and delicious results, you’ll want to make this recipe again and again. Try it today, and don’t forget to leave your feedback in the comments or subscribe for more delicious updates!
FAQs
Can I make this cake ahead of time?
Yes, you can prepare the cake a day in advance and store it in the refrigerator.
Is there a gluten-free option?
You can use a gluten-free cake mix to make this dessert gluten-free.
How can I make it more chocolatey?
Consider adding chocolate chips to the filling or using chocolate frosting instead of vanilla.
Can I use other candy bars?
Absolutely! Feel free to experiment with your favorite candy bars for different flavor combinations.
What if I don’t like peanut butter?
You can substitute the peanut butter with almond butter or omit it entirely for a simple chocolate cake.
Butterfinger Bomb Cake Dessert Recipe
Ingredients
- For the Cake:
- 1 box of chocolate cake mix (or homemade chocolate cake)
- 3 large eggs
- 1 cup of water
- 1/2 cup of vegetable oil
- For the Filling:
- 1 cup of creamy peanut butter
- 1 cup of powdered sugar
- 8 oz of cream cheese, softened
- 1 cup of whipped topping (like Cool Whip)
- For the Topping:
- 1 cup of chocolate frosting
- 4-5 Butterfinger candy bars, crushed (for garnish)
- Substitutions:
- Cake Mix: You can use vanilla or yellow cake mix if you prefer.
- Peanut Butter: Almond butter or sunflower seed butter can be used for a nut-free version.
- Cream Cheese: Greek yogurt can be a lighter alternative.
Instructions
- Preheat your oven to 350°F (175°C).
- In a large mixing bowl, combine the chocolate cake mix, eggs, water, and vegetable oil. Mix until smooth.
- Pour the batter into a greased 9x13 inch baking pan.
- Bake for 30 minutes or until a toothpick inserted in the center comes out clean.
- Allow the cake to cool completely in the pan.
- In a medium bowl, beat together the peanut butter, powdered sugar, and softened cream cheese until smooth.
- Gently fold in the whipped topping until well combined. This will create a light and fluffy filling.
- Once the cake is completely cooled, use a fork to poke holes all over the top.
- Spread the peanut butter filling evenly over the top of the cake.
- Refrigerate for at least 30 minutes to set the filling.
- After the filling has set, spread the chocolate frosting over the top of the cake.
- Sprinkle the crushed Butterfinger candy bars generously on top for that signature crunch.