
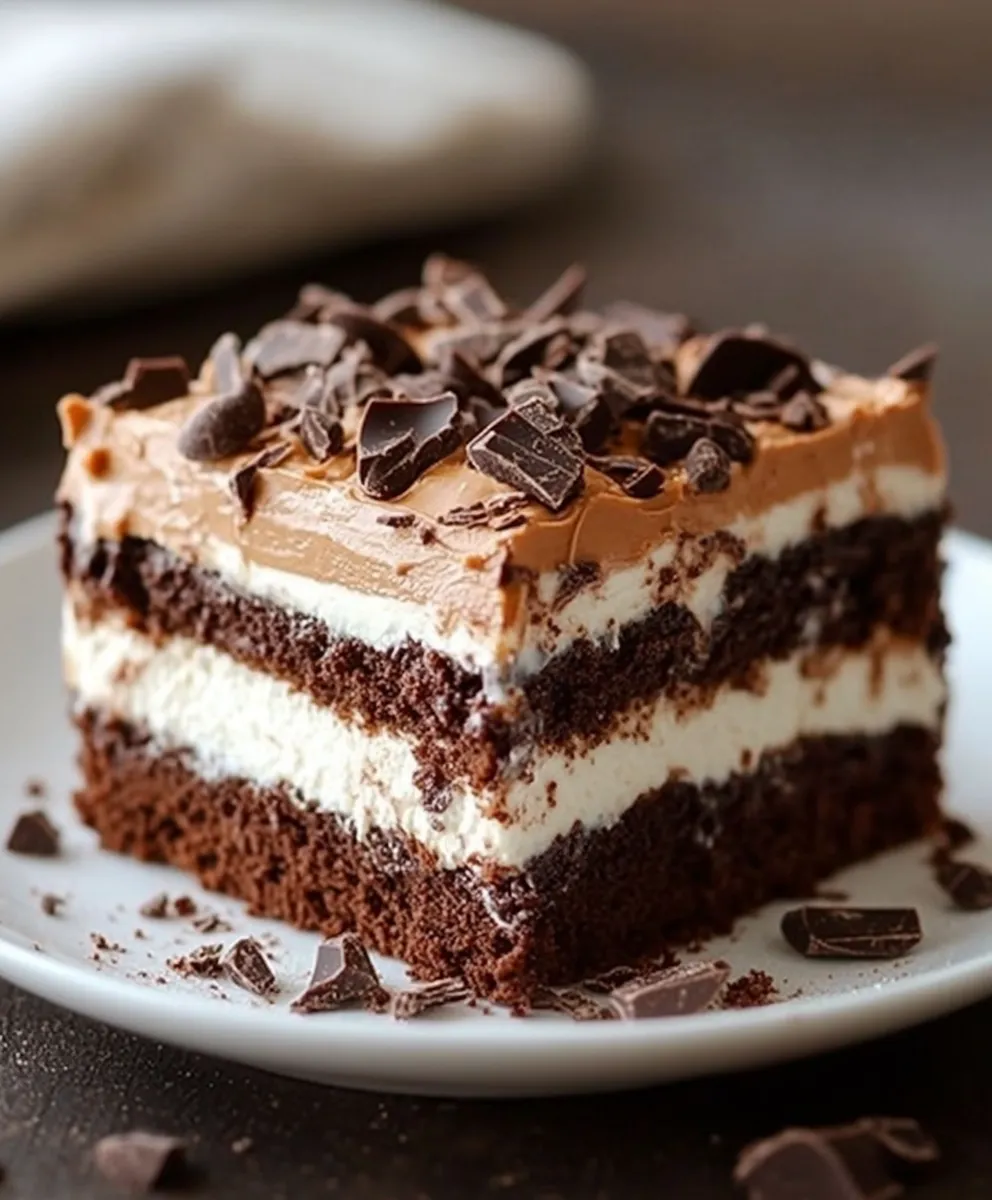
No Bake Brownie Refrigerator Cake: The Ultimate Easy Dessert You’ll Love
Introduction
Have you ever wondered if you could enjoy the rich, fudgy taste of brownies without ever turning on your oven? What if you could create a decadent dessert that’s ready to serve after just chilling in the fridge? The No Bake Brownie Refrigerator Cake is exactly that—a delicious, effortless treat that challenges the traditional baking process and delivers indulgence in record time. This recipe combines the best of brownie flavors with the convenience of no-bake preparation, making it perfect for busy days or last-minute guests.
In this post, we’ll dive into everything you need to know about making this irresistible dessert—from ingredients and timing to nutritional insights, healthier alternatives, and expert tips to avoid common mistakes. Let’s get started on your next favorite no-bake delight!
Ingredients List
Creating the perfect No Bake Brownie Refrigerator Cake starts with the right ingredients. Here’s what you’ll need:
- Chocolate biscuits or graham crackers (200g): These form the crunchy base and layers. Substitute with gluten-free crackers for a gluten-free version.
- Sweetened condensed milk (1 cup): Adds creamy sweetness and binds the cake together. For a vegan option, try coconut condensed milk.
- Unsweetened cocoa powder (1/4 cup): Provides that rich chocolate flavor.
- Butter (1/2 cup, melted): Adds moisture and richness. Use coconut oil as a dairy-free alternative.
- Chopped nuts (1/4 cup, optional): Walnuts or pecans for added texture.
- Vanilla extract (1 tsp): Enhances flavor depth.
- Dark chocolate chips (1/2 cup): For extra bursts of chocolate goodness.
- Pinch of salt: Balances sweetness.
Sensory tip: Imagine the buttery aroma mingling with deep cocoa notes as you assemble this cake—each bite promises a satisfying crunch followed by melt-in-your-mouth softness.
Timing
One of the biggest advantages of this recipe is its speed and ease:
- Preparation time: 15 minutes
- Chilling time: 2 hours (minimum)
- Total time: Approximately 2 hours 15 minutes
Compared to traditional baked brownies that can take 40–50 minutes plus cooling, this refrigerator cake saves you about 30 minutes of active cooking time. Plus, no oven heat means your kitchen stays cool—ideal for warm weather or quick dessert cravings.
Step-by-Step Instructions
Step 1: Prepare the Biscuit Base
Crush the chocolate biscuits into coarse crumbs, leaving some chunks for texture. Mix with melted butter until all crumbs are coated. Press this mixture firmly into the base of your cake pan to form an even layer.
Pro tip: Use the back of a spoon or a flat-bottomed glass to compact the base tightly, ensuring a sturdy foundation.
Step 2: Make the Chocolate Mixture
In a bowl, whisk together sweetened condensed milk, cocoa powder, vanilla extract, and a pinch of salt until smooth. Stir in chopped nuts and dark chocolate chips.
Tip: Warm the condensed milk slightly for easier mixing and a silkier texture.
Step 3: Assemble the Cake
Pour the chocolate mixture evenly over the biscuit base. Spread gently with a spatula to cover all crumbs.
Step 4: Chill to Set
Cover the pan with cling film or foil. Refrigerate for at least 2 hours or until firm.
Insider hint: For best results, chill overnight. This allows flavors to meld and the texture to firm up perfectly.
Step 5: Serve and Enjoy
Slice into squares and serve chilled. Garnish with extra nuts or a dusting of cocoa powder for a professional touch.
Nutritional Information
Here’s a breakdown per serving (based on 8 servings):
| Nutrient | Amount |
|---|---|
| Calories | 280 kcal |
| Total Fat | 15g |
| Saturated Fat | 8g |
| Carbohydrates | 32g |
| Sugars | 22g |
| Protein | 4g |
| Fiber | 2g |
| Sodium | 90mg |
Data insight: While indulgent, this dessert provides a moderate protein boost from nuts and condensed milk, balancing energy from carbs and fats.
Healthier Alternatives for the Recipe
Want to enjoy this dessert with a nutritional upgrade? Try these swaps:
- Use dark chocolate (70% or higher): Reduces sugar content and adds antioxidants.
- Replace sweetened condensed milk with Greek yogurt mixed with honey: Cuts calories and adds probiotics.
- Swap butter for avocado or nut butter: Offers healthy fats and creaminess.
- Add chia seeds or flaxseeds: Boosts fiber and omega-3s without changing taste.
- Use almond flour or oat flour biscuits: For gluten-free and higher fiber options.
These modifications keep the rich flavor intact while tailoring the recipe to specific dietary needs like vegan, paleo, or low-sugar.
Serving Suggestions
Elevate your No Bake Brownie Refrigerator Cake with these creative serving ideas:
- With fresh berries and whipped cream: The tartness of berries complements the chocolate richness.
- Drizzle with caramel or raspberry sauce: Adds a gourmet flair.
- Serve with a scoop of vanilla or coffee ice cream: Perfect for warm days.
- Sprinkle with toasted coconut flakes or edible gold dust: For special occasions.
- Pair with a cup of espresso or hot chocolate: Complements the dessert’s deep chocolate notes.
Personal tip: Present your cake on a decorative platter with fresh mint leaves for a visually stunning dessert centerpiece.
Common Mistakes to Avoid
- Not crushing biscuits evenly: Too fine results in a soggy base; too coarse causes instability. Aim for a mix of crumbs and chunks.
- Skipping chilling time: The cake won’t set properly without enough refrigeration.
- Using low-quality cocoa powder or chocolate: Impacts flavor depth.
- Overloading with nuts: Can overpower the smooth texture.
- Not pressing the base firmly: Leads to crumbling when sliced.
Avoid these pitfalls to ensure your cake turns out perfect every time.
Storing Tips for the Recipe
- Store leftovers in an airtight container in the fridge for up to 4 days.
- For longer storage, freeze portions wrapped tightly in plastic wrap and foil for up to 1 month. Thaw in the fridge before serving.
- Prepare components ahead: crush biscuits and mix chocolate layers separately, then assemble just before chilling.
- Keep the cake covered to prevent it from absorbing fridge odors and drying out.
Conclusion
The No Bake Brownie Refrigerator Cake offers an easy, no-fuss way to enjoy rich chocolatey indulgence without heating up your kitchen. With simple ingredients, quick prep, and versatile serving options, it’s a must-try dessert for any occasion. Try it today, share your experience in the comments, and subscribe for more delicious recipes!
FAQs
Q1: Can I make this cake vegan?
A: Yes! Use coconut condensed milk and dairy-free butter or coconut oil. Replace chocolate chips with vegan-friendly ones.
Q2: How long does the cake last in the fridge?
A: Up to 4 days in an airtight container, maintaining freshness and flavor.
Q3: Can I add fruits inside the cake?
A: Yes! Chopped strawberries or bananas work well but add them just before chilling to avoid sogginess.
Q4: Is it possible to double the recipe?
A: Absolutely. Use a larger pan and increase chilling time slightly for best results.
Q5: What if I don’t have cocoa powder?
A: Melted dark chocolate can substitute, but adjust sweetness accordingly.
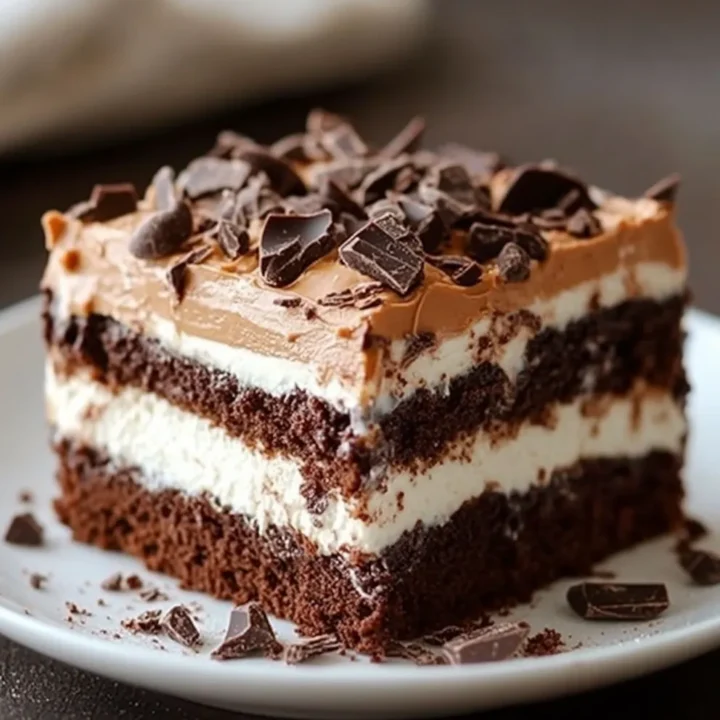
No Bake Brownie Refrigerator Cake: The Ultimate Easy Dessert You’ll Love
Ingredients
- Chocolate biscuits or graham crackers (200g): These form the crunchy base and layers. Substitute with gluten-free crackers for a gluten-free version.
- Sweetened condensed milk (1 cup): Adds creamy sweetness and binds the cake together. For a vegan option, try coconut condensed milk.
- Unsweetened cocoa powder (1/4 cup): Provides that rich chocolate flavor.
- Butter (1/2 cup, melted): Adds moisture and richness. Use coconut oil as a dairy-free alternative.
- Chopped nuts (1/4 cup, optional): Walnuts or pecans for added texture.
- Vanilla extract (1 tsp): Enhances flavor depth.
- Dark chocolate chips (1/2 cup): For extra bursts of chocolate goodness.
- Pinch of salt: Balances sweetness.
Instructions
Step 1: Prepare the Biscuit Base
Crush the chocolate biscuits into coarse crumbs, leaving some chunks for texture. Mix with melted butter until all crumbs are coated. Press this mixture firmly into the base of your cake pan to form an even layer.
Pro tip: Use the back of a spoon or a flat-bottomed glass to compact the base tightly, ensuring a sturdy foundation.
Step 2: Make the Chocolate Mixture
In a bowl, whisk together sweetened condensed milk, cocoa powder, vanilla extract, and a pinch of salt until smooth. Stir in chopped nuts and dark chocolate chips.
Tip: Warm the condensed milk slightly for easier mixing and a silkier texture.
Step 3: Assemble the Cake
Pour the chocolate mixture evenly over the biscuit base. Spread gently with a spatula to cover all crumbs.
Step 4: Chill to Set
Cover the pan with cling film or foil. Refrigerate for at least 2 hours or until firm.
Insider hint: For best results, chill overnight. This allows flavors to meld and the texture to firm up perfectly.
Step 5: Serve and Enjoy
Slice into squares and serve chilled. Garnish with extra nuts or a dusting of cocoa powder for a professional touch.