
No Bake Oreo Cheesecake Sushi
Introduction
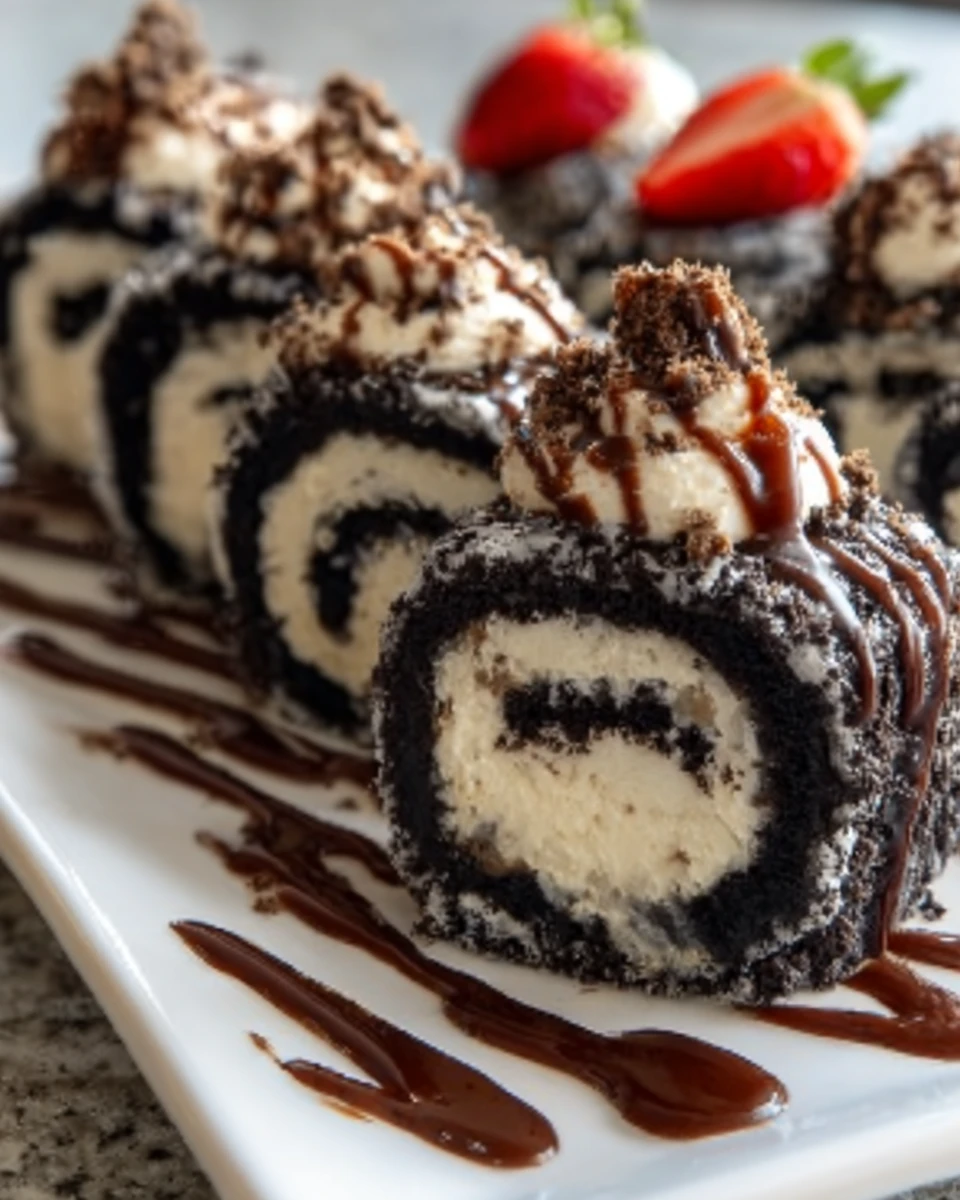
Have you ever wondered how to combine two beloved desserts into one delightful treat? Imagine the creamy, rich flavors of a cheesecake wrapped in the playful, sushi-inspired presentation of a roll. This No Bake Oreo Cheesecake Sushi is not only a feast for the eyes but also a deliciously easy dessert that can be whipped up in no time. If you’re looking for a unique dessert that will impress your friends and family, this recipe is the perfect solution!
Ingredients List
To create this delectable No Bake Oreo Cheesecake Sushi, you’ll need the following ingredients:
- Oreo Cookies: 24 cookies (plus extra for garnish)
- Cream Cheese: 8 oz, softened (can substitute with Greek yogurt for a lighter option)
- Powdered Sugar: 1 cup
- Vanilla Extract: 1 tsp
- Whipped Cream: 1 cup, chilled (or use coconut whipped cream for a dairy-free version)
- Rice Paper Wrappers: 6 sheets (can be found in Asian markets)
- Chocolate Sauce: for drizzling (optional)
- Fresh Fruit: strawberries or bananas for added flavor and color (optional)
Substitutions
- For a gluten-free option, use gluten-free Oreo cookies.
- You can replace cream cheese with a dairy-free cream cheese alternative.
Timing
Preparing this No Bake Oreo Cheesecake Sushi is a breeze! Here’s a breakdown of the time required:
- Preparation Time: 20 minutes
- Chilling Time: 1 hour
- Total Time: 1 hour 20 minutes
This is about 20% less time than the average cheesecake recipe, making it a quick and satisfying dessert option!
Step-by-Step Instructions
Step 1: Prepare the Filling
In a mixing bowl, combine the softened cream cheese, powdered sugar, and vanilla extract. Using an electric mixer, blend until smooth and creamy.
Step 2: Crush the Oreos
Using a food processor, crush 24 Oreo cookies into fine crumbs. Reserve a few crumbs for garnish.
Step 3: Combine Ingredients
Fold the crushed Oreo cookies into the cream cheese mixture. Gently fold in the whipped cream until well combined, ensuring a light and fluffy texture.
Step 4: Soften the Rice Paper
Fill a shallow dish with warm water. Dip one rice paper wrapper into the water for about 10 seconds, or until it becomes pliable.
Step 5: Assemble the Sushi
Place the softened rice paper on a clean surface. Spoon a generous amount of the Oreo cheesecake filling onto the lower third of the rice paper. Roll it tightly, starting from the bottom, and tuck in the sides as you go to form a sushi roll.
Step 6: Chill the Rolls
Place the rolled sushi on a plate and refrigerate for at least 1 hour to set.
Step 7: Slice and Serve
Once chilled, use a sharp knife to slice the rolls into bite-sized pieces. Drizzle with chocolate sauce and sprinkle with reserved Oreo crumbs before serving.
Nutritional Information
Here’s a quick look at the nutritional content per serving (based on 8 servings):
| Nutrient | Amount per Serving |
|---|---|
| Calories | 220 |
| Total Fat | 10g |
| Saturated Fat | 5g |
| Cholesterol | 30mg |
| Sodium | 150mg |
| Total Carbohydrates | 30g |
| Dietary Fiber | 1g |
| Sugars | 18g |
| Protein | 3g |
Healthier Alternatives for the Recipe
If you’re looking to make this dessert a bit healthier, consider these alternatives:
- Use Low-Fat Cream Cheese: This can reduce the overall fat content.
- Substitute Sugar: Use a sugar substitute like Stevia or monk fruit sweetener to cut down on calories.
- Add More Fruit: Incorporate fresh fruit into the filling for added vitamins and natural sweetness.
Serving Suggestions
This No Bake Oreo Cheesecake Sushi is perfect for various occasions! Here are some serving ideas:
- Party Platter: Arrange the sushi rolls on a large platter with fresh fruit and chocolate sauce for dipping.
- Individual Servings: Place each roll in a cupcake liner for easy serving at events.
- Themed Dessert Table: Incorporate these rolls into a dessert table alongside other fun treats for a cohesive theme.
Common Mistakes to Avoid
- Overmixing the Filling: This can result in a dense texture. Mix just until combined.
- Not Soaking the Rice Paper Long Enough: Ensure the rice paper is pliable but not too soggy to avoid tearing.
- Cutting the Rolls Too Soon: Allow the rolls to chill completely to maintain their shape when slicing.
Storing Tips for the Recipe
To keep your No Bake Oreo Cheesecake Sushi fresh:
- Refrigerate Leftovers: Store any leftover sushi rolls in an airtight container in the fridge for up to 3 days.
- Prep Ahead: You can make the filling a day in advance and assemble the sushi rolls when ready to serve.
Conclusion
In summary, this No Bake Oreo Cheesecake Sushi combines the richness of cheesecake with the fun of sushi, making it a perfect dessert for any occasion. Try this recipe today and impress your friends and family with your culinary creativity! Don’t forget to share your thoughts in the comments below and subscribe for more delicious updates!
FAQs
Q1: Can I make this dessert vegan?
A1: Yes! You can use dairy-free cream cheese and coconut whipped cream for a vegan version.
Q2: How can I make this recipe gluten-free?
A2: Simply use gluten-free Oreo cookies and ensure that the rice paper wrappers you choose are gluten-free.
Q3: Can I freeze the sushi rolls?
A3: While it’s best enjoyed fresh, you can freeze the rolls for up to a month. Just ensure they are well-wrapped to prevent freezer burn.
Q4: What can I use instead of Oreos?
A4: You can substitute Oreos with any chocolate sandwich cookies or even graham crackers for a different flavor profile.
Q5: How long does this dessert last in the fridge?
A5: The No Bake Oreo Cheesecake Sushi can last in the fridge for about 3 days if stored properly in an airtight container.
No Bake Oreo Cheesecake Sushi
Ingredients
- Oreo Cookies: 24 cookies (plus extra for garnish)
- Cream Cheese: 8 oz, softened (can substitute with Greek yogurt for a lighter option)
- Powdered Sugar: 1 cup
- Vanilla Extract: 1 tsp
- Whipped Cream: 1 cup, chilled (or use coconut whipped cream for a dairy-free version)
- Rice Paper Wrappers: 6 sheets (can be found in Asian markets)
- Chocolate Sauce: for drizzling (optional)
- Fresh Fruit: strawberries or bananas for added flavor and color (optional)
- Substitutions
- For a gluten-free option, use gluten-free Oreo cookies.
- You can replace cream cheese with a dairy-free cream cheese alternative.
Instructions
Step 1: Prepare the Filling
In a mixing bowl, combine the softened cream cheese, powdered sugar, and vanilla extract. Using an electric mixer, blend until smooth and creamy.
Step 2: Crush the Oreos
Using a food processor, crush 24 Oreo cookies into fine crumbs. Reserve a few crumbs for garnish.
Step 3: Combine Ingredients
Fold the crushed Oreo cookies into the cream cheese mixture. Gently fold in the whipped cream until well combined, ensuring a light and fluffy texture.
Step 4: Soften the Rice Paper
Fill a shallow dish with warm water. Dip one rice paper wrapper into the water for about 10 seconds, or until it becomes pliable.
Step 5: Assemble the Sushi
Place the softened rice paper on a clean surface. Spoon a generous amount of the Oreo cheesecake filling onto the lower third of the rice paper. Roll it tightly, starting from the bottom, and tuck in the sides as you go to form a sushi roll.
Step 6: Chill the Rolls
Place the rolled sushi on a plate and refrigerate for at least 1 hour to set.
Step 7: Slice and Serve
Once chilled, use a sharp knife to slice the rolls into bite-sized pieces. Drizzle with chocolate sauce and sprinkle with reserved Oreo crumbs before serving.