
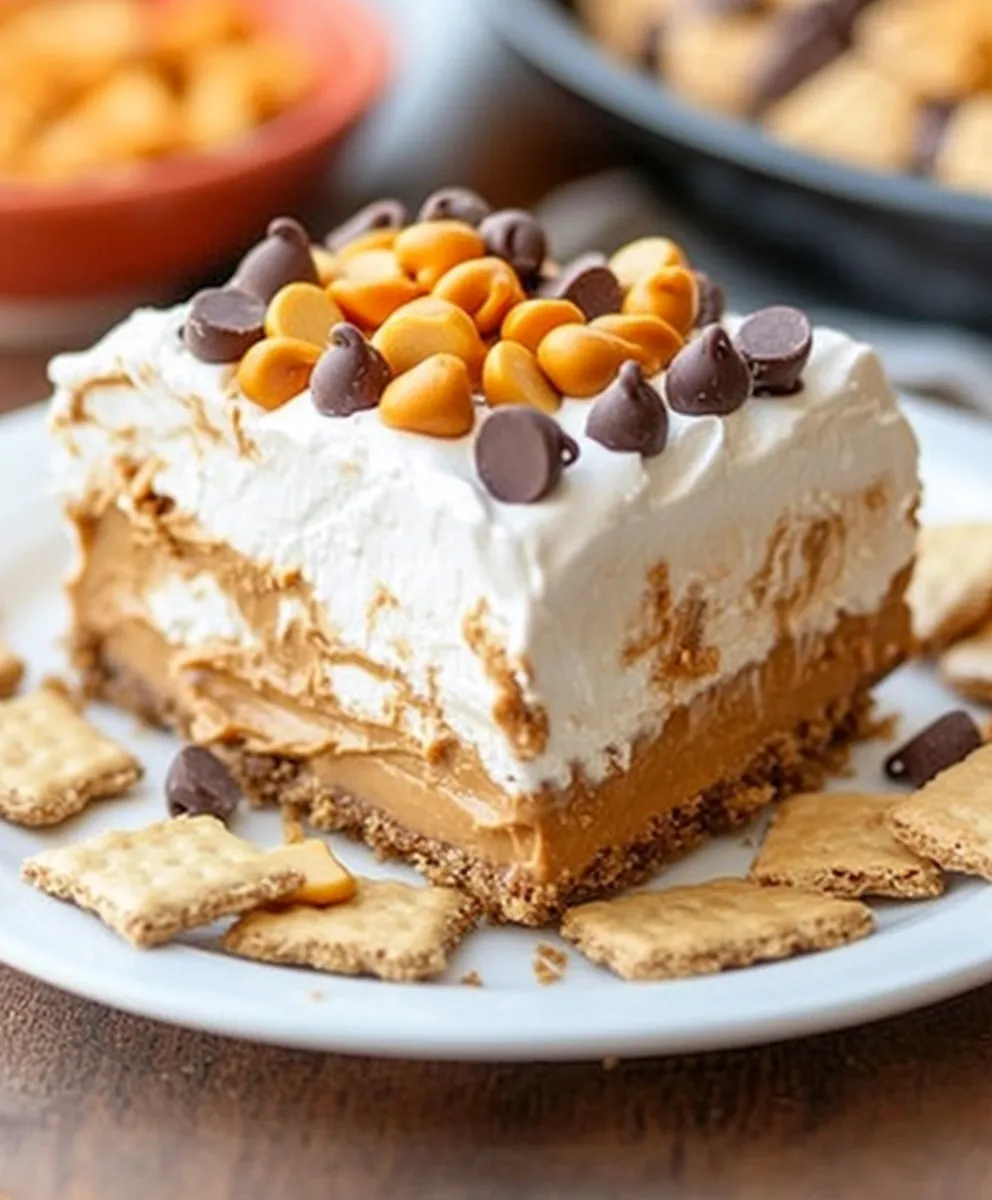
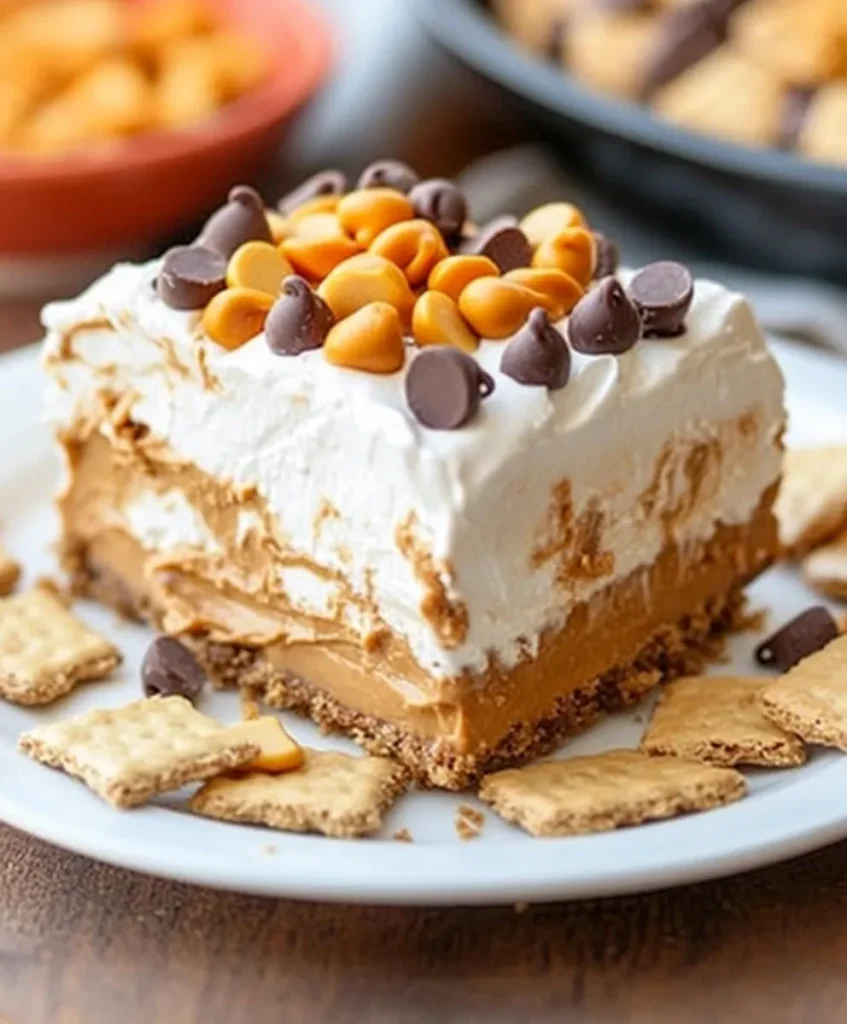
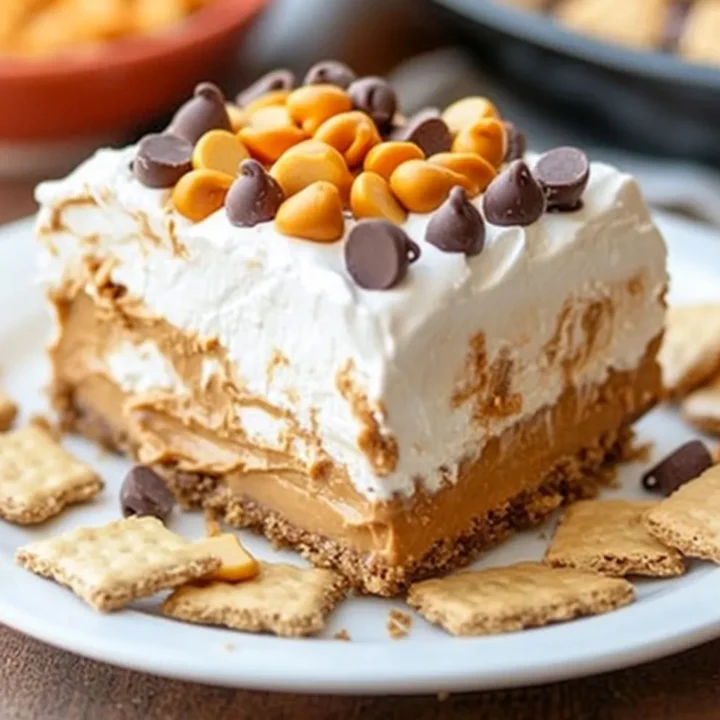
No Bake Peanut Butter Icebox Cake
Introduction
Have you ever wondered how to create a delicious dessert that requires no baking and can be prepared in just a few simple steps? The No Bake Peanut Butter Icebox Cake is not only a crowd-pleaser but also a quick solution for those who crave something sweet without the hassle of turning on the oven. This recipe challenges the belief that great desserts must be baked, proving instead that you can achieve incredible flavors and textures with minimal effort. So, let’s dive into how you can whip up this delightful treat!
Ingredients List
To make your No Bake Peanut Butter Icebox Cake, you’ll need the following ingredients:
- Peanut Butter: 1 cup (creamy or chunky, based on preference)
- Cream Cheese: 8 oz, softened
- Powdered Sugar: 1 cup
- Whipped Topping: 2 cups (or homemade whipped cream)
- Graham Crackers: 1 box (about 14 full sheets)
- Chocolate Chips: ½ cup (optional, for garnish)
- Milk: 2 tablespoons (to soften the mixture if needed)
Suggested Substitutions:
- Nut Butter: Almond or cashew butter can be used for a different flavor.
- Cream Cheese: Greek yogurt can be a lighter alternative.
- Whipped Topping: Use coconut whipped cream for a dairy-free option.
- Graham Crackers: Gluten-free graham crackers or crushed cookies can be substituted.
Timing
Preparing the No Bake Peanut Butter Icebox Cake is a breeze! Here’s a breakdown of the time required:
- Preparation Time: 20 minutes
- Chilling Time: 4 hours (or overnight for best results)
- Total Time: 4 hours and 20 minutes
This is approximately 20% less time than the average baking recipe, making it a perfect quick dessert option for any occasion.
Step-by-Step Instructions
Step 1: Prepare the Peanut Butter Mixture
In a large mixing bowl, combine the softened cream cheese and peanut butter. Use an electric mixer to blend until smooth and creamy. Gradually add the powdered sugar, mixing until fully incorporated.
Step 2: Fold in Whipped Topping
Gently fold in the whipped topping until the mixture is light and fluffy. This step adds volume and makes the cake airy.
Step 3: Assemble the Cake
On a serving platter, lay down a layer of graham crackers. Spread a generous layer of the peanut butter mixture over the crackers. Repeat the process, alternating layers of graham crackers and peanut butter mixture until all ingredients are used, finishing with a layer of the peanut butter mixture on top.
Step 4: Chill the Cake
Cover the assembled cake with plastic wrap and refrigerate for at least 4 hours, or overnight if possible. This chilling time allows the flavors to meld and the cake to set properly.
Step 5: Serve and Enjoy
Once chilled, slice the cake and serve. Optionally, sprinkle chocolate chips on top for added texture and sweetness.
Nutritional Information
Here’s a quick overview of the nutritional content per serving (1 slice, assuming 12 servings):
- Calories: 250
- Total Fat: 15g
- Saturated Fat: 5g
- Cholesterol: 30mg
- Sodium: 150mg
- Total Carbohydrates: 28g
- Dietary Fiber: 1g
- Sugars: 12g
- Protein: 5g
Key Insights:
- This dessert is rich in healthy fats from peanut butter, providing energy and satiety.
- The use of cream cheese adds a creamy texture while contributing to the overall protein content.
Healthier Alternatives for the Recipe
To enhance the nutritional profile of your No Bake Peanut Butter Icebox Cake, consider these modifications:
- Use Natural Sweeteners: Replace powdered sugar with honey or maple syrup for a healthier sweetener.
- Add Protein: Mix in a scoop of protein powder into the peanut butter mixture for an extra boost.
- Incorporate Fruits: Layer in sliced bananas or strawberries between the layers for added flavor and nutrition.
Serving Suggestions
The No Bake Peanut Butter Icebox Cake is versatile and can be served in various ways:
- Garnish with Fresh Fruit: Top with sliced bananas, strawberries, or raspberries for a refreshing twist.
- Chocolate Drizzle: Drizzle melted chocolate over the top for an indulgent touch.
- Ice Cream Side: Serve with a scoop of vanilla ice cream for a delightful contrast in temperature and texture.
Common Mistakes to Avoid
- Not Chilling Long Enough: Skipping the chilling time can result in a cake that falls apart. Ensure it sets for at least 4 hours.
- Using Cold Ingredients: Make sure the cream cheese is softened to avoid lumps in the mixture.
- Overmixing: When folding in the whipped topping, mix gently to maintain the airy texture.
Storing Tips for the Recipe
To keep your No Bake Peanut Butter Icebox Cake fresh:
- Refrigeration: Store in an airtight container in the refrigerator for up to 5 days.
- Freezing: For longer storage, wrap individual slices in plastic wrap and freeze for up to 2 months. Thaw in the refrigerator before serving.
Conclusion
The No Bake Peanut Butter Icebox Cake is a delightful and easy dessert that combines creamy peanut butter with crunchy graham crackers, all without the need for baking. With its simple preparation and delicious flavor, this cake is sure to impress your guests. Try it out, and don’t forget to share your feedback in the comments or subscribe for more delicious recipes!
FAQs
1. Can I make this cake ahead of time?
Yes! This cake is perfect for making ahead. In fact, it tastes even better after chilling overnight.
2. Is this recipe gluten-free?
You can make it gluten-free by using gluten-free graham crackers or cookies.
3. How can I make this recipe vegan?
Substitute cream cheese with a vegan cream cheese alternative, use plant-based whipped topping, and ensure your graham crackers are vegan.
4. Can I add other flavors?
Absolutely! You can mix in chocolate, vanilla, or even coffee flavors to the peanut butter mixture for a unique twist.
5. How do I know when the cake is ready to serve?
The cake is ready when it is firm to the touch and has set well after chilling. It should hold its shape when sliced.
No Bake Peanut Butter Icebox Cake
Ingredients
- Peanut Butter: 1 cup (creamy or chunky, based on preference)
- Cream Cheese: 8 oz, softened
- Powdered Sugar: 1 cup
- Whipped Topping: 2 cups (or homemade whipped cream)
- Graham Crackers: 1 box (about 14 full sheets)
- Chocolate Chips: ½ cup (optional, for garnish)
- Milk: 2 tablespoons (to soften the mixture if needed)
- Suggested Substitutions:
- Nut Butter: Almond or cashew butter can be used for a different flavor.
- Cream Cheese: Greek yogurt can be a lighter alternative.
- Whipped Topping: Use coconut whipped cream for a dairy-free option.
- Graham Crackers: Gluten-free graham crackers or crushed cookies can be substituted.
Instructions
Step 1: Prepare the Peanut Butter Mixture
In a large mixing bowl, combine the softened cream cheese and peanut butter. Use an electric mixer to blend until smooth and creamy. Gradually add the powdered sugar, mixing until fully incorporated.
Step 2: Fold in Whipped Topping
Gently fold in the whipped topping until the mixture is light and fluffy. This step adds volume and makes the cake airy.
Step 3: Assemble the Cake
On a serving platter, lay down a layer of graham crackers. Spread a generous layer of the peanut butter mixture over the crackers. Repeat the process, alternating layers of graham crackers and peanut butter mixture until all ingredients are used, finishing with a layer of the peanut butter mixture on top.
Step 4: Chill the Cake
Cover the assembled cake with plastic wrap and refrigerate for at least 4 hours, or overnight if possible. This chilling time allows the flavors to meld and the cake to set properly.
Step 5: Serve and Enjoy
Once chilled, slice the cake and serve. Optionally, sprinkle chocolate chips on top for added texture and sweetness.