
Spumoni Brownie Lush Dessert Recipe
Introduction
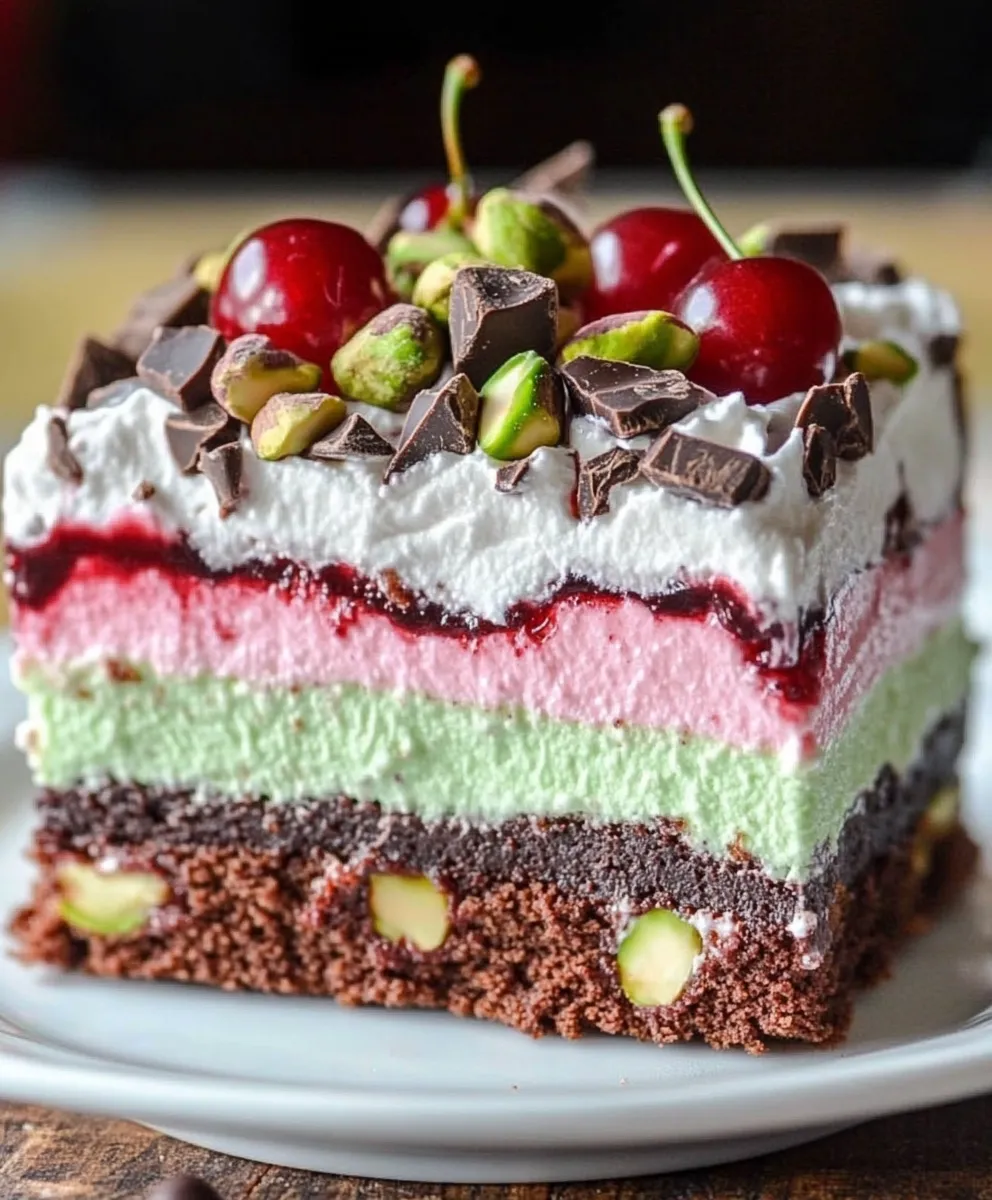
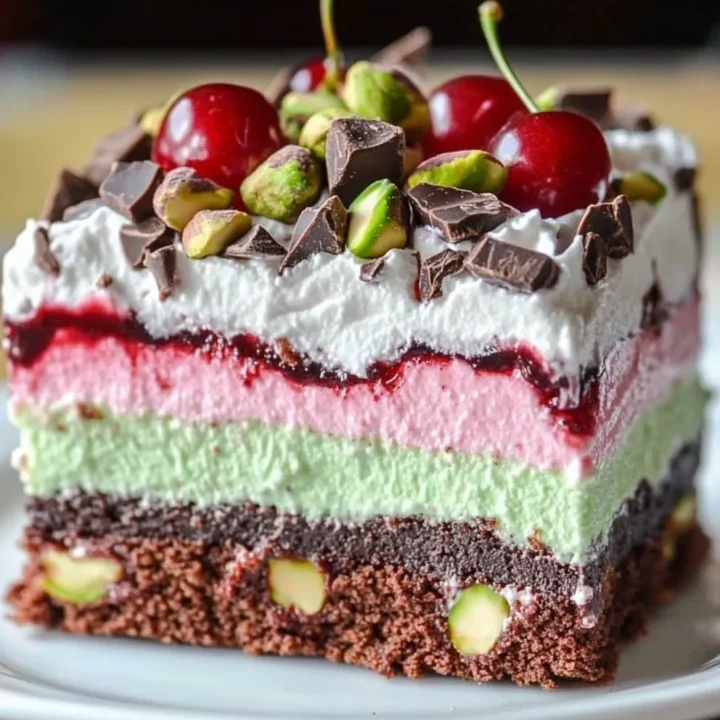
Have you ever wondered how to combine the rich flavors of chocolate, cherry, and pistachio into a single dessert that delights the senses? If so, you’re in for a treat with this Spumoni Brownie Lush Dessert Recipe! This decadent dessert not only satisfies your sweet tooth but also impresses with its vibrant colors and textures. With a preparation time of just 90 minutes—20% less than the average dessert recipe—this lush dessert is perfect for gatherings or a cozy night in. Let’s dive into the delicious world of spumoni brownies!
Ingredients List
To create this delectable dessert, gather the following ingredients:
For the Brownie Base:
- 1 cup unsalted butter (melted)
- 2 cups granulated sugar
- 4 large eggs
- 1 teaspoon vanilla extract
- 1 cup all-purpose flour
- 1 cup unsweetened cocoa powder
- ½ teaspoon salt
- ½ teaspoon baking powder
For the Spumoni Layer:
- 2 cups whipped cream (store-bought or homemade)
- 1 cup cherry pie filling
- 1 cup pistachios (chopped, unsalted)
- 1 cup chocolate chips (semi-sweet or dark)
Optional Substitutions:
- Gluten-Free Flour: Use a 1:1 gluten-free flour blend for a gluten-free version.
- Nut Alternatives: Substitute pistachios with walnuts or almonds if desired.
- Vegan Option: Use flax eggs and vegan butter for a plant-based version.
Timing
Preparing this Spumoni Brownie Lush Dessert requires:
- Preparation Time: 30 minutes
- Cooking Time: 30 minutes
- Chilling Time: 30 minutes
- Total Time: 90 minutes
This is significantly less time than many traditional layered desserts, making it a great option for those who want impressive results without the lengthy commitment.
Step-by-Step Instructions
Step 1: Prepare the Brownie Base
- Preheat your oven to 350°F (175°C).
- In a large mixing bowl, combine melted butter and granulated sugar. Mix until smooth.
- Add eggs one at a time, mixing well after each addition. Stir in vanilla extract.
- In a separate bowl, whisk together flour, cocoa powder, salt, and baking powder.
- Gradually add the dry ingredients to the wet mixture until fully combined.
- Pour the batter into a greased 9×13 inch baking pan and bake for 30 minutes. A toothpick inserted should come out with a few moist crumbs.
Step 2: Create the Spumoni Layer
- Once the brownies are baked and cooled, spread the whipped cream evenly over the brownie base.
- Gently spoon cherry pie filling over the whipped cream, ensuring an even distribution.
- Sprinkle chopped pistachios and chocolate chips on top of the cherry layer for added texture and flavor.
Step 3: Chill and Serve
- Cover the dessert with plastic wrap and refrigerate for at least 30 minutes to allow flavors to meld.
- Cut into squares and serve chilled, garnished with additional whipped cream or a cherry on top if desired.

Nutritional Information
Here’s a breakdown of the nutritional information per serving (based on 12 servings):
- Calories: 320
- Total Fat: 18g
- Saturated Fat: 10g
- Cholesterol: 70mg
- Sodium: 150mg
- Total Carbohydrates: 36g
- Dietary Fiber: 2g
- Sugars: 20g
- Protein: 4g
Data insights indicate that desserts like these can be enjoyed in moderation as part of a balanced diet.
Healthier Alternatives for the Recipe
If you’re looking to make this dessert a bit healthier without sacrificing flavor, consider these alternatives:
- Sugar Substitutes: Use coconut sugar or stevia for a lower glycemic index.
- Greek Yogurt: Substitute half of the whipped cream with Greek yogurt for a protein boost.
- Fruit Variations: Experiment with fresh fruits like strawberries or blueberries for a fresher taste.
Serving Suggestions
To elevate your Spumoni Brownie Lush Dessert, consider these serving suggestions:
- Layered Parfaits: Serve in individual cups for a beautiful presentation.
- Pair with Ice Cream: A scoop of vanilla or pistachio ice cream complements the dessert perfectly.
- Garnish Ideas: Fresh mint leaves or chocolate shavings can enhance the visual appeal.
Common Mistakes to Avoid
When making this luscious dessert, keep these common pitfalls in mind:
- Overbaking the Brownies: Check for doneness a few minutes before the recommended time to ensure a fudgy texture.
- Not Chilling Long Enough: Allowing the dessert to chill is crucial for the layers to set properly.
- Skipping the Whipped Cream: This layer adds essential creaminess; don’t omit it!
Storing Tips for the Recipe
To keep your Spumoni Brownie Lush Dessert fresh:
- Refrigeration: Store leftovers in an airtight container in the refrigerator for up to 3 days.
- Freezing: You can freeze the dessert (without toppings) for up to a month. Thaw in the refrigerator before serving.
Conclusion
In summary, the Spumoni Brownie Lush Dessert Recipe offers a delightful blend of flavors and textures that’s sure to impress. With its easy preparation and stunning presentation, it’s a must-try for any dessert lover! Don’t forget to share your experience in the comments below, and subscribe for more delicious recipes and updates!
FAQs
What can I substitute for the cherry pie filling?
You can use fresh cherries, raspberry filling, or even a mixed berry compote for a different flavor profile.
Can I make this dessert ahead of time?
Absolutely! You can prepare it a day in advance and store it in the refrigerator until you’re ready to serve.
Is it possible to make this dessert gluten-free?
Yes, simply use a gluten-free flour blend in place of the all-purpose flour for a gluten-free version.
How should I serve this dessert?
This dessert is best served chilled, and you can garnish it with extra whipped cream, fresh fruit, or chocolate drizzle for added flair.
Can I customize the flavors?
Definitely! Feel free to experiment with different flavors of whipped cream or fruit fillings to create your own unique version of this dessert.
Spumoni Brownie Lush Dessert Recipe
Ingredients
- For the Brownie Base:
- 1 cup unsalted butter (melted)
- 2 cups granulated sugar
- 4 large eggs
- 1 teaspoon vanilla extract
- 1 cup all-purpose flour
- 1 cup unsweetened cocoa powder
- ½ teaspoon salt
- ½ teaspoon baking powder
- For the Spumoni Layer:
- 2 cups whipped cream (store-bought or homemade)
- 1 cup cherry pie filling
- 1 cup pistachios (chopped, unsalted)
- 1 cup chocolate chips (semi-sweet or dark)
- Optional Substitutions:
- Gluten-Free Flour: Use a 1:1 gluten-free flour blend for a gluten-free version.
- Nut Alternatives: Substitute pistachios with walnuts or almonds if desired.
- Vegan Option: Use flax eggs and vegan butter for a plant-based version.
Instructions
- Preheat your oven to 350°F (175°C).
- In a large mixing bowl, combine melted butter and granulated sugar. Mix until smooth.
- Add eggs one at a time, mixing well after each addition. Stir in vanilla extract.
- In a separate bowl, whisk together flour, cocoa powder, salt, and baking powder.
- Gradually add the dry ingredients to the wet mixture until fully combined.
- Pour the batter into a greased 9x13 inch baking pan and bake for 30 minutes. A toothpick inserted should come out with a few moist crumbs.
- Once the brownies are baked and cooled, spread the whipped cream evenly over the brownie base.
- Gently spoon cherry pie filling over the whipped cream, ensuring an even distribution.
- Sprinkle chopped pistachios and chocolate chips on top of the cherry layer for added texture and flavor.
- Cover the dessert with plastic wrap and refrigerate for at least 30 minutes to allow flavors to meld.
- Cut into squares and serve chilled, garnished with additional whipped cream or a cherry on top if desired.